Nov . 21, 2024 14:07 Back to list
mesh tape for ceiling
Understanding Mesh Tape for Ceiling Applications
When it comes to finishing drywall or plaster in ceiling installations, one of the essential materials used is mesh tape. This product plays a crucial role in ensuring a smooth, durable, and crack-free surface on which to paint or texture. In this article, we will explore what mesh tape is, its advantages, and how to properly apply it for the best results in ceiling work.
What is Mesh Tape?
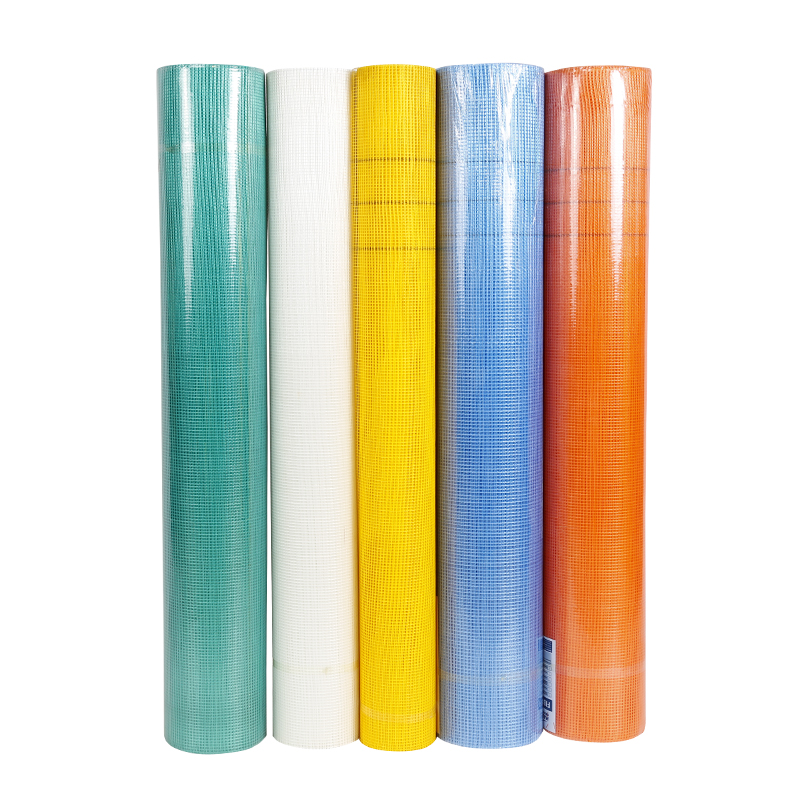
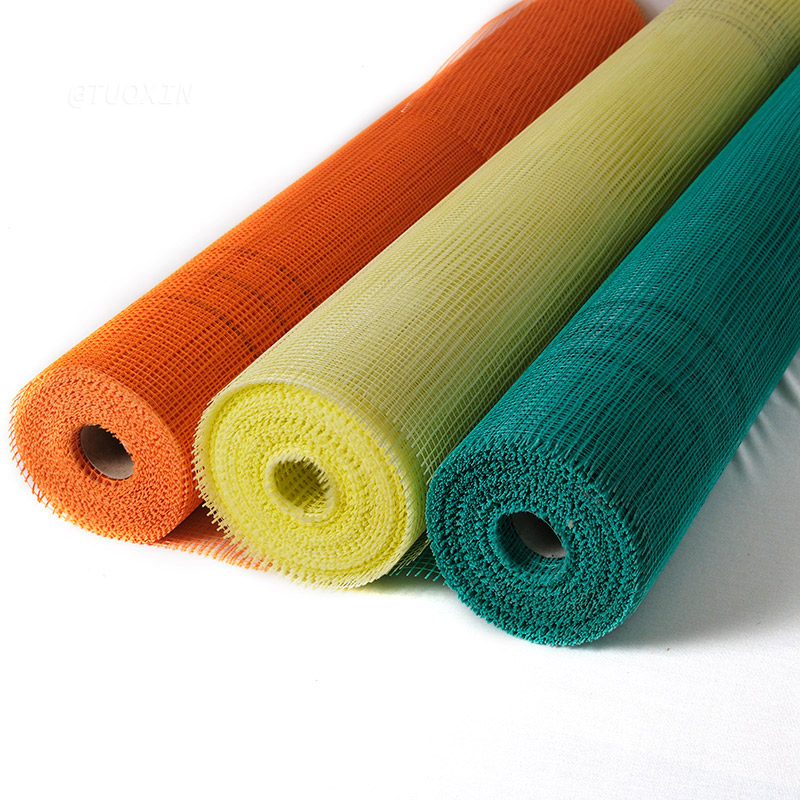
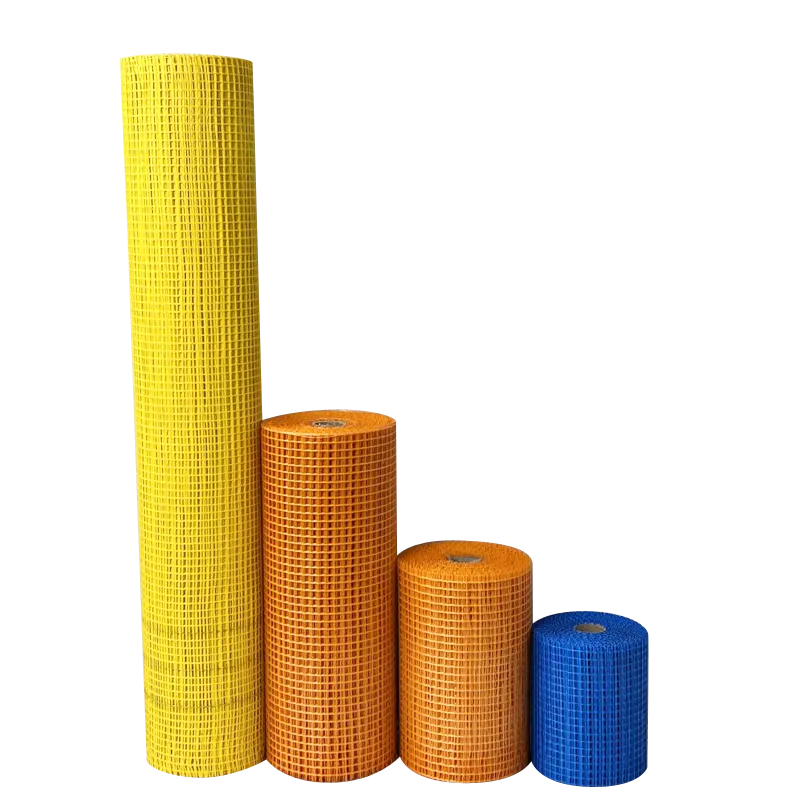
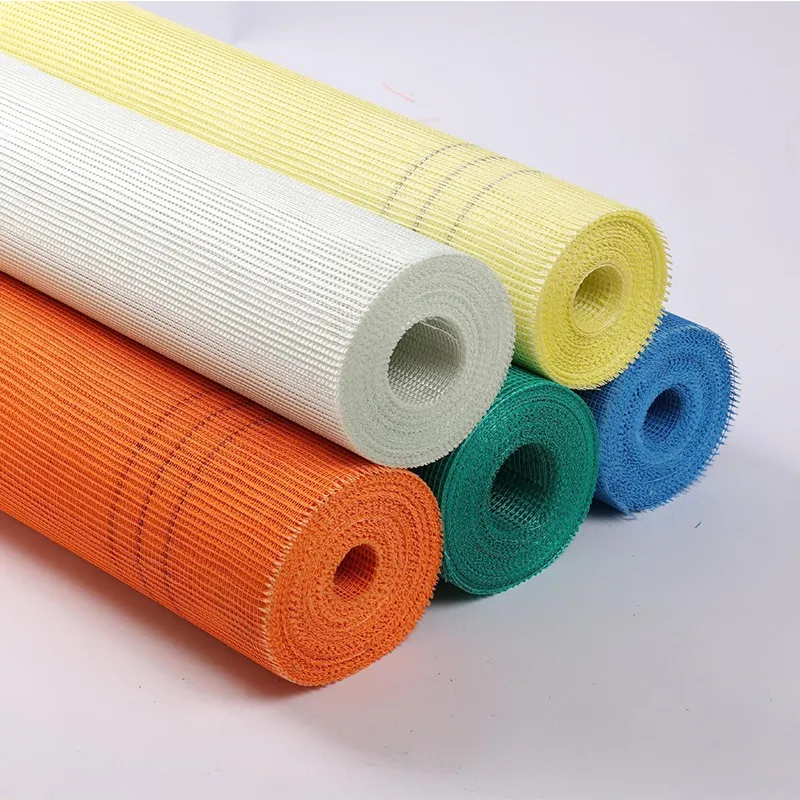
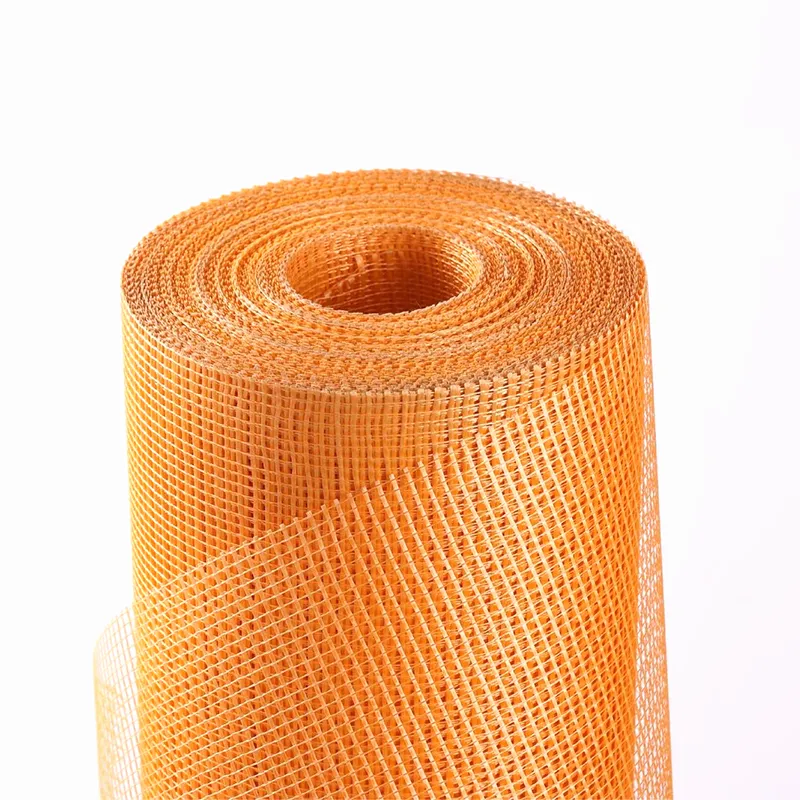
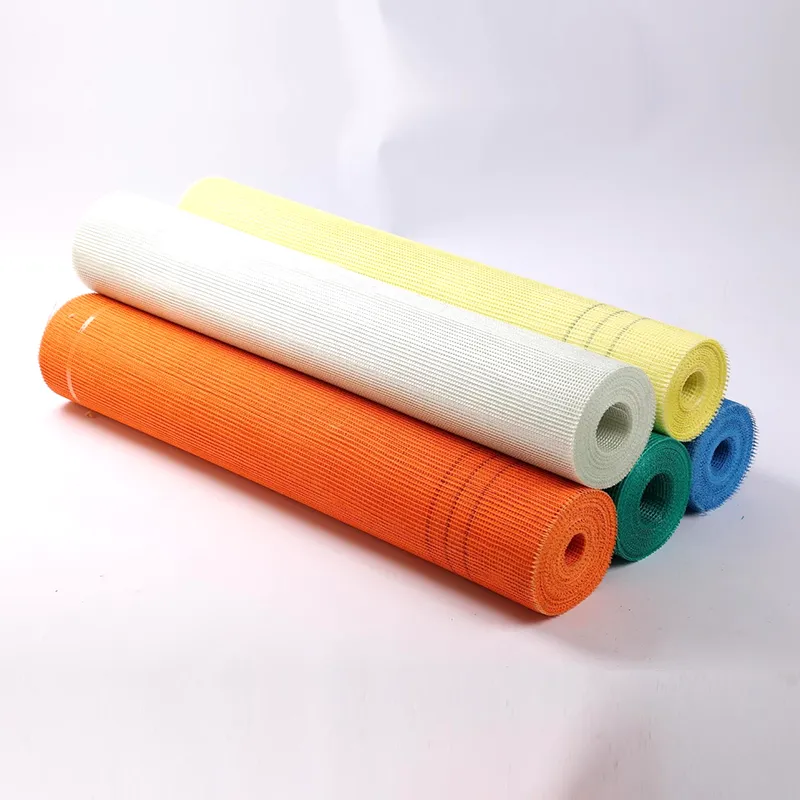
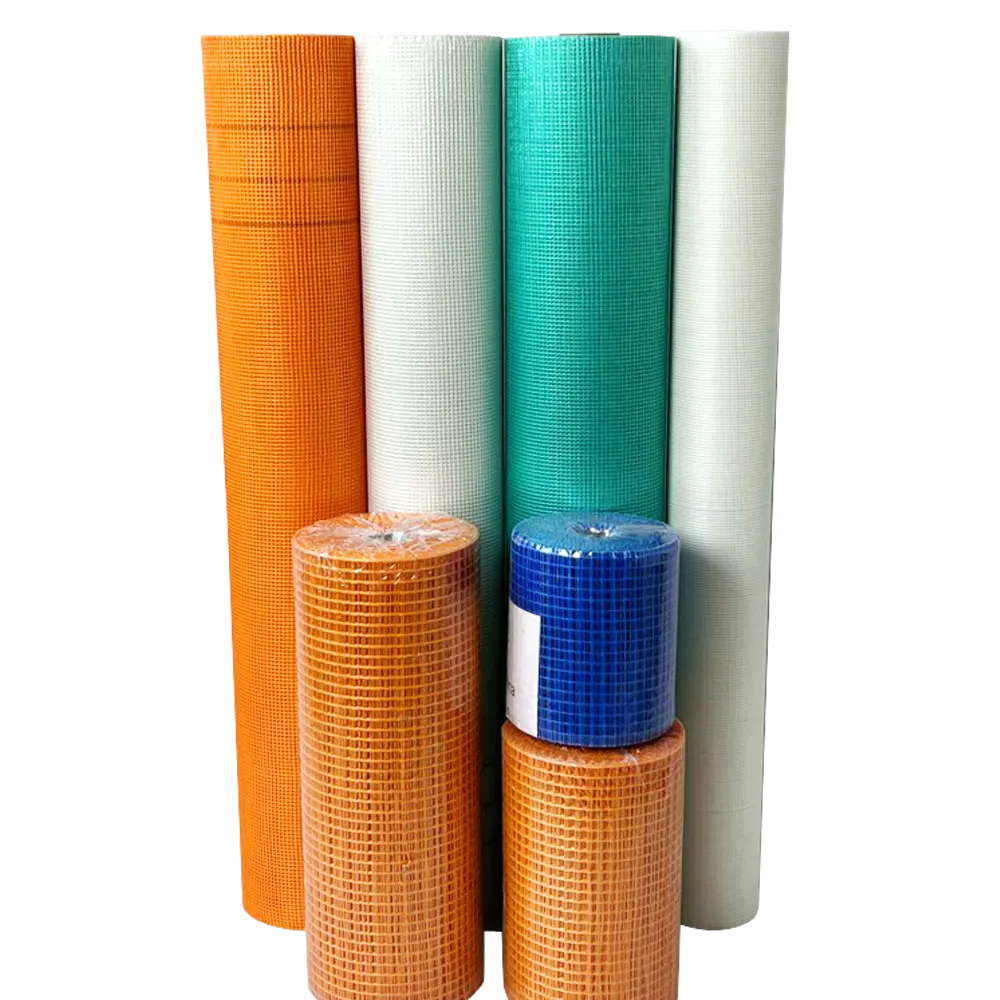
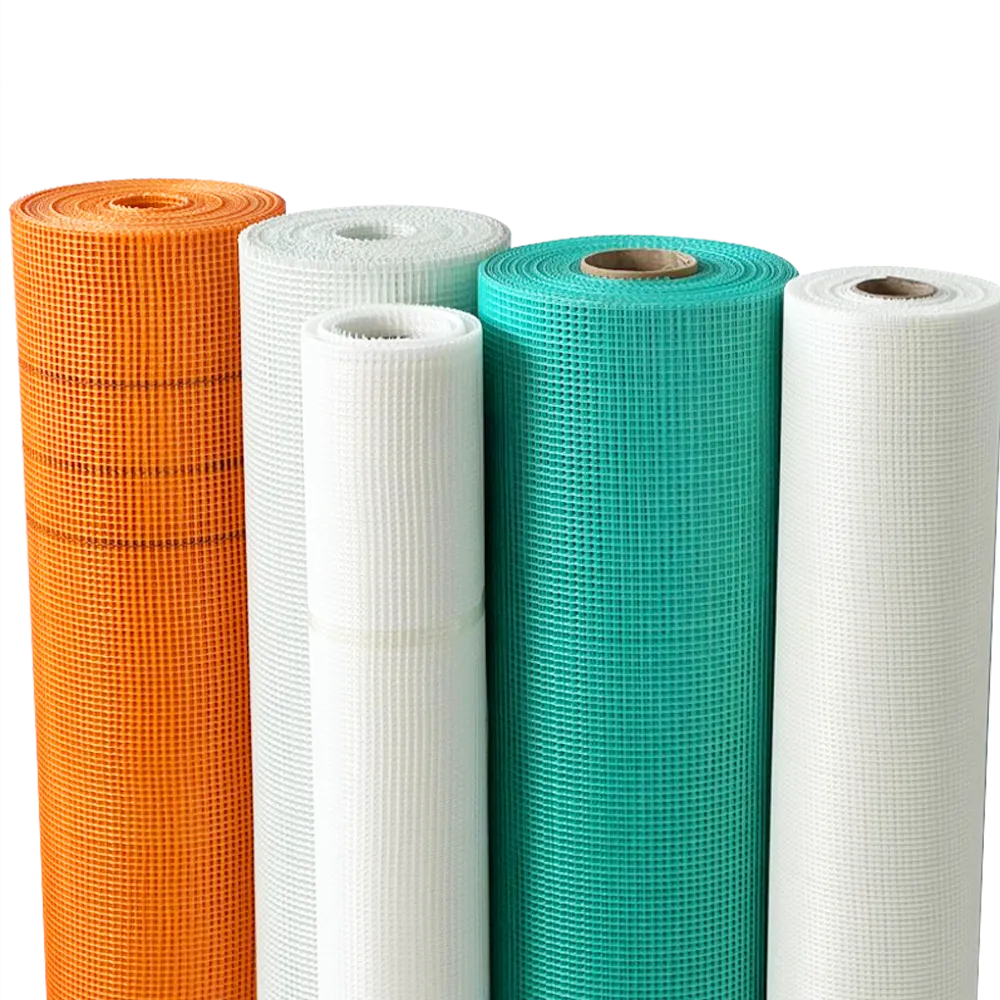
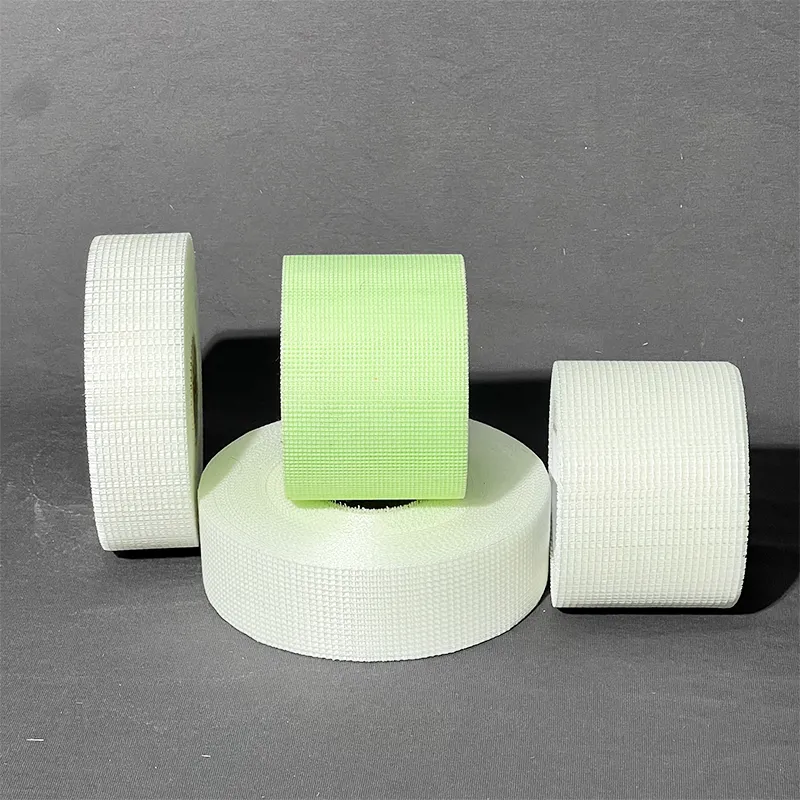
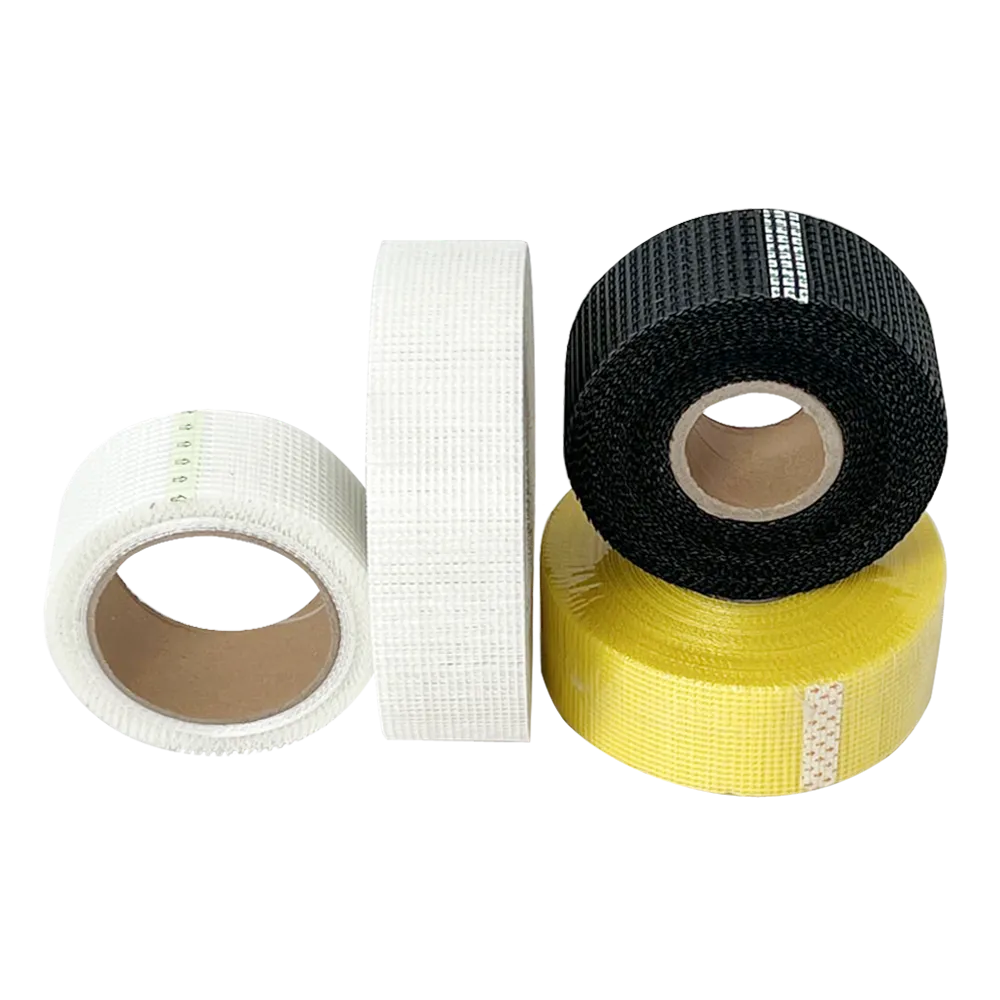
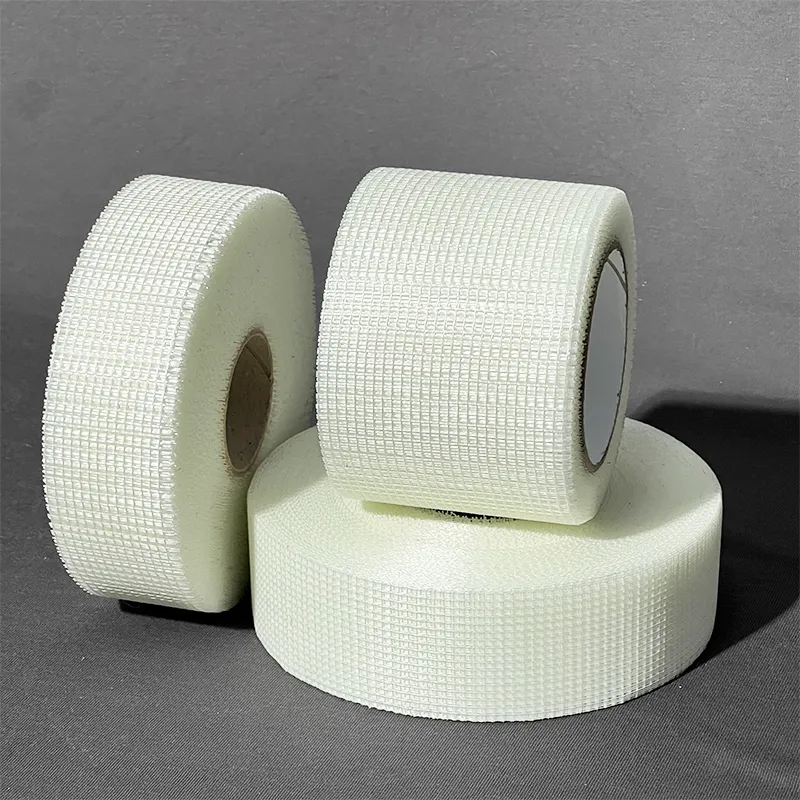
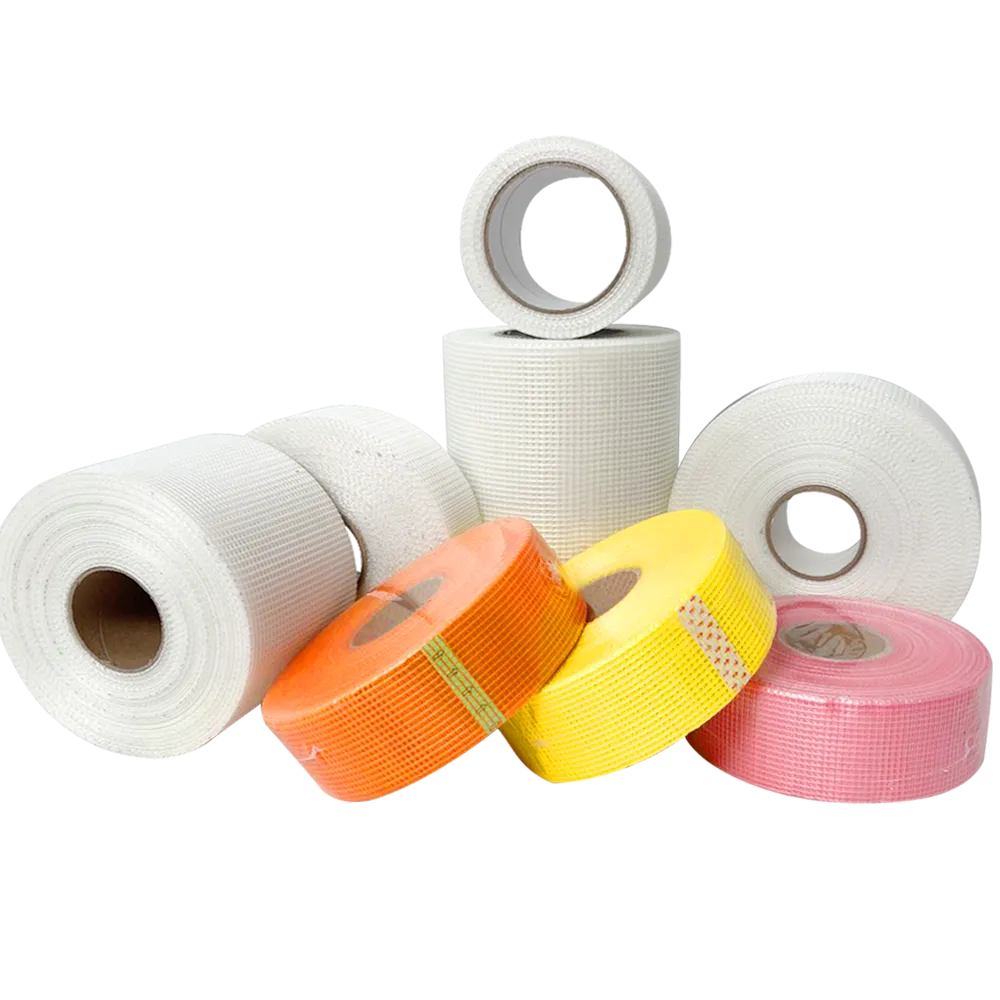
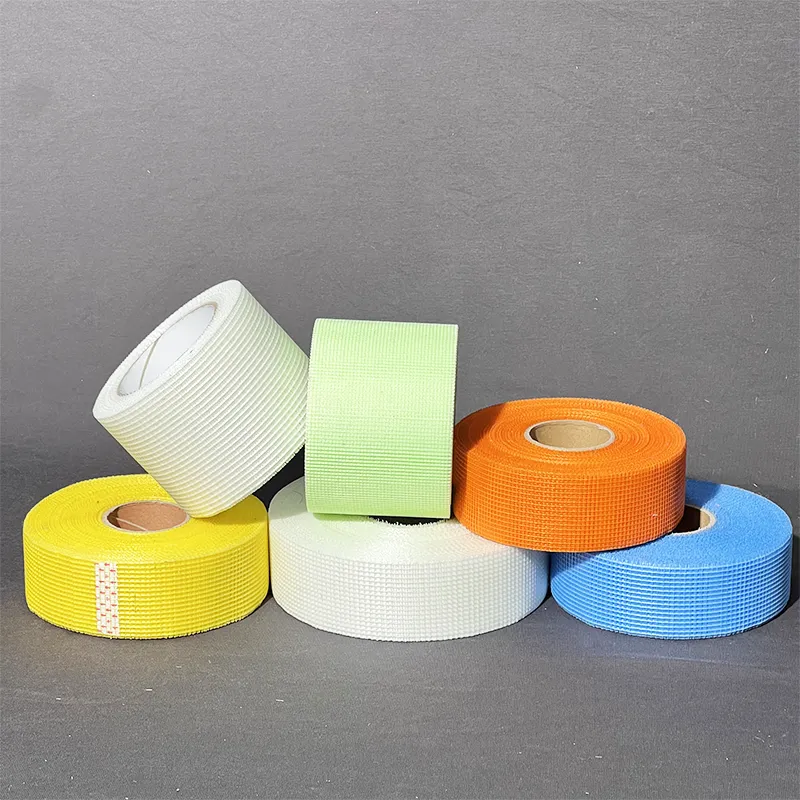
Mesh tape is a type of drywall tape made from a thin fabric mesh that is typically coated with adhesive. Unlike paper tape, which can be more challenging to work with, especially in corners and seams, mesh tape offers flexibility and strength. It is most commonly used in dry walling to bridge gaps between drywall sheets and create a seamless appearance once the joint compound is applied and finished.
Advantages of Mesh Tape
1. Stronger Bond Mesh tape is known for its strong adhesive properties, which can create a reliable bond on various surfaces. This is particularly useful for ceilings, where gravity can pose challenges during installation.
2. Crack Resistance One of the most significant benefits of using mesh tape in ceiling applications is its ability to resist cracking over time. This is particularly important in areas exposed to temperature fluctuations or movement.
3. Ease of Use Mesh tape is incredibly easy to work with, making it an excellent choice for both professional contractors and DIY enthusiasts. Its flexibility helps in forming around corners and edges, facilitating a smooth installation process.
4. Better Coverage The open mesh design allows for better penetration of the joint compound, resulting in a stronger and more uniform application. This ensures that even small gaps are adequately filled, reducing the risk of visible seams.
5. Quick Drying When used with setting-type joint compounds, mesh tape can speed up the finishing process, as these compounds tend to dry faster than regular mud. This is especially beneficial for projects with tight timelines.
How to Apply Mesh Tape in Ceiling Installations
mesh tape for ceiling
Applying mesh tape correctly is vital for achieving a seamless finish. Here’s a step-by-step guide to using mesh tape in ceiling installations
1. Prepare the Surface Ensure that the drywall joints are clean and free from dust or debris. If you have cut edges, these should be feathered out to provide a smooth surface.
2. Apply Joint Compound Use a taping knife to apply a thin layer of joint compound over the seams. The layer should be about as wide as the mesh tape. This initial layer will serve as the adhesive bed for the tape.
3. Place the Mesh Tape Carefully place the mesh tape over the wet joint compound. Press it down gently to ensure that it adheres well. Be cautious not to stretch it, as this can lead to uneven surfaces.
4. Embed the Tape Use the taping knife to apply another layer of joint compound over the mesh tape. Be sure to embed the tape well, ensuring that no air bubbles or gaps remain. Feather the edges to avoid a ridge that will need extra sanding later.
5. Let it Dry Allow the joint compound to dry thoroughly. Depending on environmental conditions, this may take a few hours or longer, especially if you've used a thicker application.
6. Sand and Finish Once the compound is dry, use sandpaper to lightly sand the area smooth. Then, apply additional coats of joint compound as necessary, sanding between each coat until you achieve a smooth, even surface.
7. Prime and Paint After finishing, it’s essential to prime and paint the ceiling. This not only enhances the appearance but also adds a protective layer that helps to seal the joint and prevent moisture issues.
Conclusion
Mesh tape is an invaluable component in drywall and ceiling projects, providing strength, durability, and ease of use. By understanding how to apply it correctly, you can ensure a professional-looking finish that will stand the test of time. Whether you’re a seasoned contractor or tackling a DIY project at home, mesh tape will help you achieve the results you desire in your ceiling installations.
-
The Ultimate Guide to Fiberglass mesh Tape for Drywall and Joint ApplicationsNewsJul.18,2025
-
The Ultimate Guide to Alkali Resistant Drywall Joint Tape: Types, Benefits, and ApplicationsNewsJul.18,2025
-
The Essential Guide to Fiberglass Mesh Tape: Uses, Benefits, and ApplicationsNewsJul.18,2025
-
The Complete Guide to PVC Corner Beads with fiberglass Mesh for Plastering and Drywall ProjectsNewsJul.18,2025
-
A Comprehensive Guide to fiber glass Yarns: Understanding Roving, C, and E Glass FibersNewsJul.18,2025
-
A Complete Guide to Fiberglass mesh Tape for Drywall, Cement Board, and Wall CracksNewsJul.18,2025
