Dec . 04, 2024 18:56 Back to list
mesh spackle tape
Understanding Mesh Spackle Tape A Guide for DIY Enthusiasts
When it comes to home repairs and renovations, having the right materials can significantly influence the outcome of your project. Among these materials, mesh spackle tape has emerged as a popular choice for both DIY enthusiasts and professional contractors. This versatile product offers numerous advantages and is essential for achieving a smooth finish on drywall repairs. In this article, we will delve into the details of mesh spackle tape, its application, benefits, and some tips for getting the best results.
What is Mesh Spackle Tape?
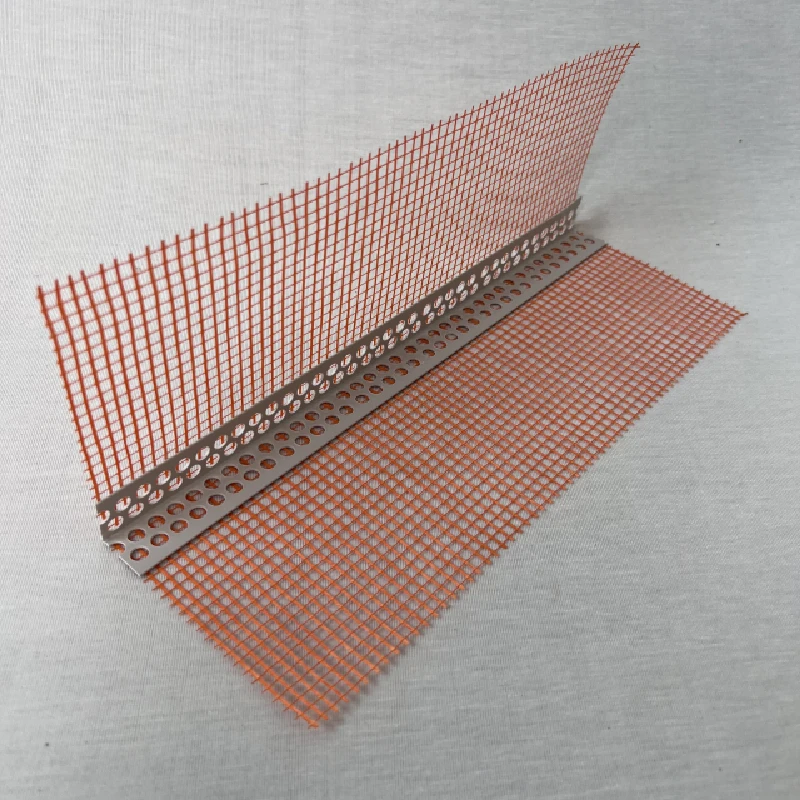
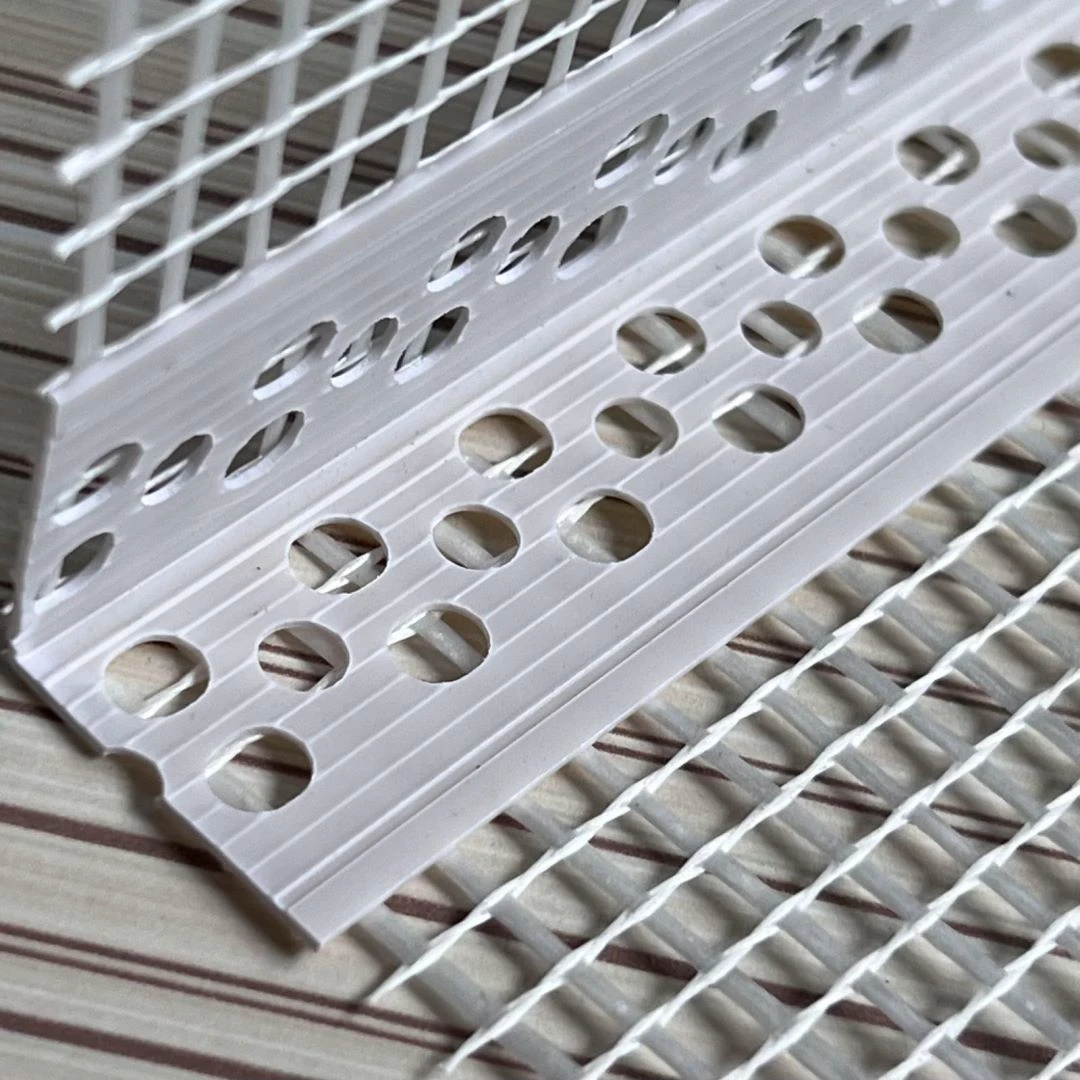
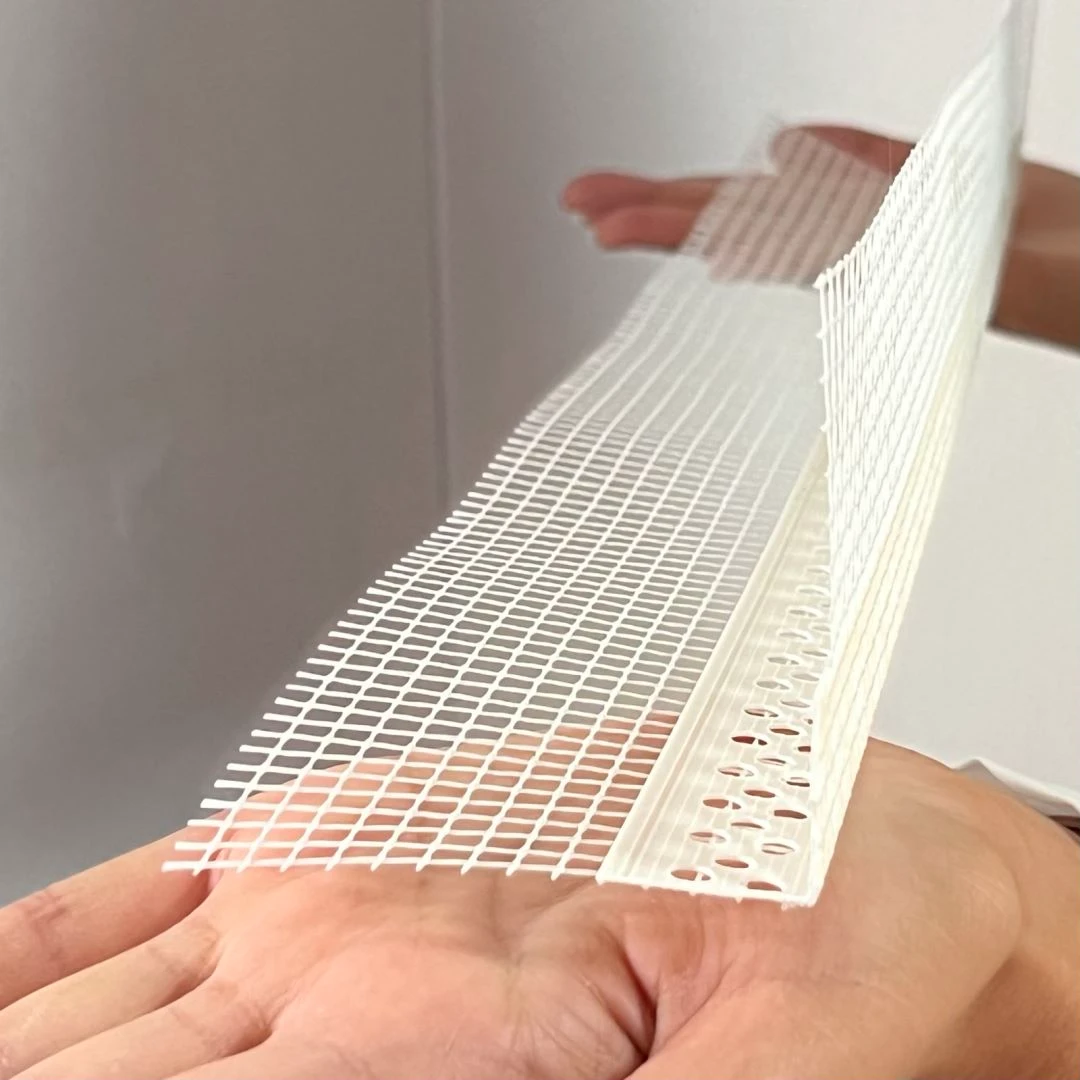
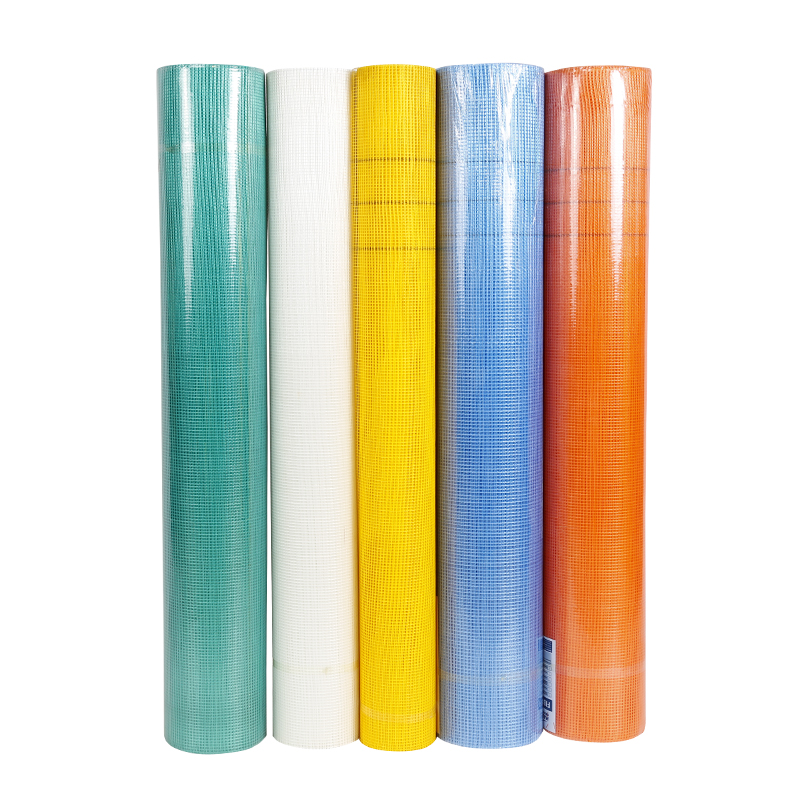
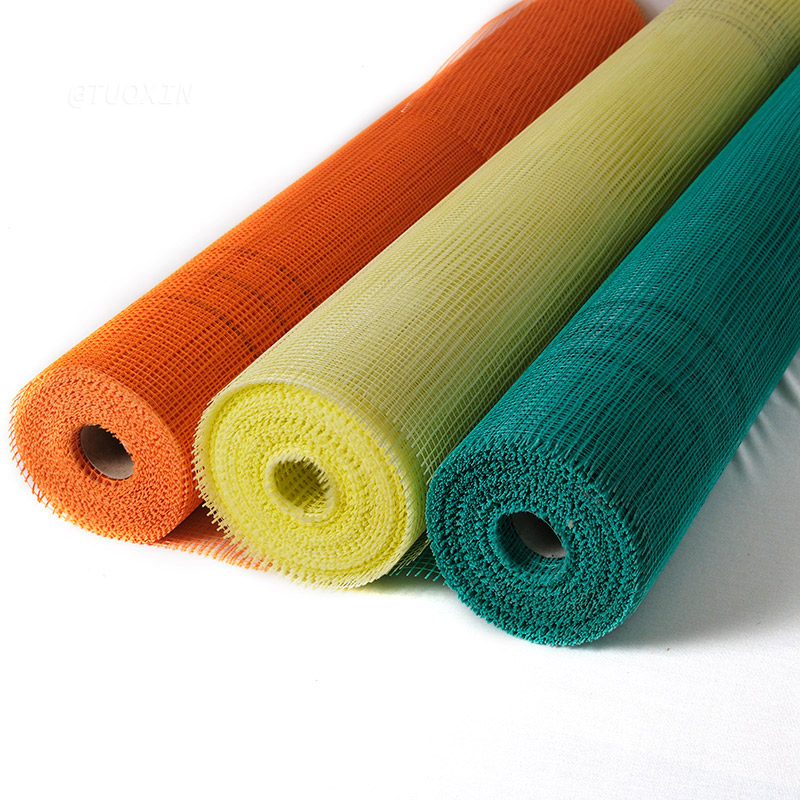
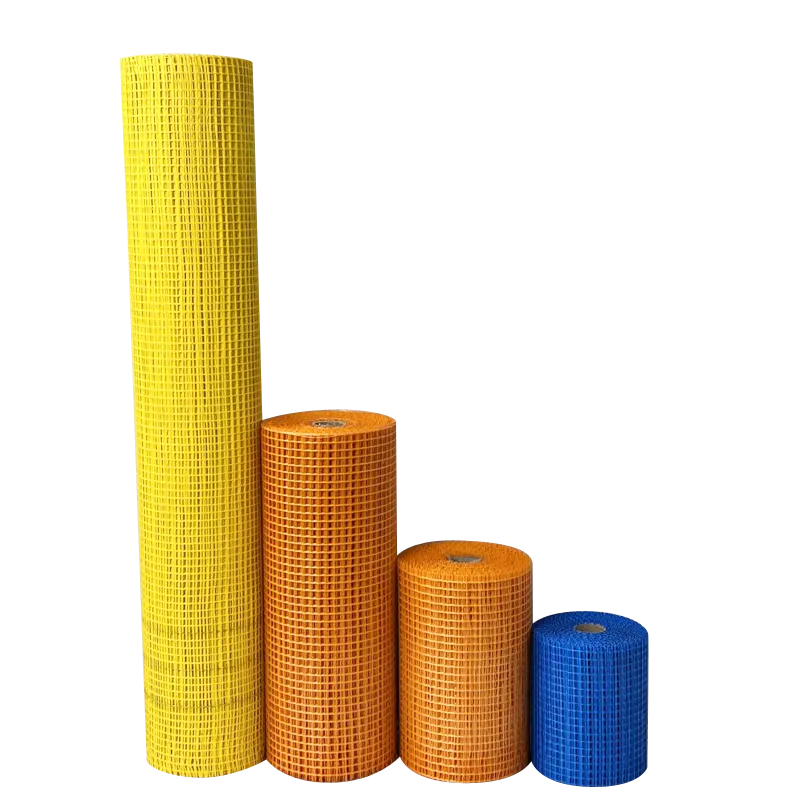
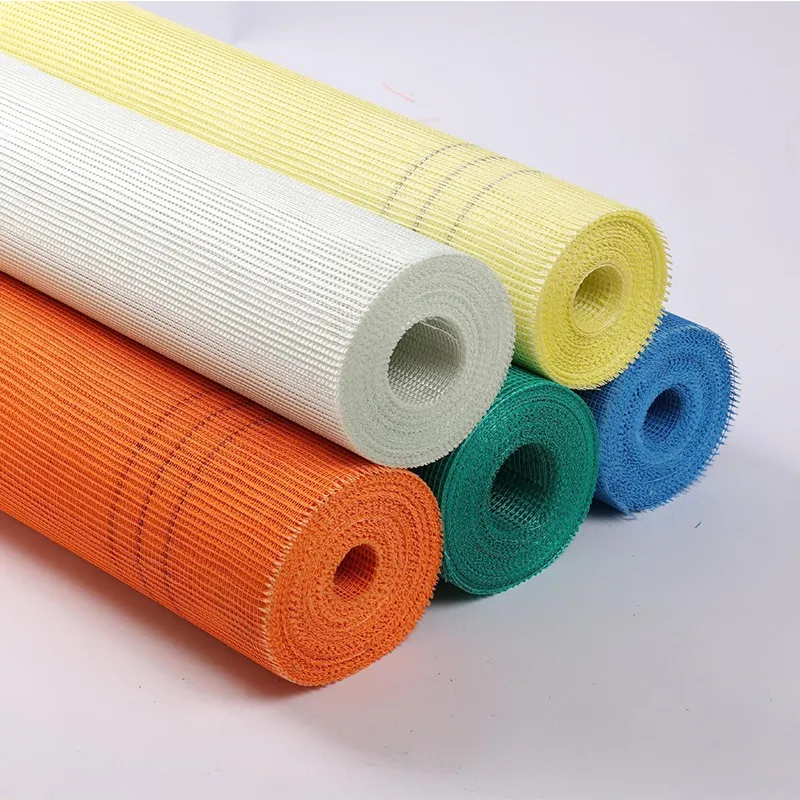
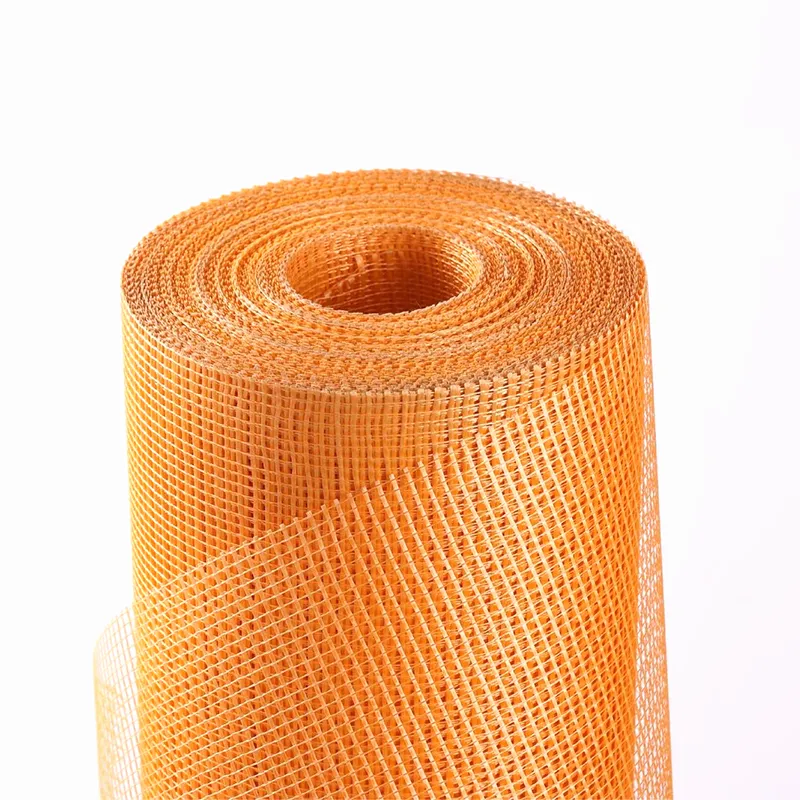
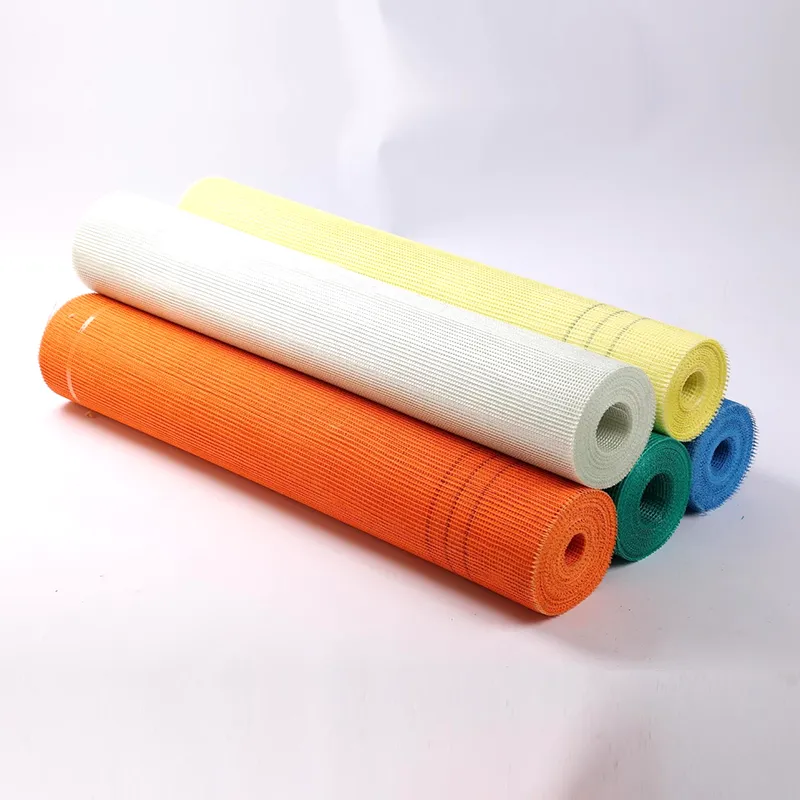
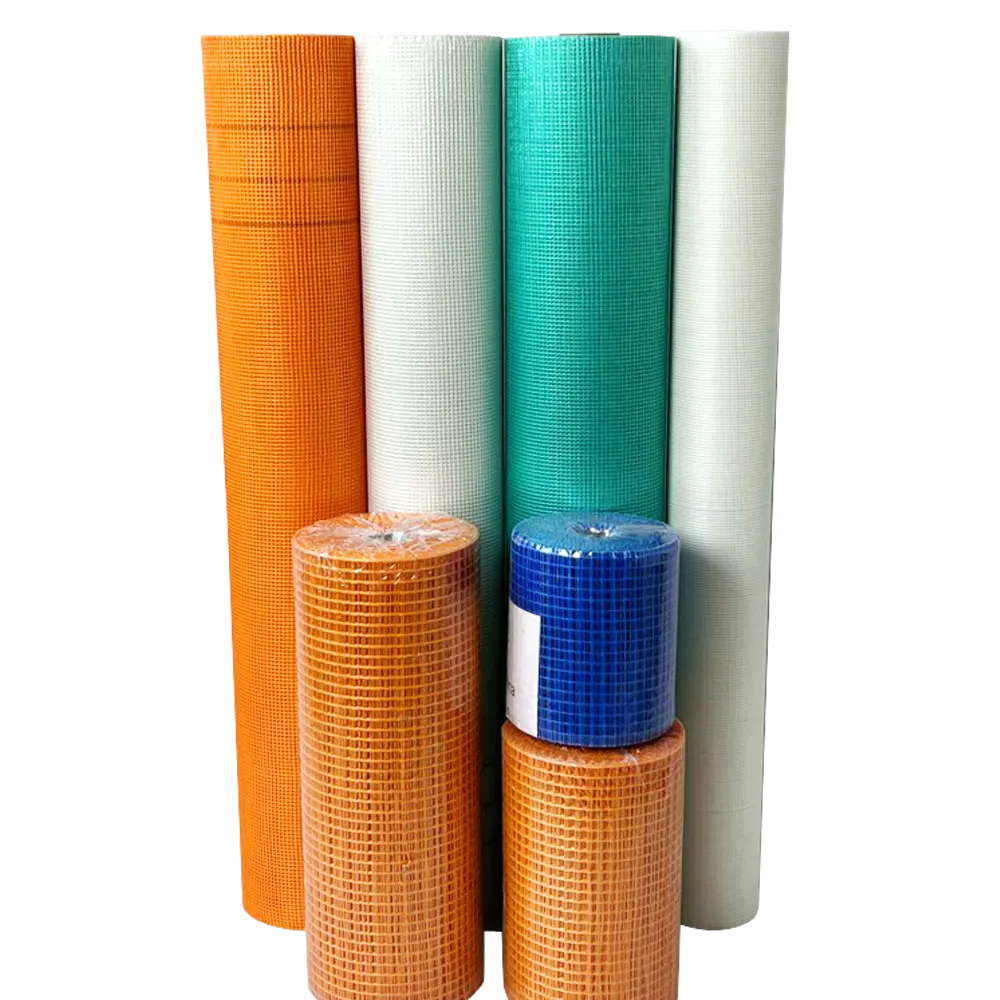
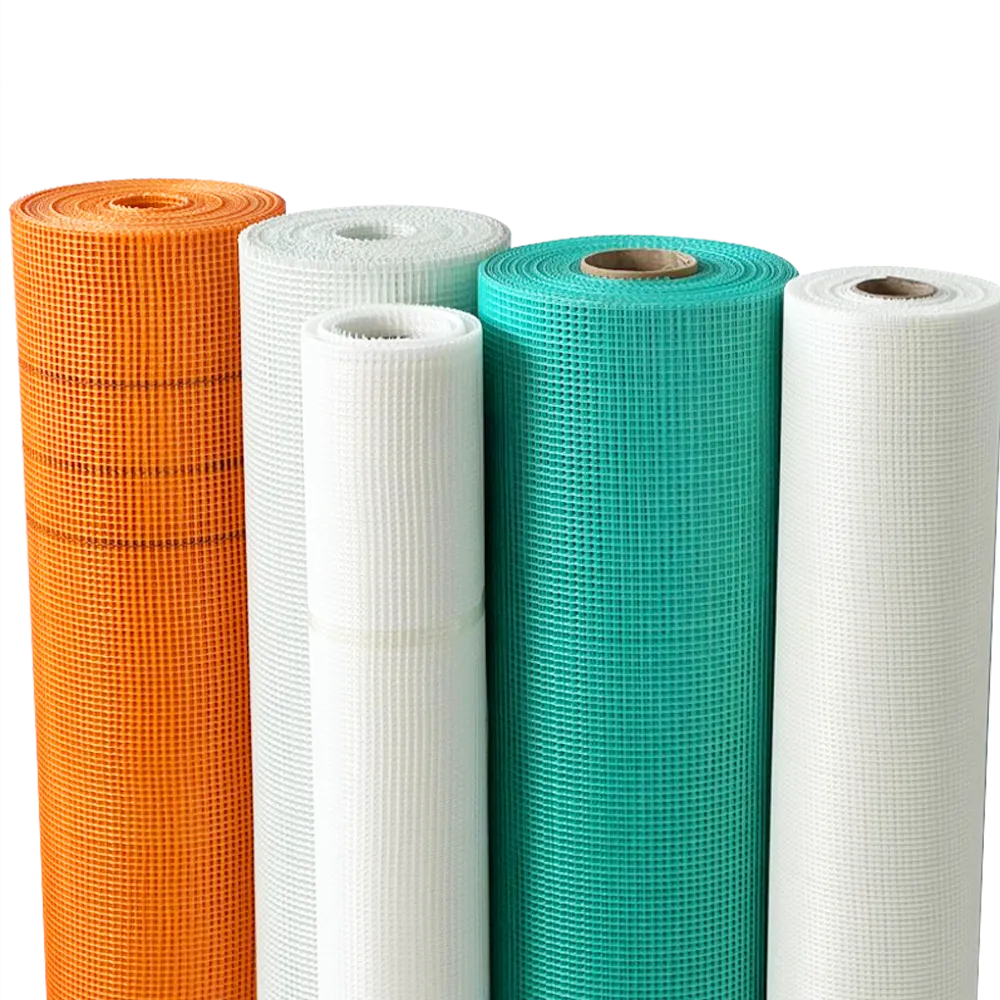
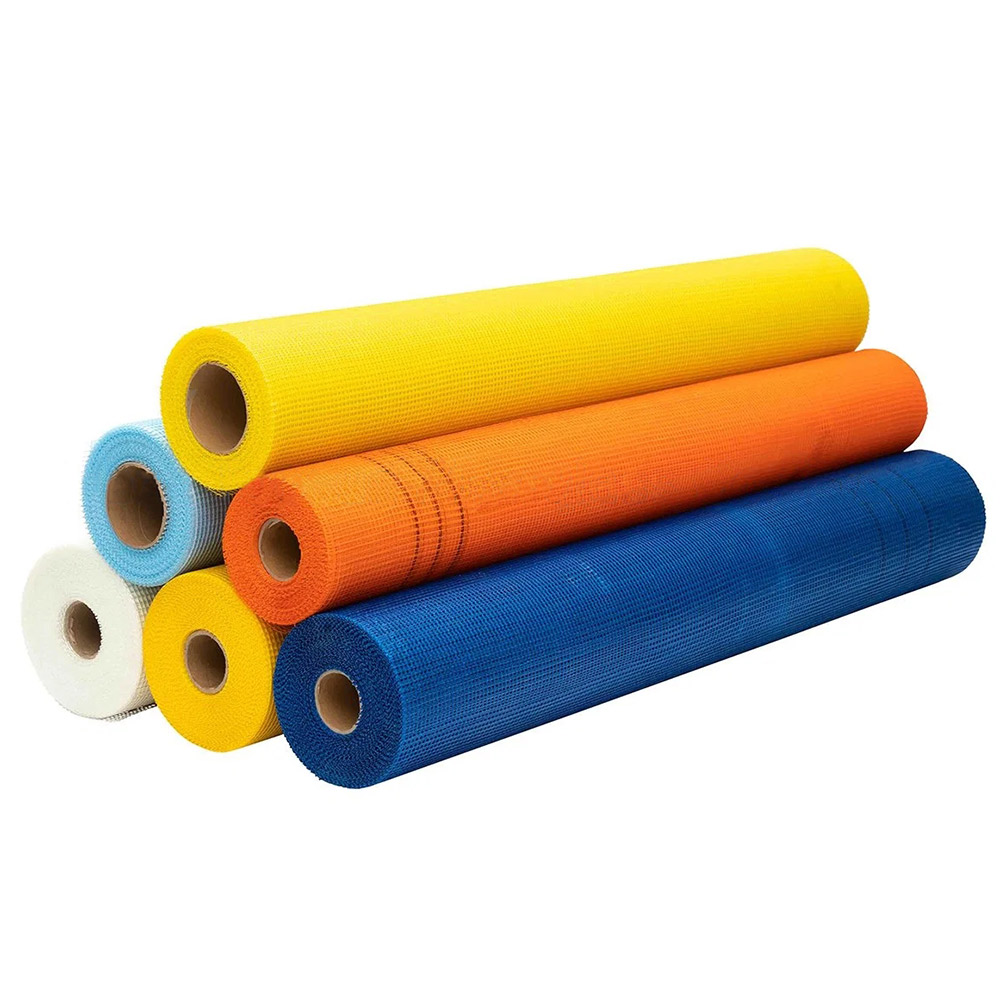
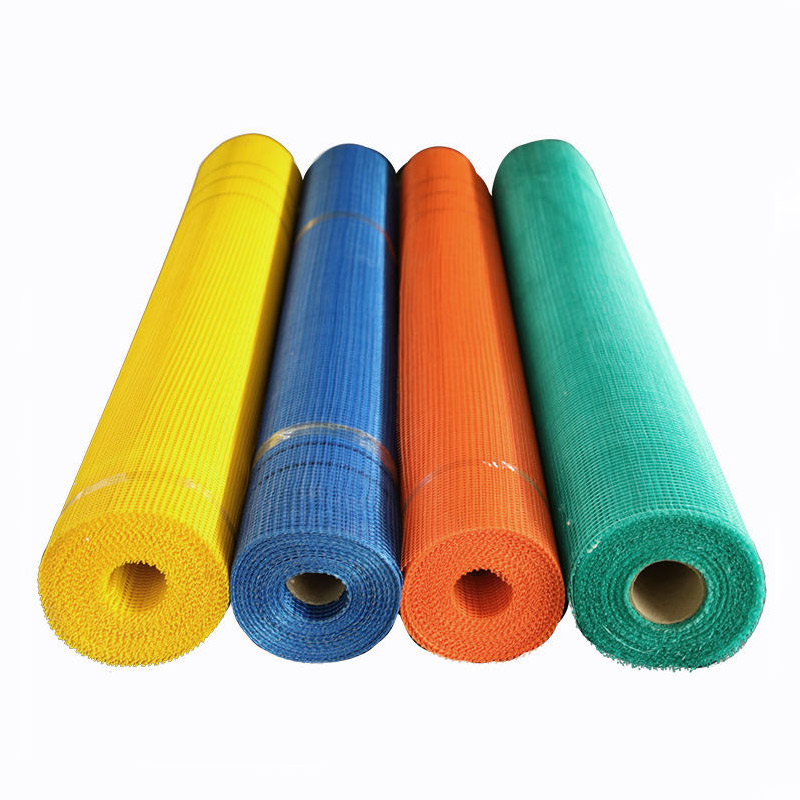
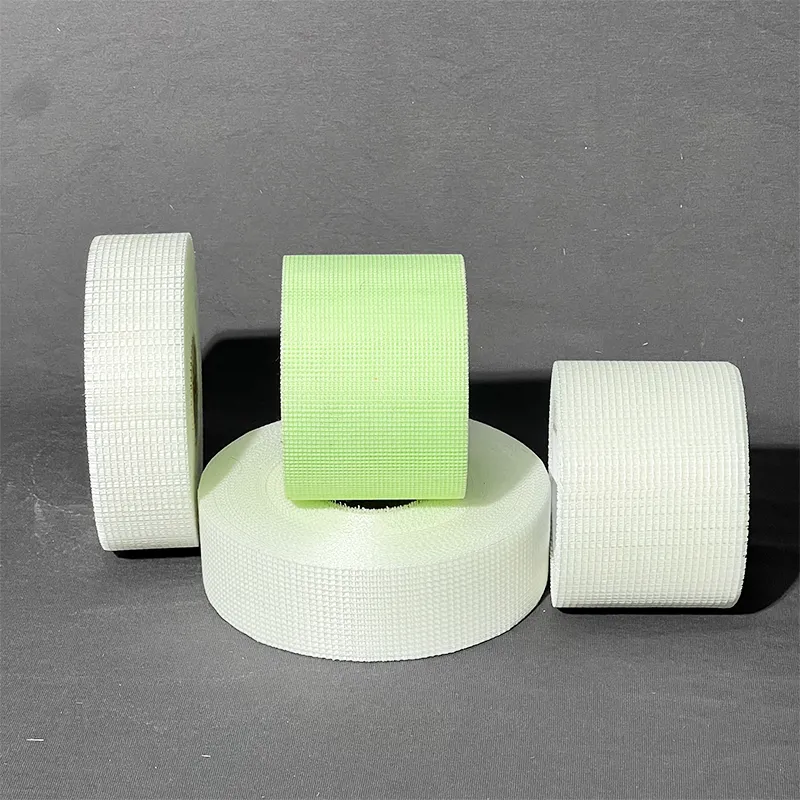
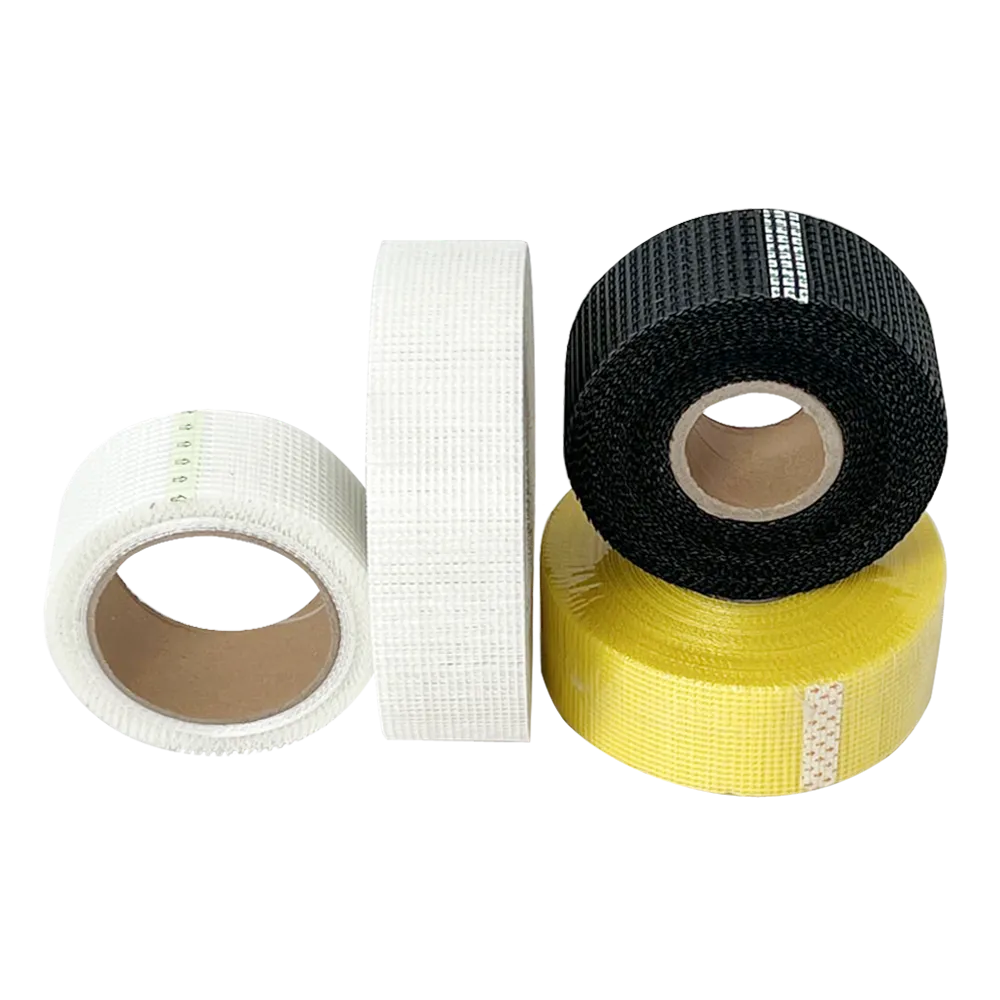
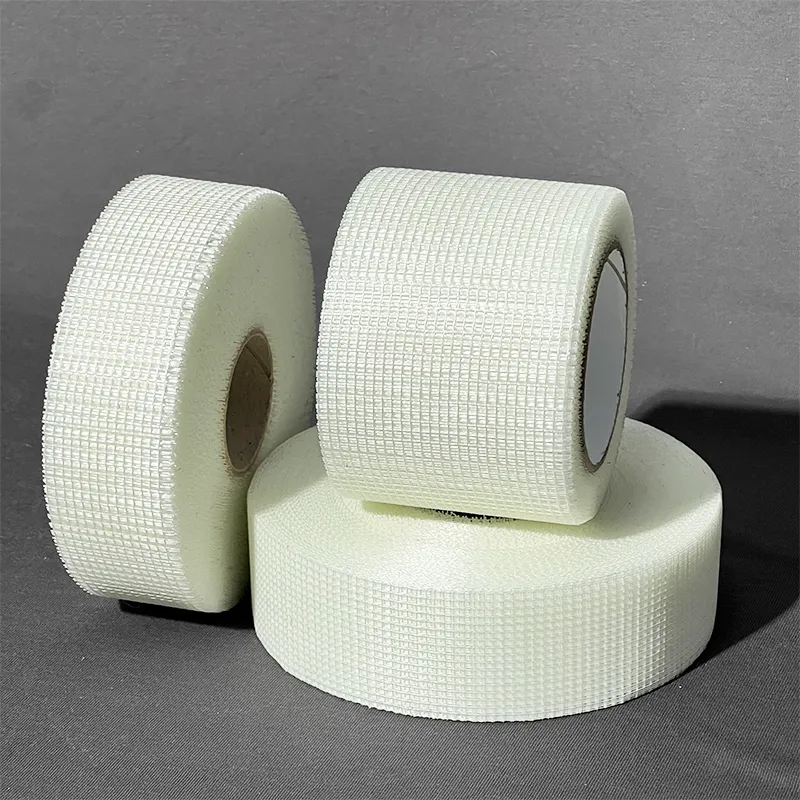
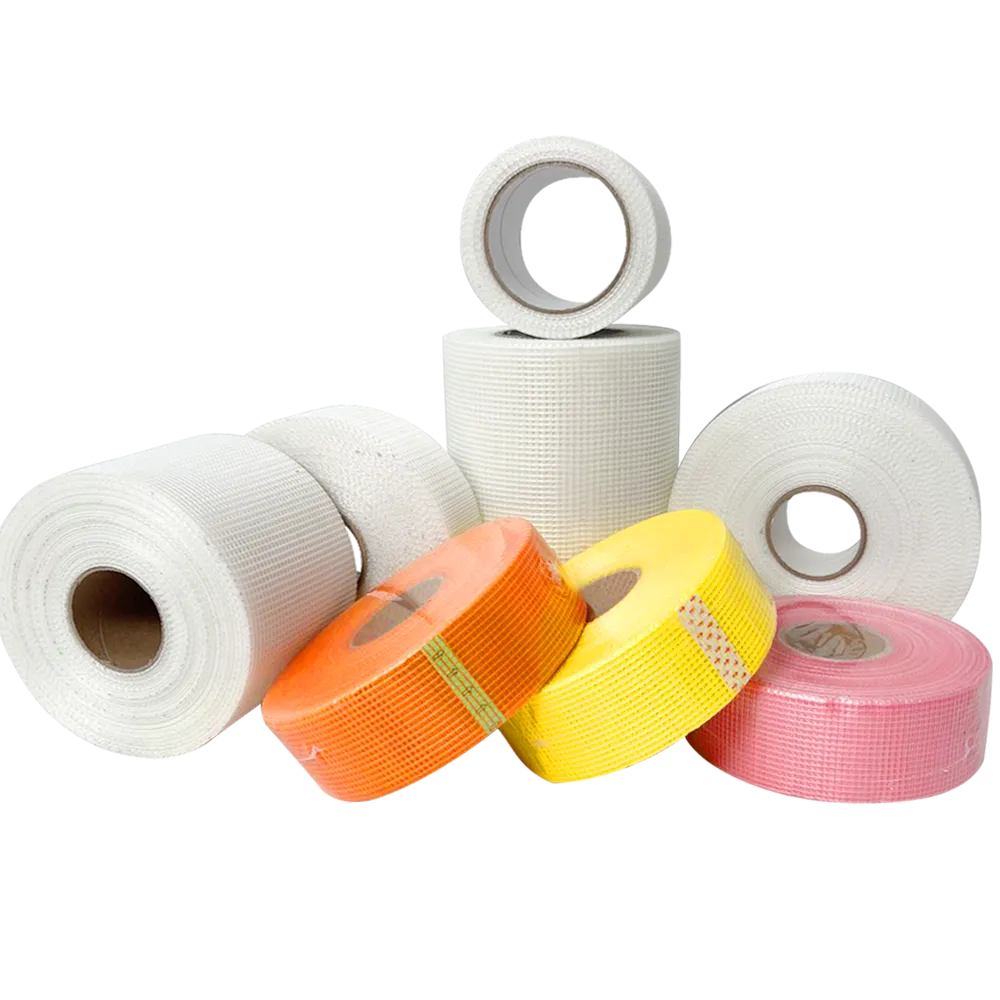
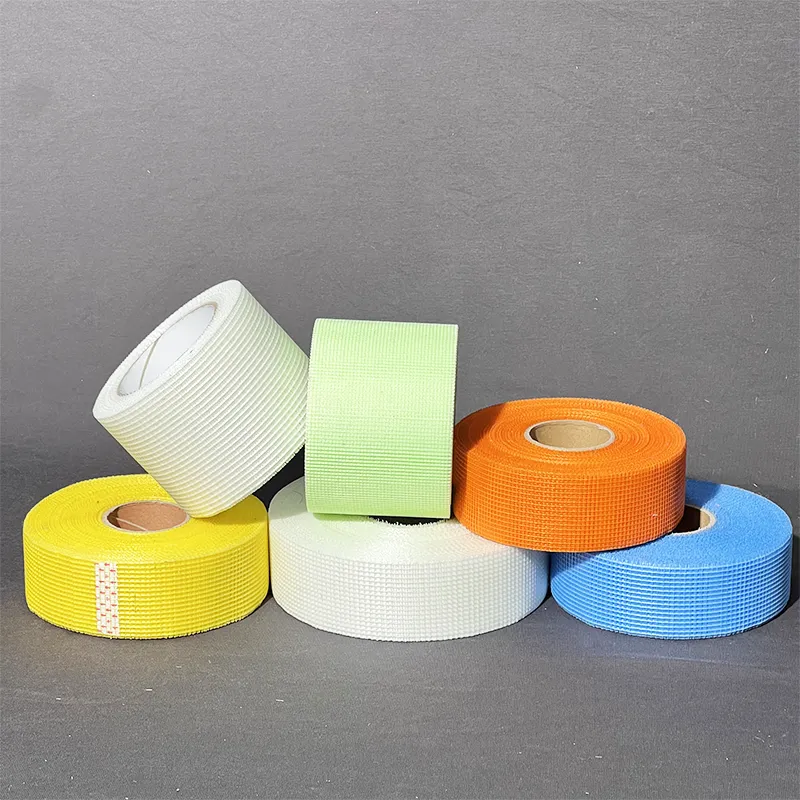
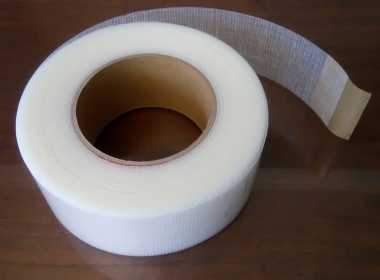
Mesh spackle tape is a self-adhesive tape made from a fiberglass mesh material. It is specifically designed for reinforcing joints and seams in drywall installations. Unlike paper tape, which is commonly used in drywall finishing, mesh tape provides more strength and is less prone to cracking over time. Its design allows for easy spanning over joint areas or holes, providing a stable base for applying joint compound or spackle.
How to Use Mesh Spackle Tape
Using mesh spackle tape is relatively straightforward, making it an ideal choice for beginners
. Here’s a step-by-step guide to applying it effectively1. Prepare the Surface Ensure the area to be repaired is clean and free of debris. If you're working on a hole or a crack, clean the edges to create a smooth surface for adhesion.
2. Apply the Tape Cut a piece of mesh tape to the desired length. Starting at one end of the repair area, press the tape onto the surface. The adhesive backing will help it stick firmly, and you can use your fingers to smooth it down and eliminate any air bubbles.
3. Add Joint Compound Once the tape is applied, cover it with joint compound using a putty knife. Spread the compound evenly, feathering it out onto the surrounding surface to create a smooth transition.
mesh spackle tape
4. Dry and Sand Allow the compound to dry completely before sanding it down. Once dry, lightly sand the area to achieve a smooth finish. You may need to apply a second or even a third coat of joint compound, repeating the drying and sanding process until you achieve the desired smoothness.
5. Final Touches After sanding, wipe away any dust and inspect the surface. If necessary, you can apply another layer of joint compound or proceed to paint the area to match the surrounding wall.
Benefits of Mesh Spackle Tape
One of the significant advantages of mesh spackle tape is its strength. The fiberglass mesh provides a more durable and flexible support compared to traditional paper tape, reducing the likelihood of cracks forming over time. Moreover, the self-adhesive nature of mesh tape eliminates the need for additional adhesives, making the application process simpler and more efficient.
Another benefit is its mold resistance. Many mesh tapes are designed to be moisture-resistant, making them suitable for use in bathrooms or kitchens where humidity might be a concern.
Tips for a Successful Application
To ensure the best results when using mesh spackle tape, consider the following tips
- Use the Right Tools Invest in a good quality putty knife and sanding block for applying and finishing the joint compound. - Don’t Rush the Drying Process Ensure each layer of the joint compound dries thoroughly before applying the next. This prevents smudging and allows for a smoother finish. - Feather Edges When applying joint compound, feather out the edges to ensure a seamless transition between the repaired area and the surrounding wall.
In conclusion, mesh spackle tape is an invaluable tool for anyone looking to tackle drywall repairs effectively. With its ease of use, strength, and resistance to cracking, it offers a reliable solution for achieving professional-looking results in home projects. Whether you are patching small holes or finishing seams, incorporating mesh spackle tape into your toolkit will streamline your repair process and enhance the overall quality of your work.
-
The Ultimate Guide to Fiberglass mesh Tape for Drywall and Joint ApplicationsNewsJul.18,2025
-
The Ultimate Guide to Alkali Resistant Drywall Joint Tape: Types, Benefits, and ApplicationsNewsJul.18,2025
-
The Essential Guide to Fiberglass Mesh Tape: Uses, Benefits, and ApplicationsNewsJul.18,2025
-
The Complete Guide to PVC Corner Beads with fiberglass Mesh for Plastering and Drywall ProjectsNewsJul.18,2025
-
A Comprehensive Guide to fiber glass Yarns: Understanding Roving, C, and E Glass FibersNewsJul.18,2025
-
A Complete Guide to Fiberglass mesh Tape for Drywall, Cement Board, and Wall CracksNewsJul.18,2025
