Dec . 11, 2024 21:43 Back to list
drywall mesh tape
Understanding Drywall Mesh Tape An Essential Tool for Seamless Finishing
Drywall mesh tape is a critical component in the process of finishing drywall installations. Its primary purpose is to cover seams, joints, and repairs, ensuring a smooth and visually appealing surface ready for painting or wallpapering. This article delves into the benefits, applications, and techniques of working with drywall mesh tape, providing insights for both DIY enthusiasts and professional contractors.
What is Drywall Mesh Tape?
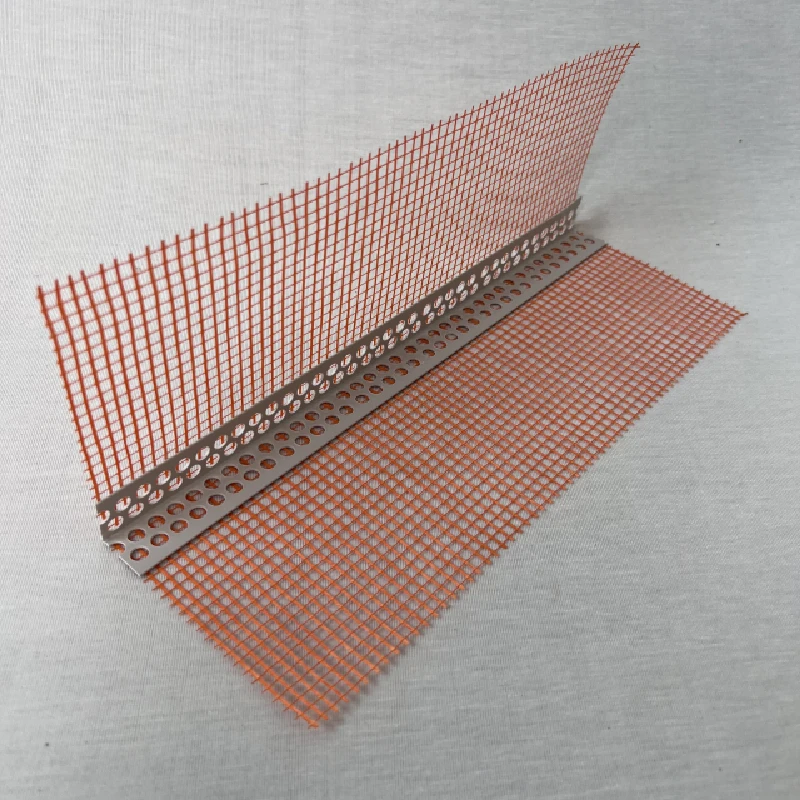
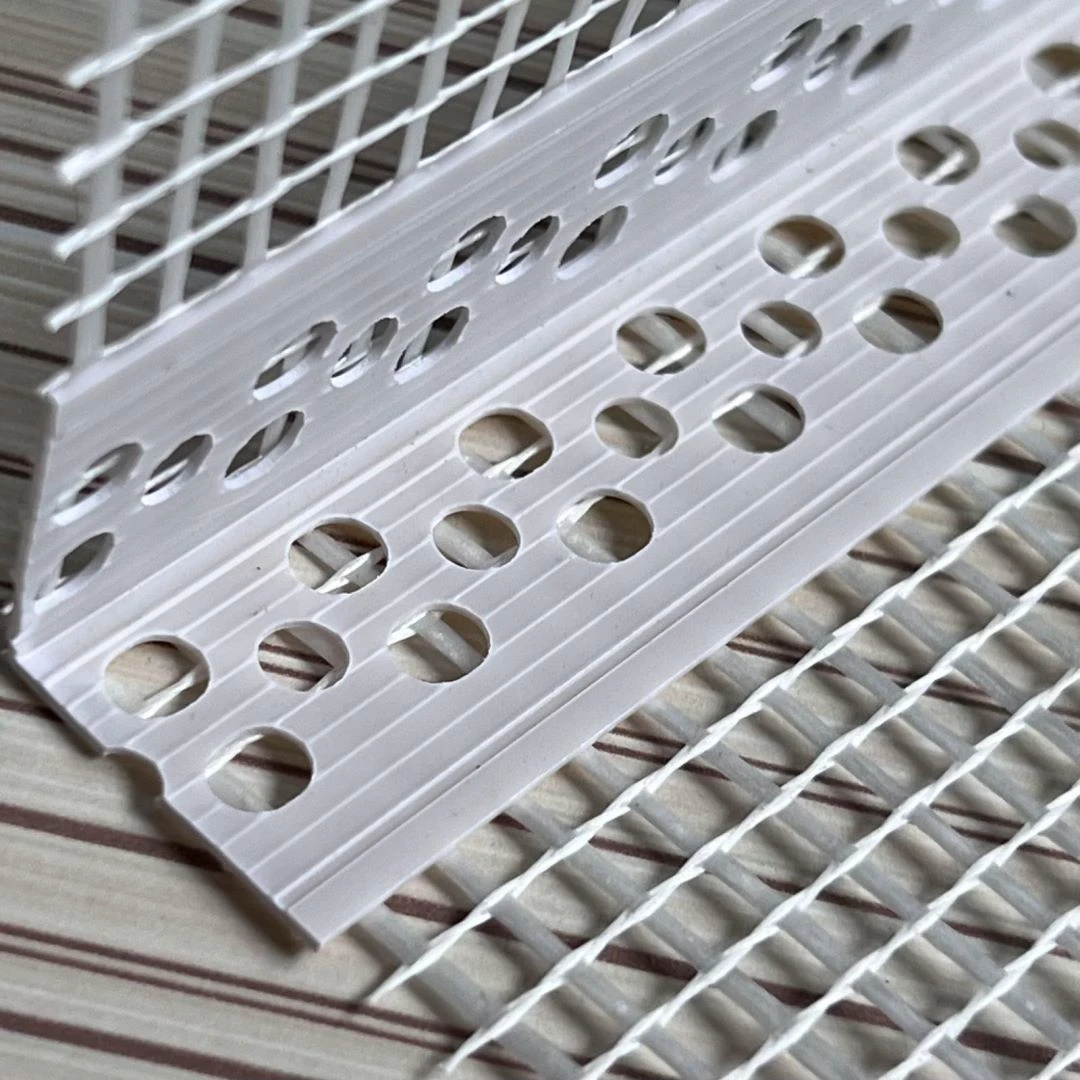
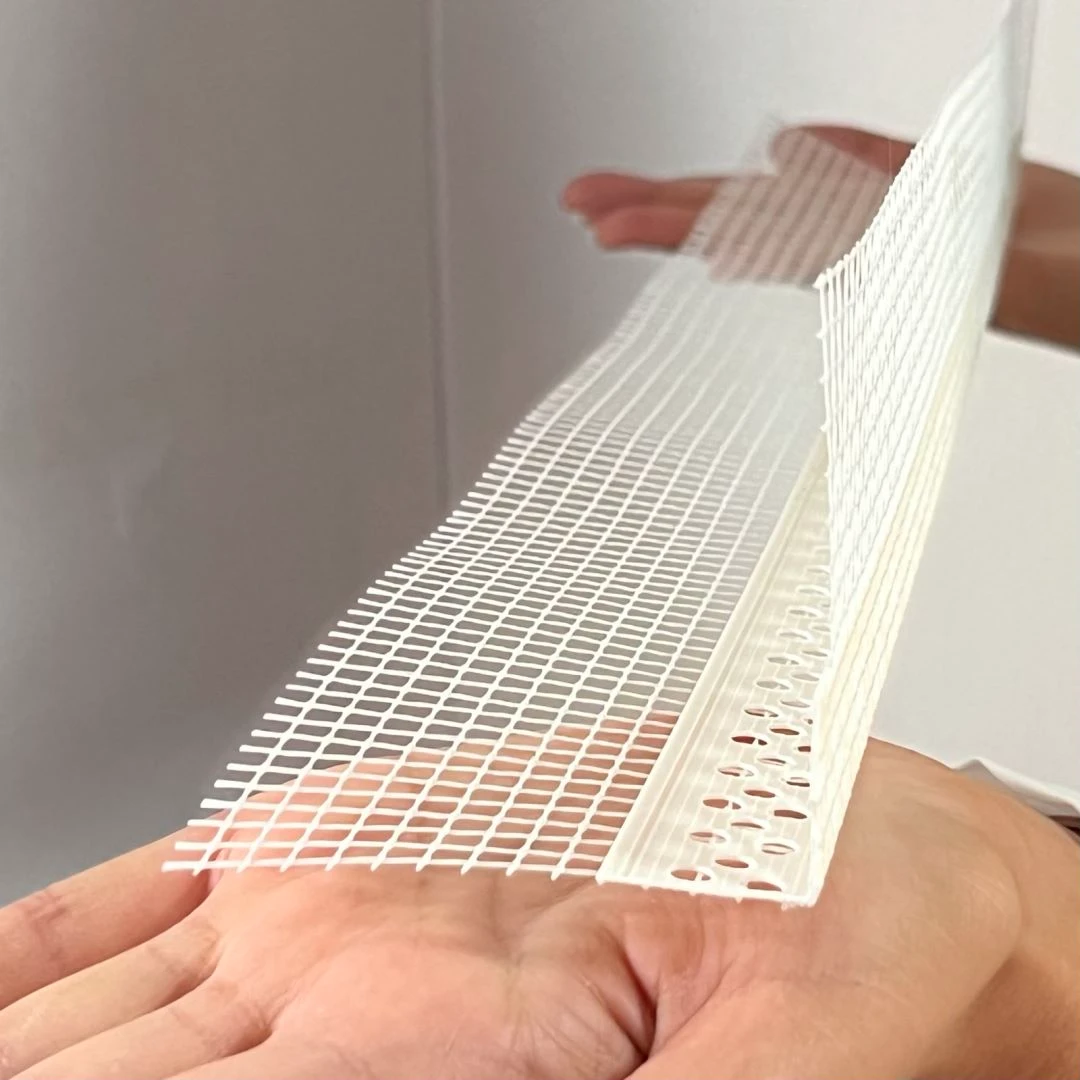
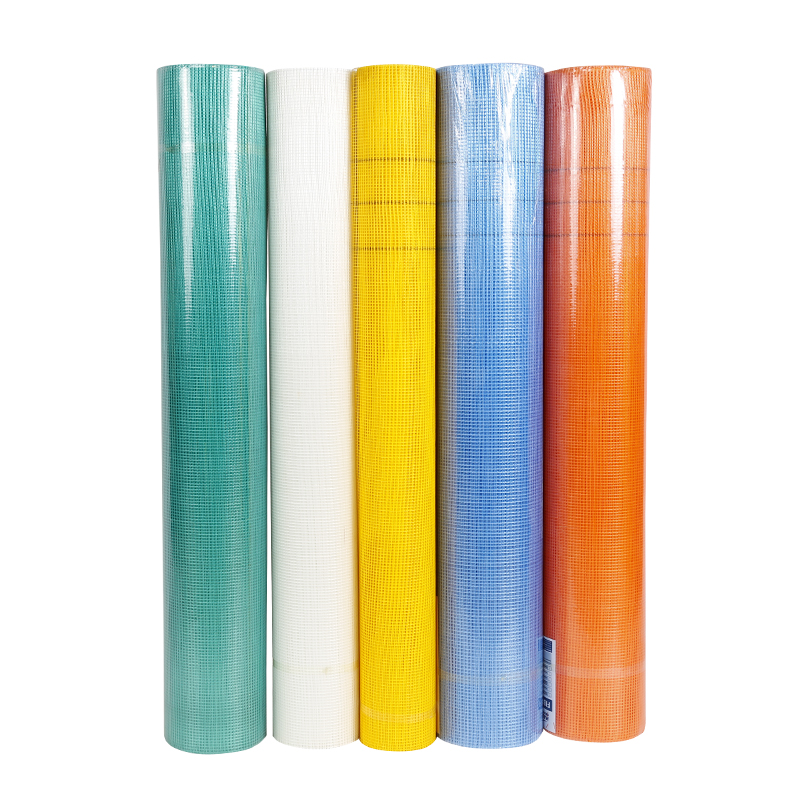
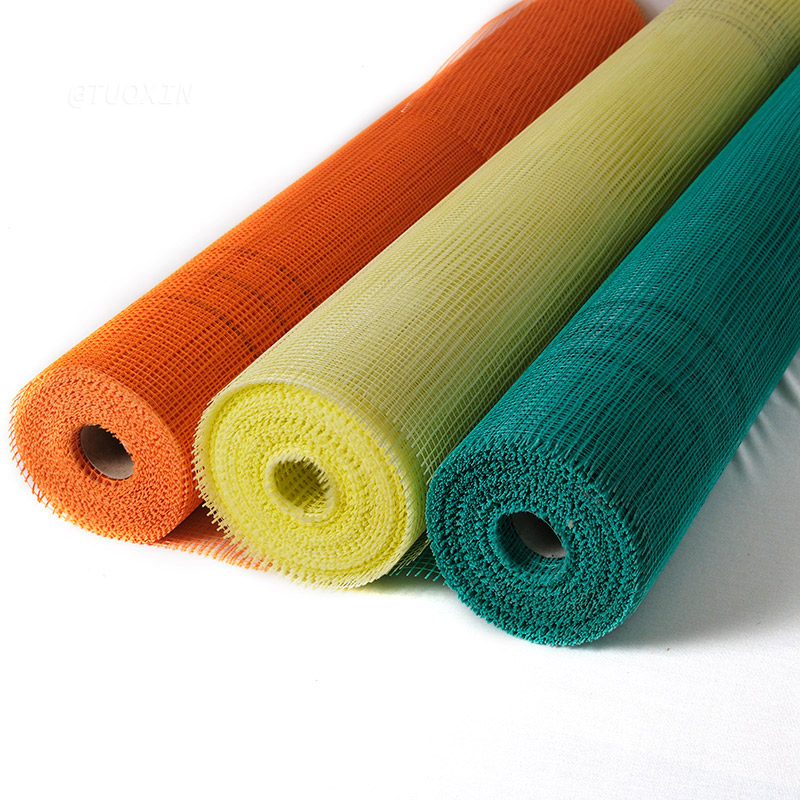
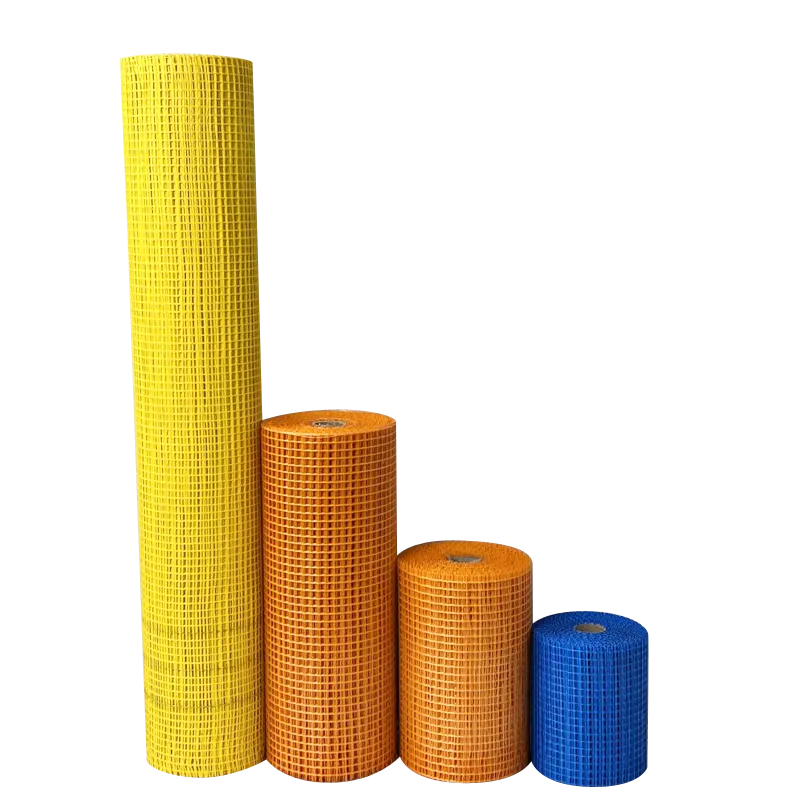
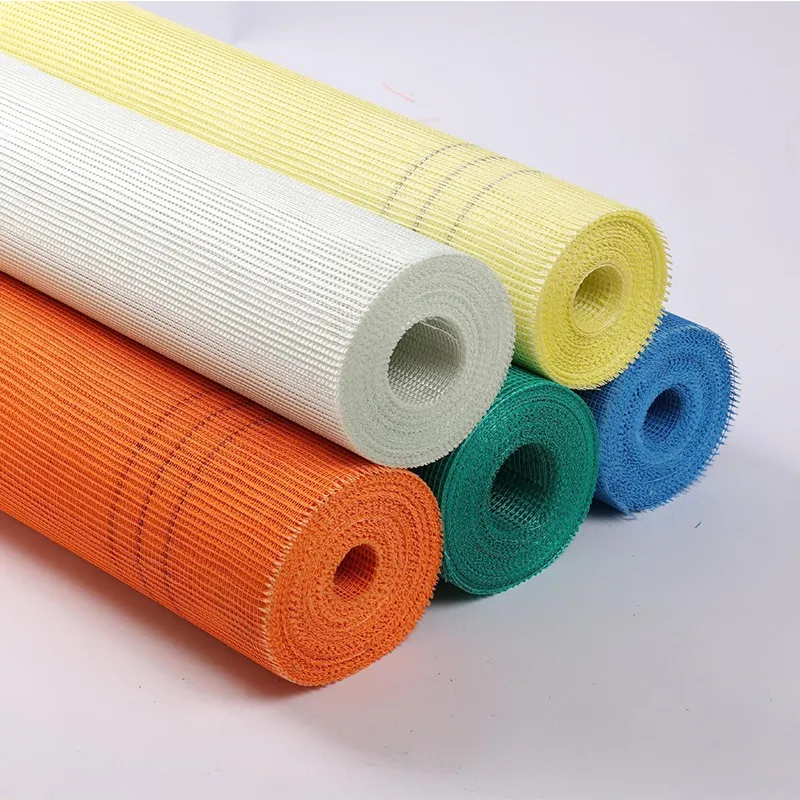
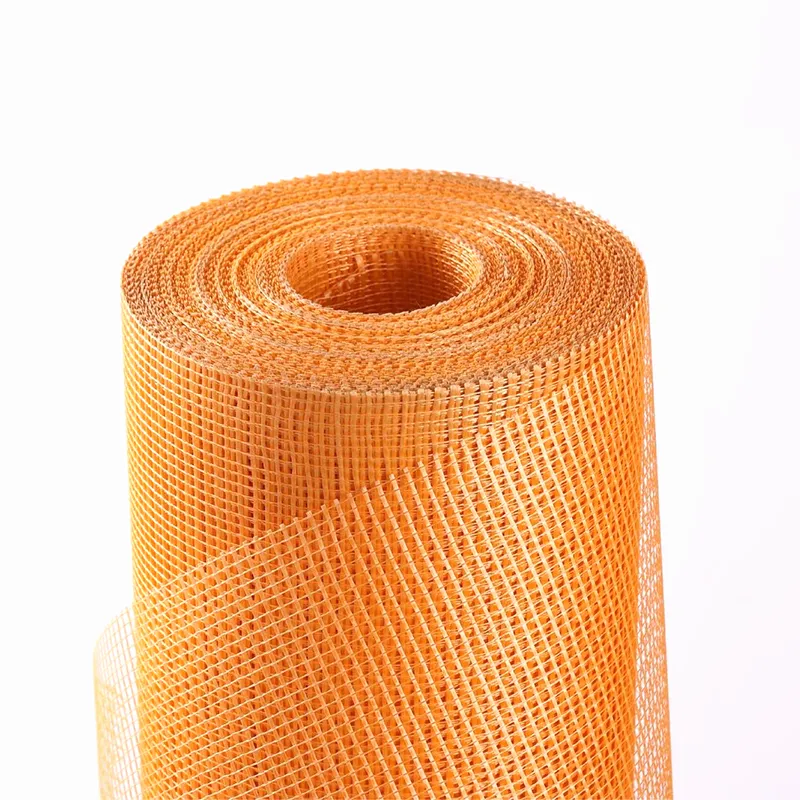
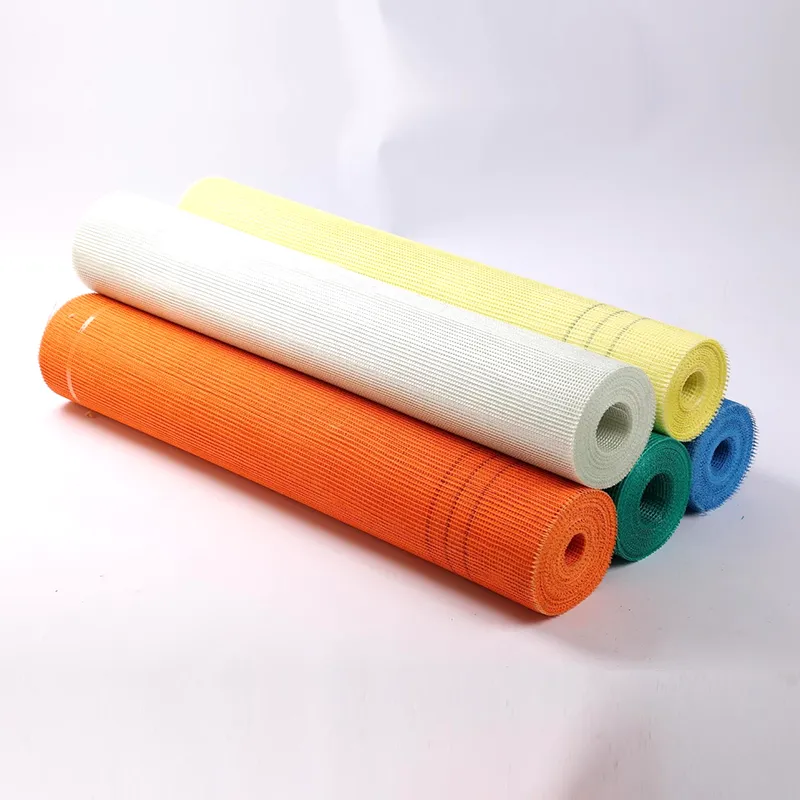
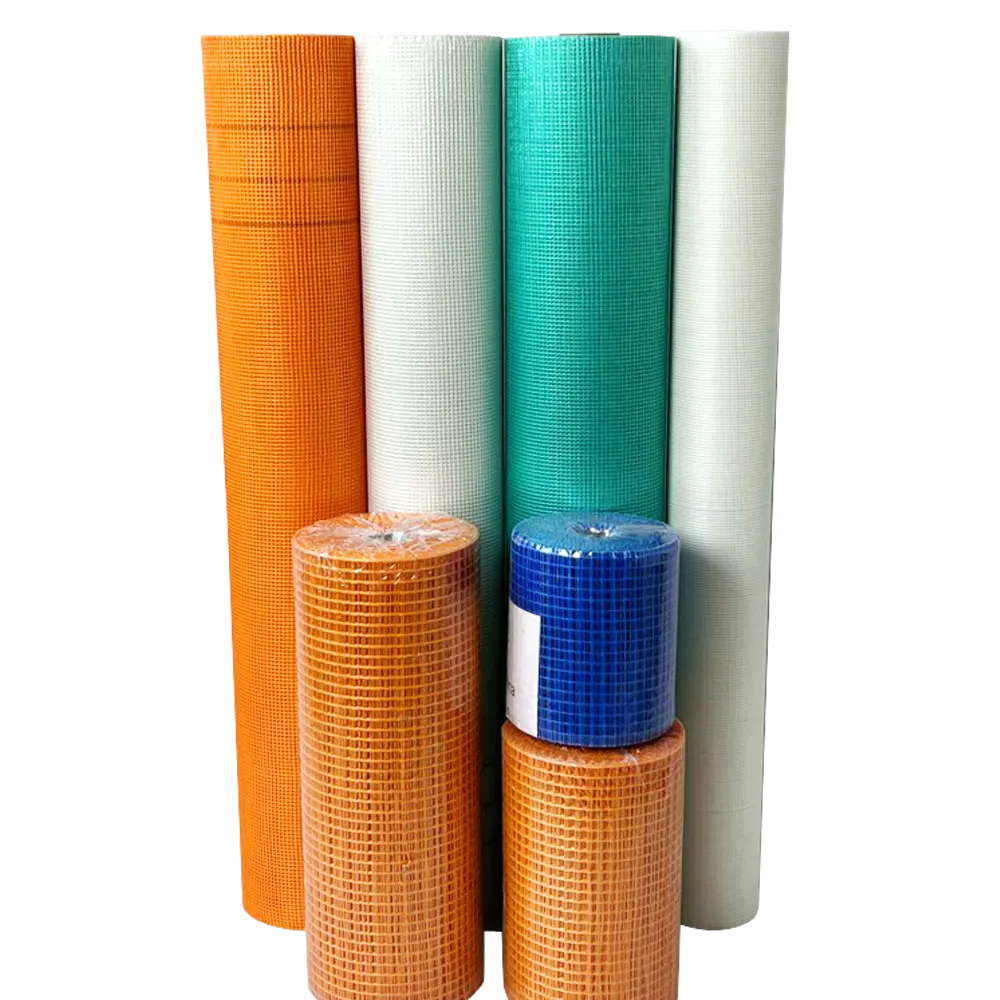
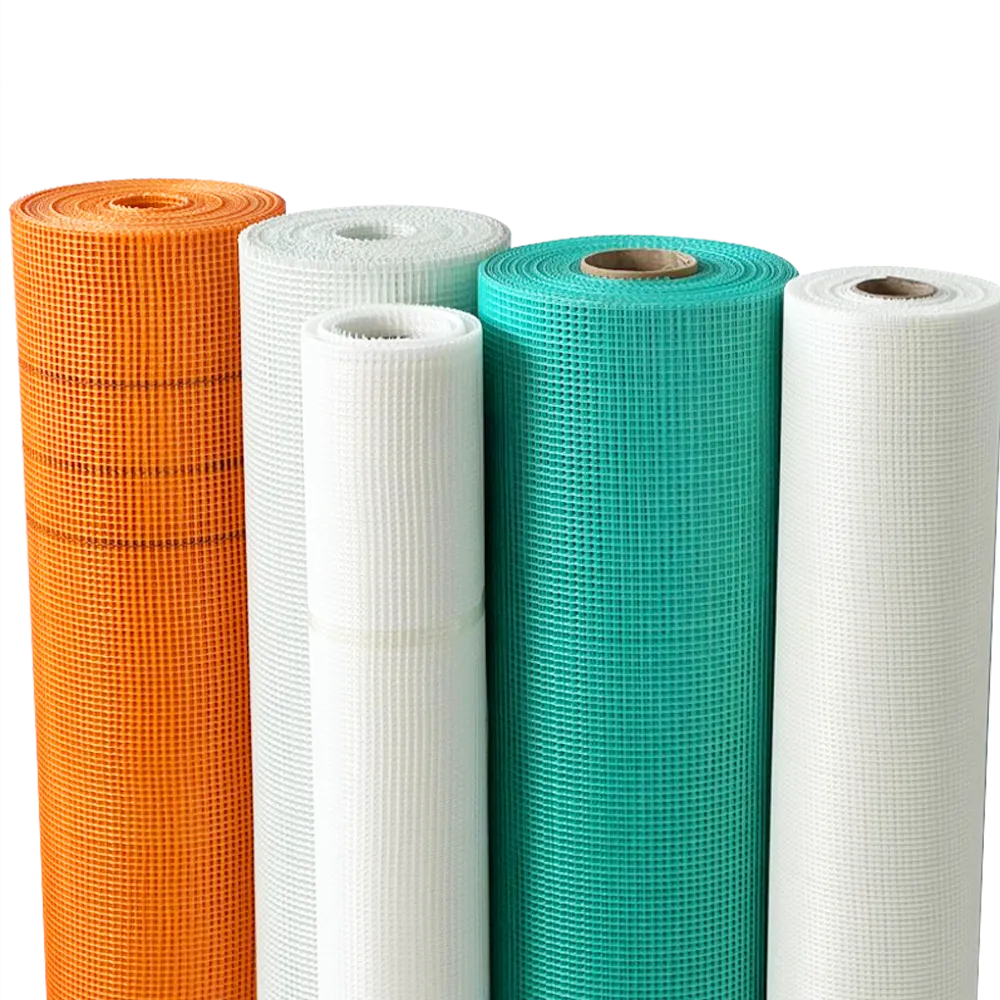
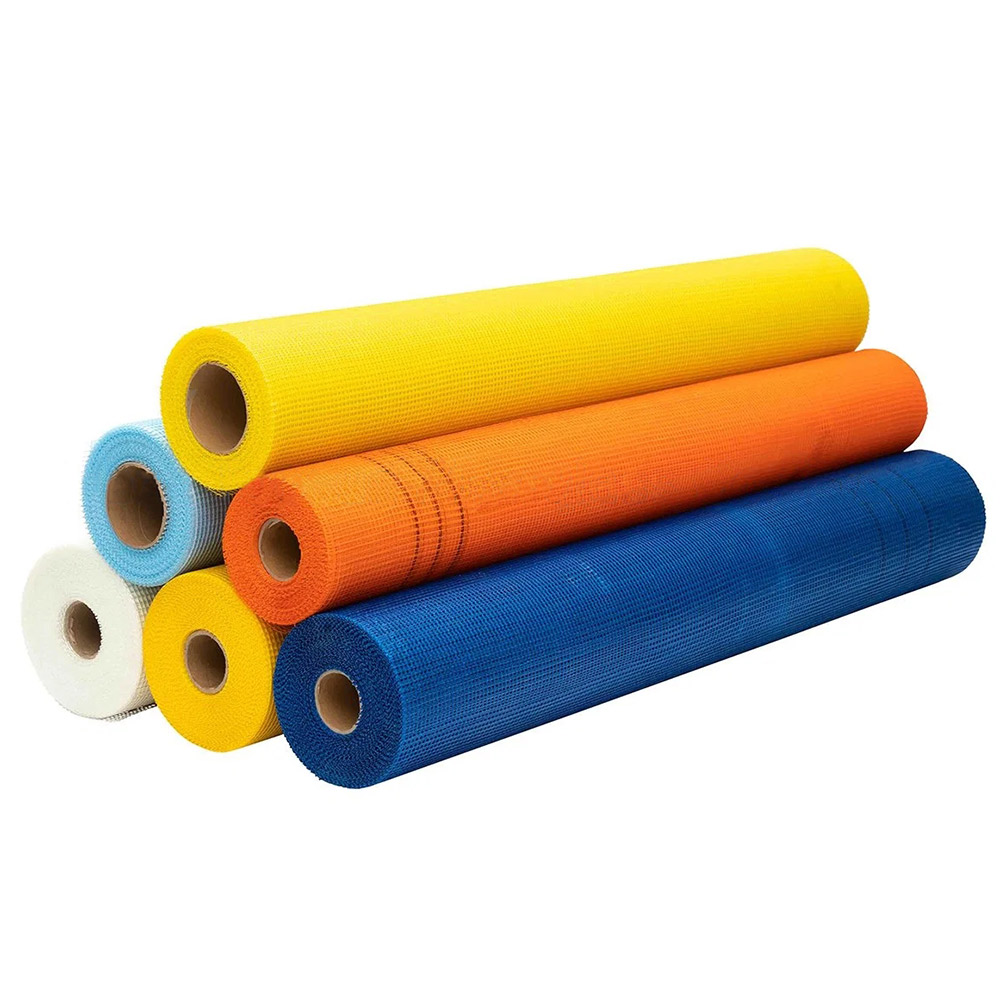
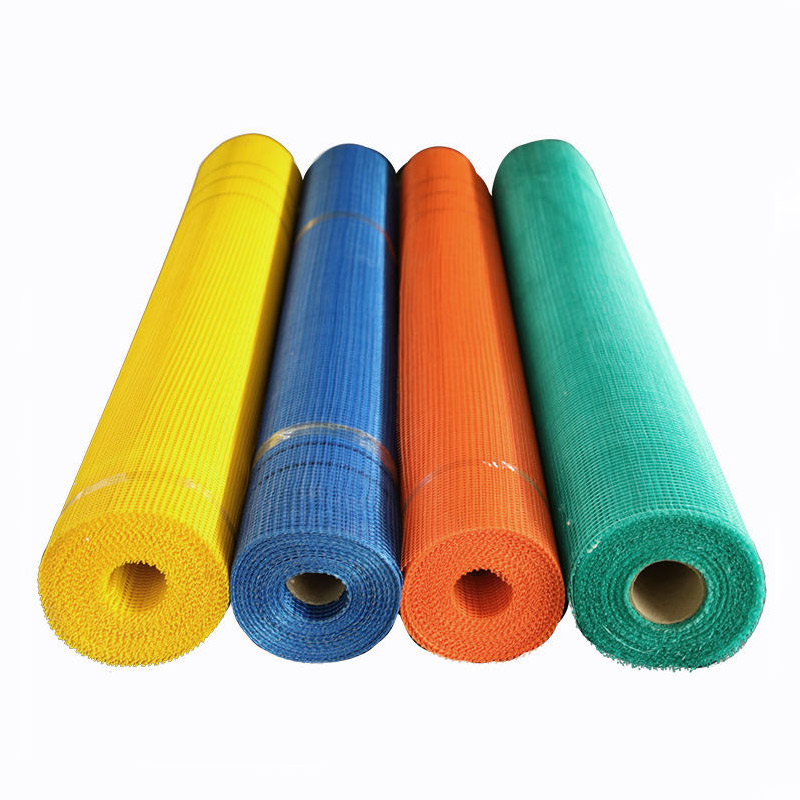
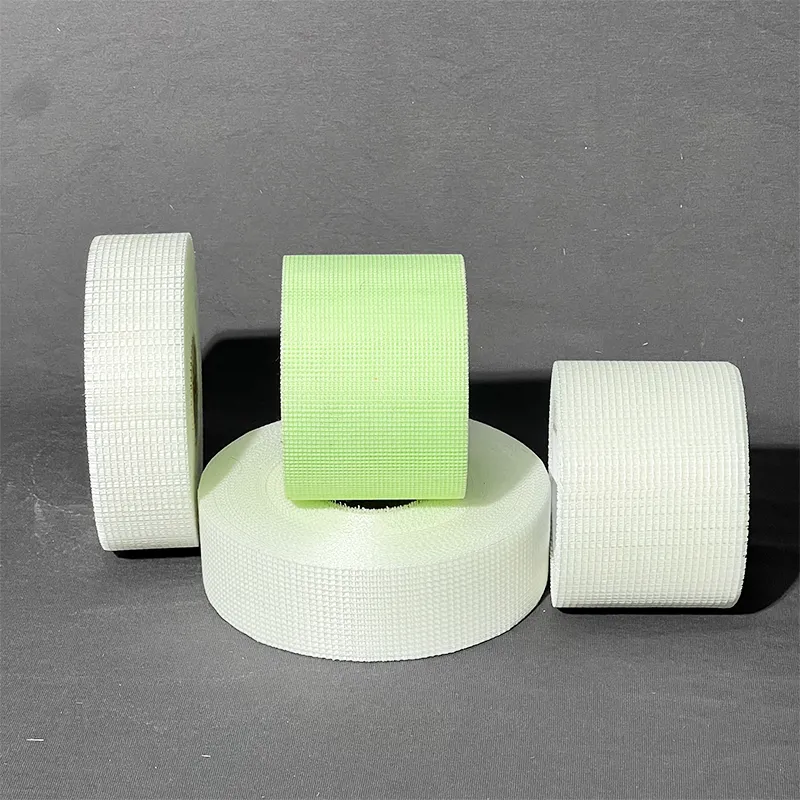
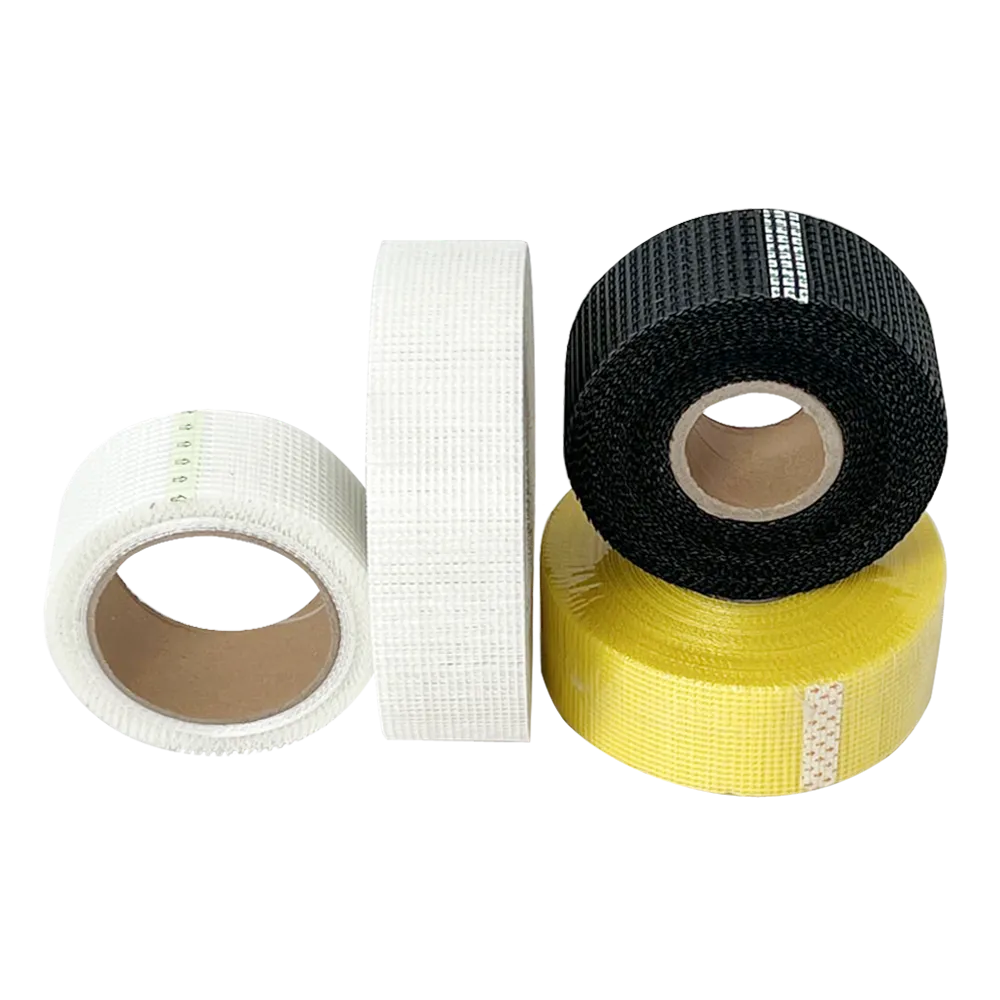
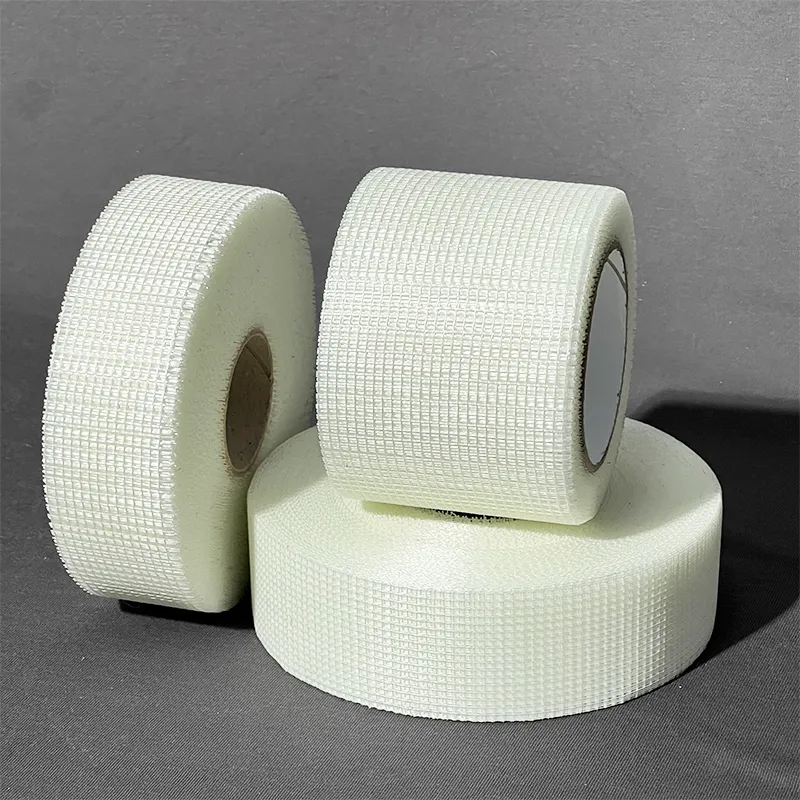
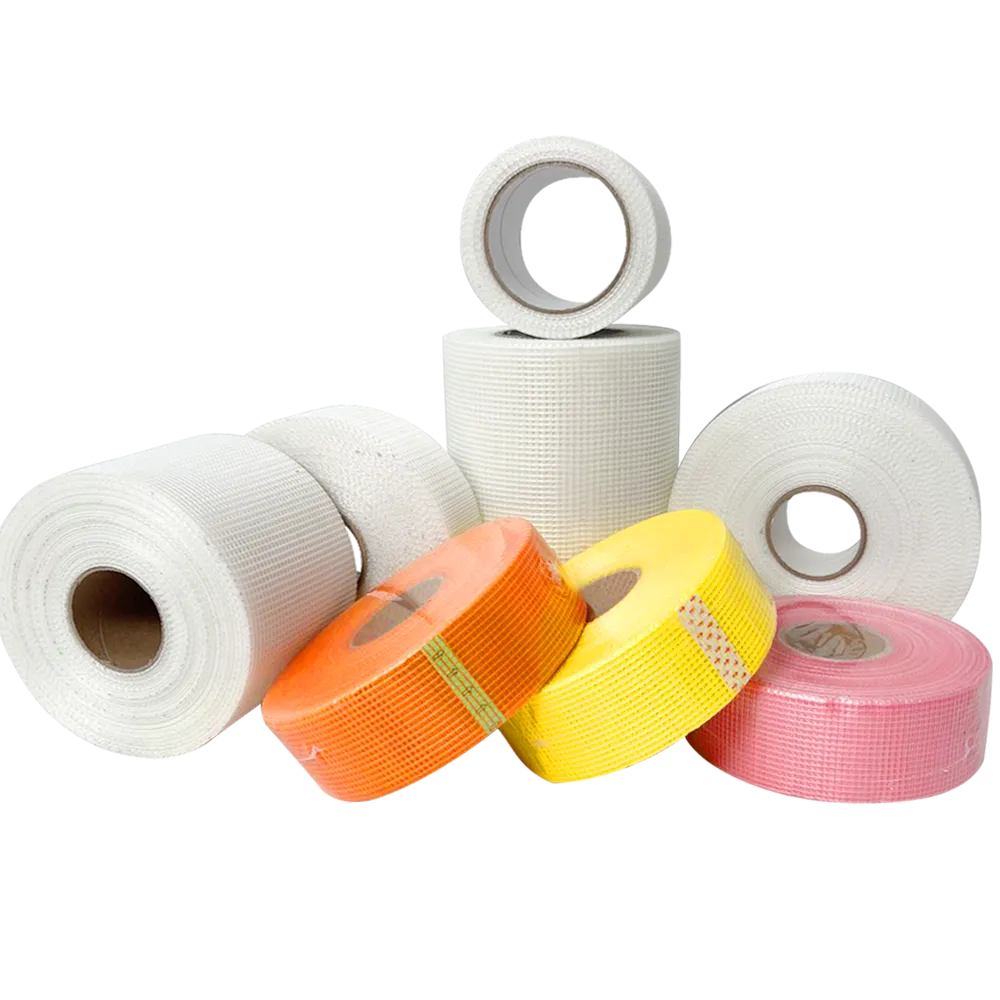
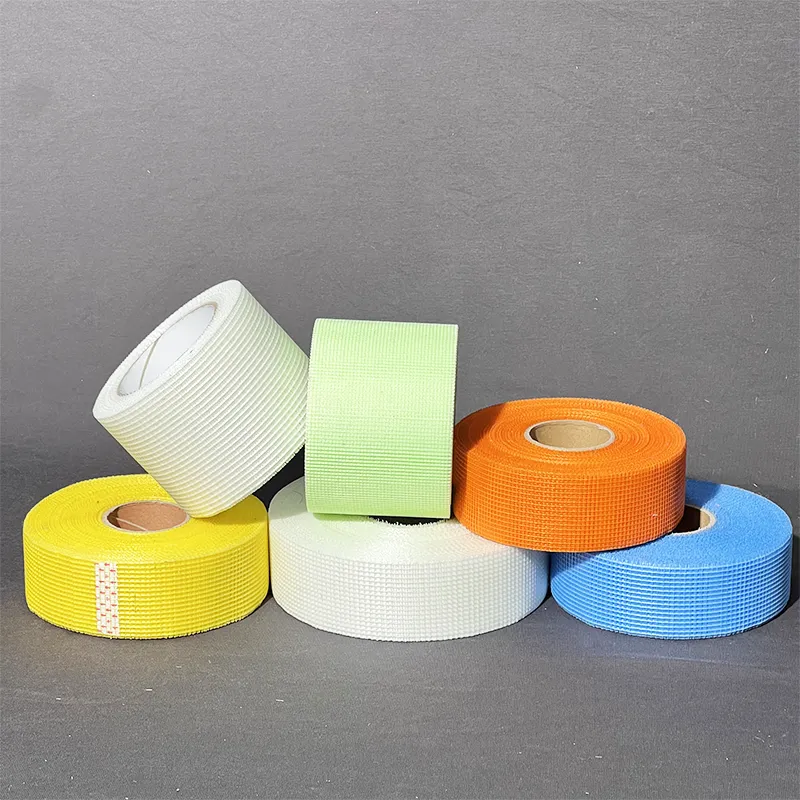
Drywall mesh tape is made from a fiberglass mesh material that offers exceptional strength and flexibility. Unlike traditional paper tape, mesh tape does not require a separate layer of mud (joint compound) to adhere its edges. This characteristic makes it a popular choice among builders and remodelers, as it simplifies the taping process and enhances durability.
Benefits of Using Mesh Tape
1. Strength and Durability One of the most significant advantages of drywall mesh tape is its strength. The fiberglass construction offers a robust substrate that resists cracking and shrinking. This means that joints are less likely to show signs of wear and tear over time, contributing to a longer-lasting finish.
2. Ease of Use Mesh tape is easier to manipulate compared to paper tape. It can be applied directly over joints and can be cut to length effortlessly. For those new to drywall finishing, this user-friendly characteristic is a significant perk.
3. Moisture Resistance Many mesh tapes are designed to resist moisture, which is essential in areas prone to humidity, such as bathrooms and kitchens. This feature helps prevent mold growth and extends the life of the drywall installation.
4. Versatility Drywall mesh tape can be utilized in various applications, from covering seams in newly installed drywall to repairing cracks in existing walls. Its adaptability makes it a favorite among contractors and DIYers alike.
Application Techniques
drywall mesh tape

Working with drywall mesh tape requires a few straightforward techniques to achieve the best results
1. Prepare the Surface Ensure that the surfaces to be taped are clean and free from dust or debris. If necessary, sand any rough edges to create a smoother joint.
2. Cut the Tape Measure the length of drywall tape needed for your joints, and cut it to size. It's crucial not to stretch the tape as you apply it, as this could lead to irregularities in the finish.
3. Apply Joint Compound Before placing the mesh tape, apply a layer of joint compound over the joint area. This serves as a bonding agent and helps the tape adhere properly.
4. Press the Tape into Place Place the mesh tape over the joint while the joint compound is still wet. Use a drywall knife to press it into the compound smoothly, ensuring there are no bubbles or wrinkles.
5. Apply Additional Layers Once the tape is in place, apply another layer of joint compound over the top, feathering it out beyond the edges of the tape. This will help to blend the patch into the surrounding wall.
6. Sanding and Finishing After the joint compound has dried, sand it down to create a smooth surface. Depending on your desired finish, you may need to apply additional coats of compound, sanding between each coat until you achieve a seamless look.
Conclusion
Drywall mesh tape is an invaluable tool for anyone involved in drywall installation or repair. Its durability, ease of use, and versatility make it a go-to choice for achieving professional-quality results. By following the proper application techniques, you can ensure that your drywall seams are not only strong but also beautifully finished, setting the stage for your final touches in your interior design project. Whether you're a seasoned contractor or a DIY novice, mastering the use of drywall mesh tape is an essential skill that will contribute to the success of your drywall projects.
-
The Essential Guide to Alkaline Resistant Joint Tape: Benefits and ApplicationsNewsJul.15,2025
-
The Comprehensive Guide to Fiberglass Mesh Tape: Applications and BenefitsNewsJul.15,2025
-
Mastering Wall Repairs and Installations: The Essential Role of Fiberglass Mesh and TapeNewsJul.15,2025
-
Everything You Need to Know About Fiberglass mesh Tape for Drywall ApplicationsNewsJul.15,2025
-
Achieving Strong, Crack-Free Walls with Self-Adhesive and Fiberglass Mesh Drywall TapesNewsJul.15,2025
-
A Complete Guide to Fiberglass Yarn: Types, Properties, and ManufacturersNewsJul.15,2025
