Aug . 21, 2024 08:56 Back to list
Effective Techniques for Using Mesh Tape in Drywall Installation and Repair
Using Mesh Tape for Drywall A Comprehensive Guide
When it comes to drywall installation, achieving a smooth and flawless finish is often the hallmark of a successful project. One of the crucial elements in this process is the type of tape used for seams and joints. While traditional paper tape has been a longtime favorite among professional drywallers, mesh tape has gained popularity in recent years for its ease of use and effectiveness. In this article, we will explore the advantages of using mesh tape for drywall, its application, and some best practices to ensure a perfect finish.
What is Mesh Tape?
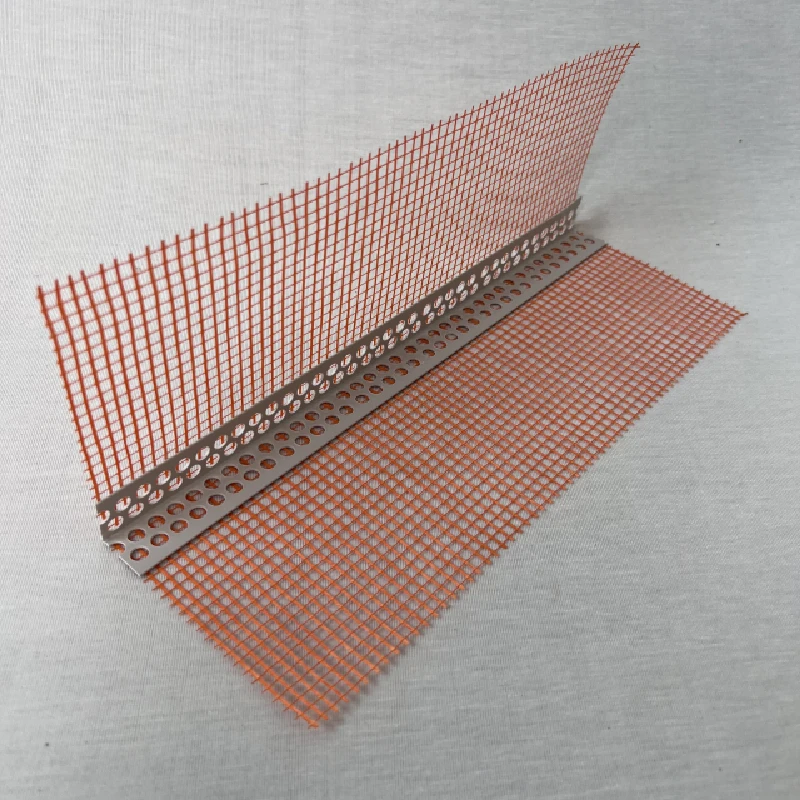
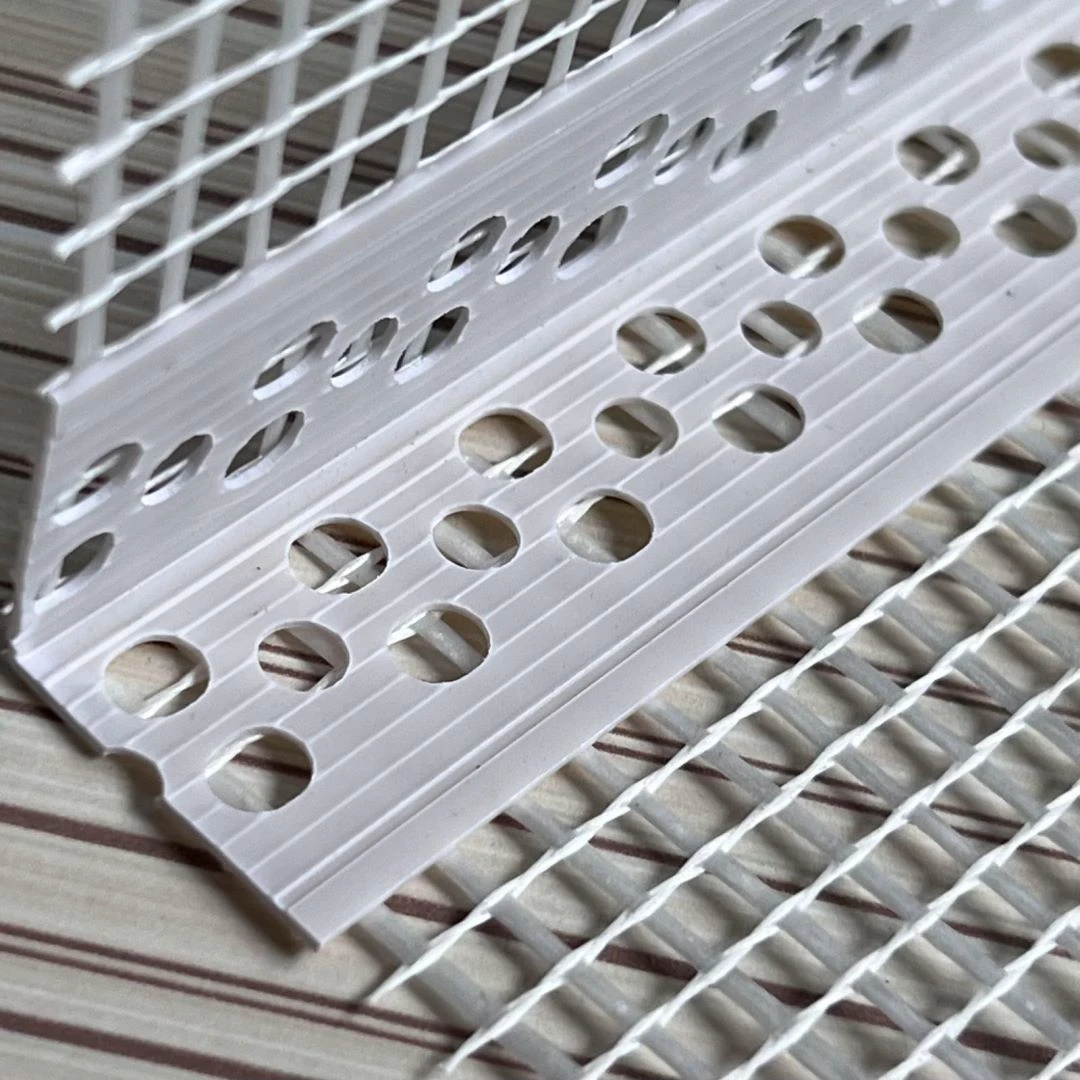
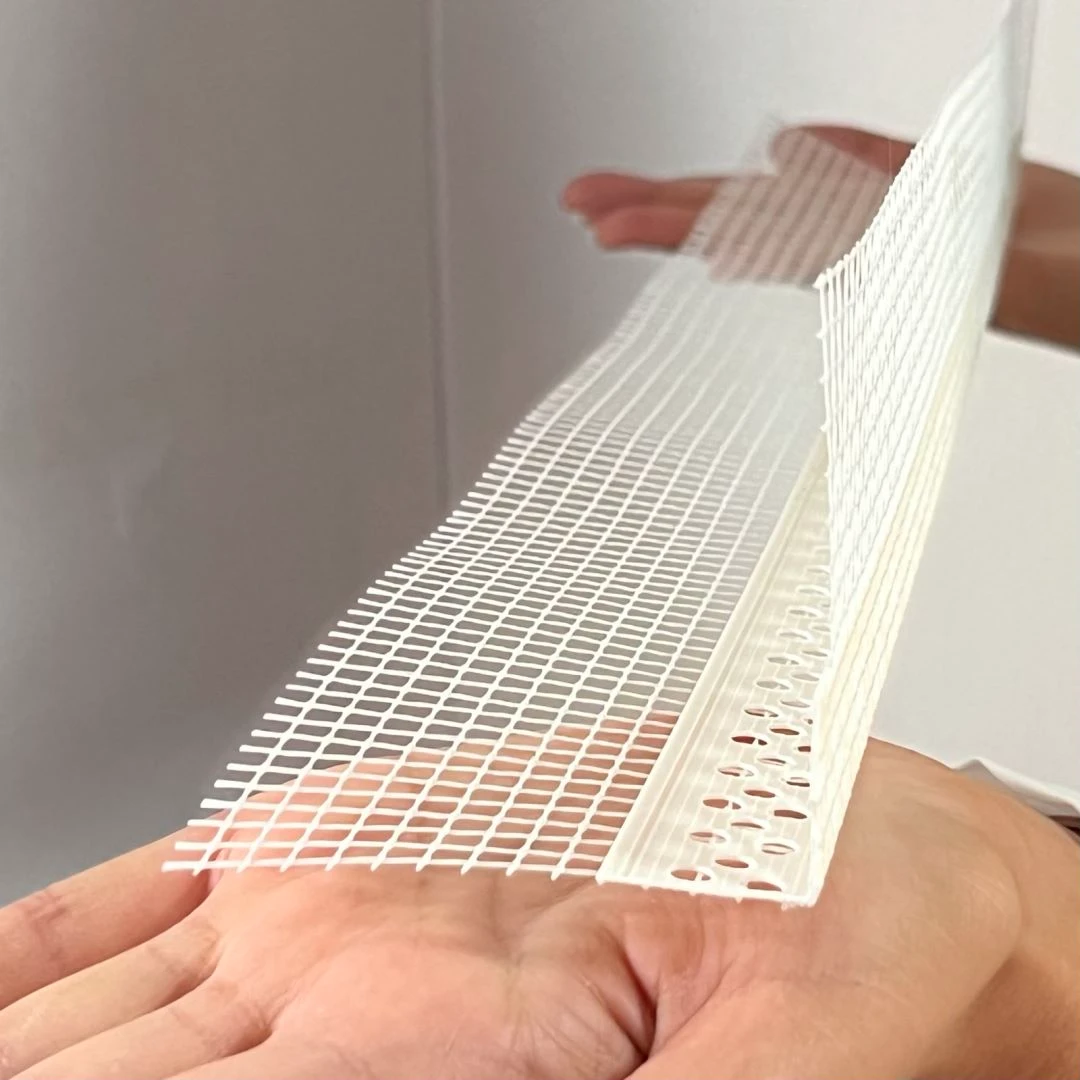
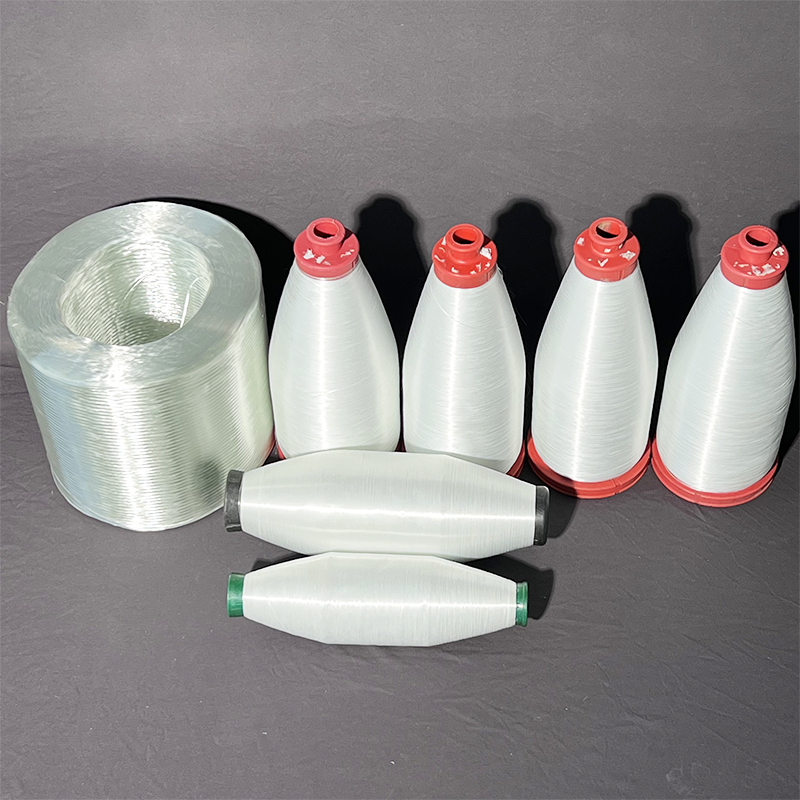
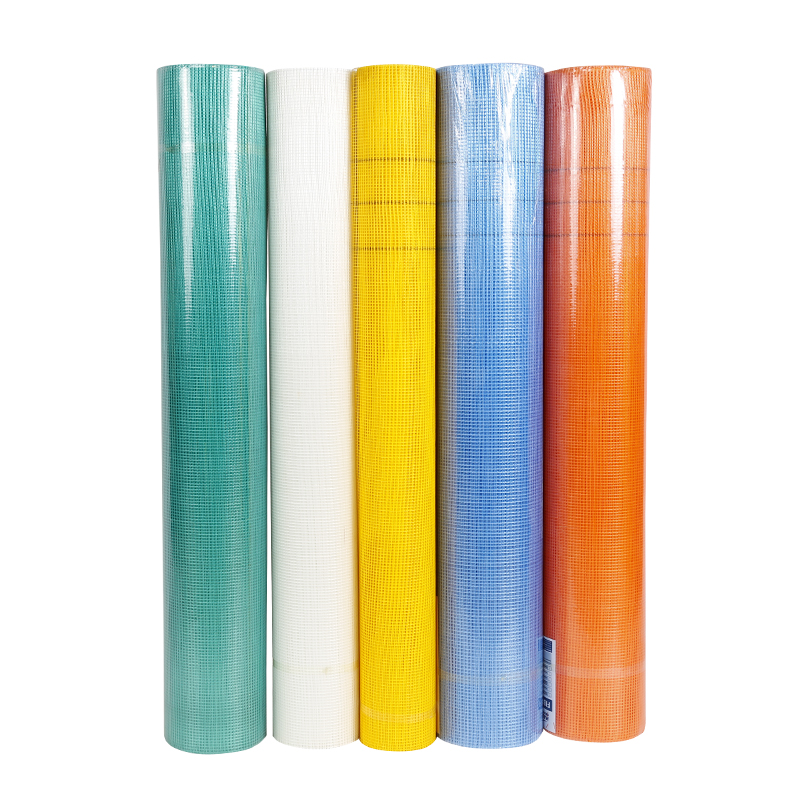
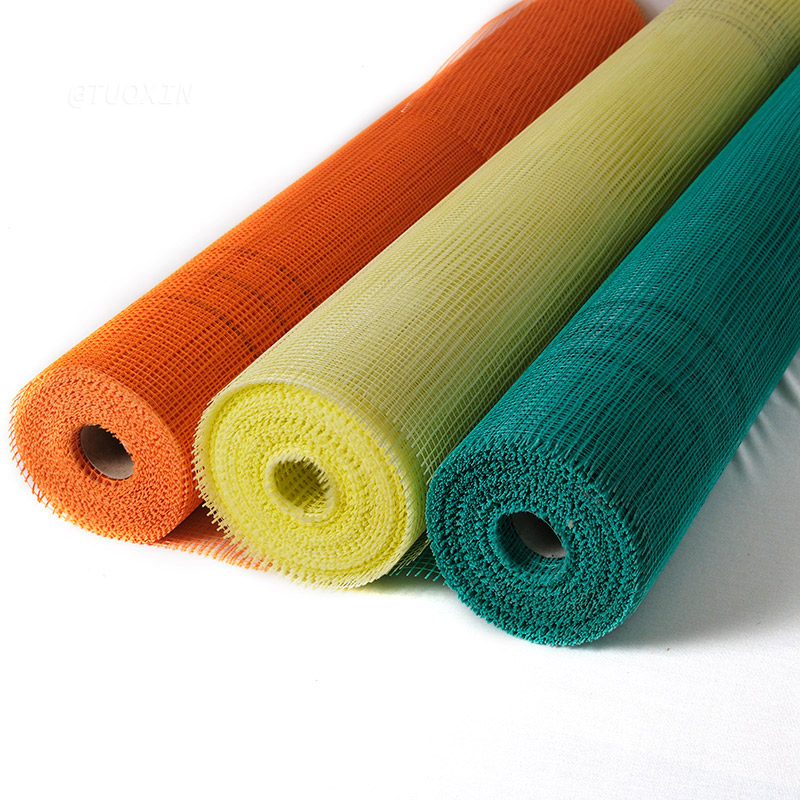
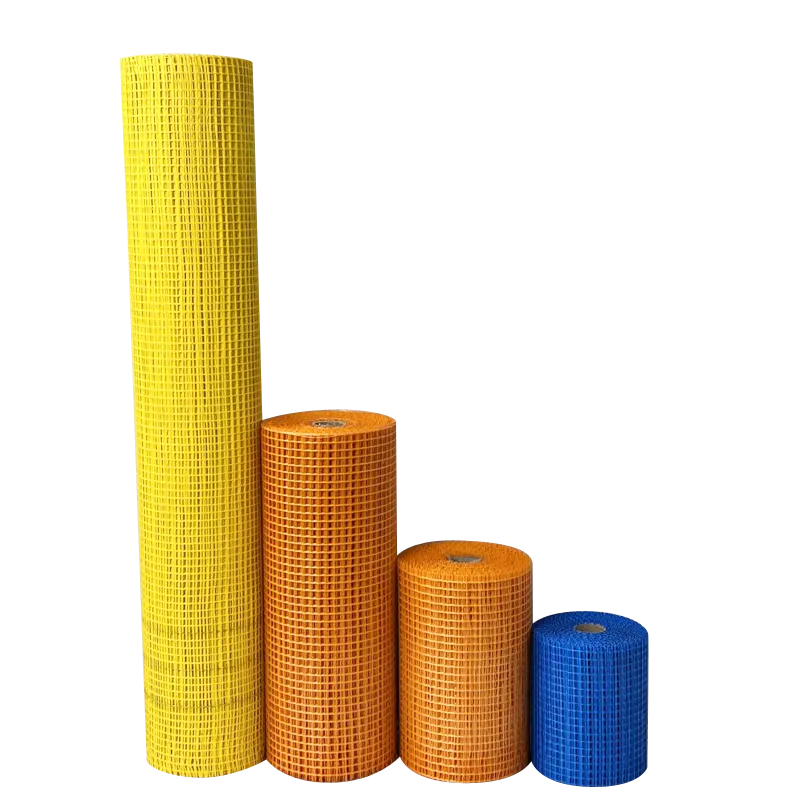
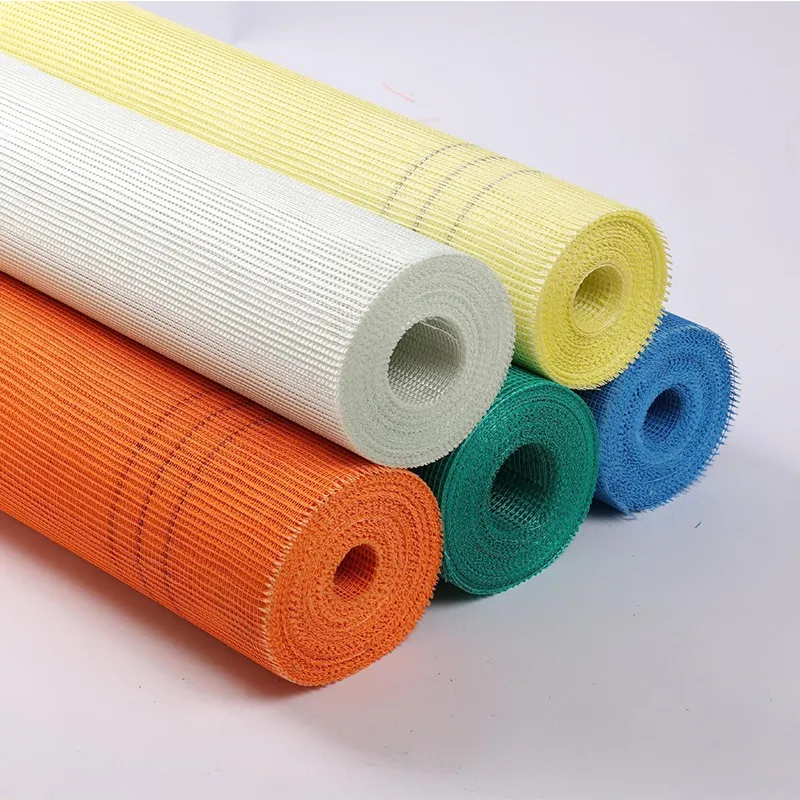
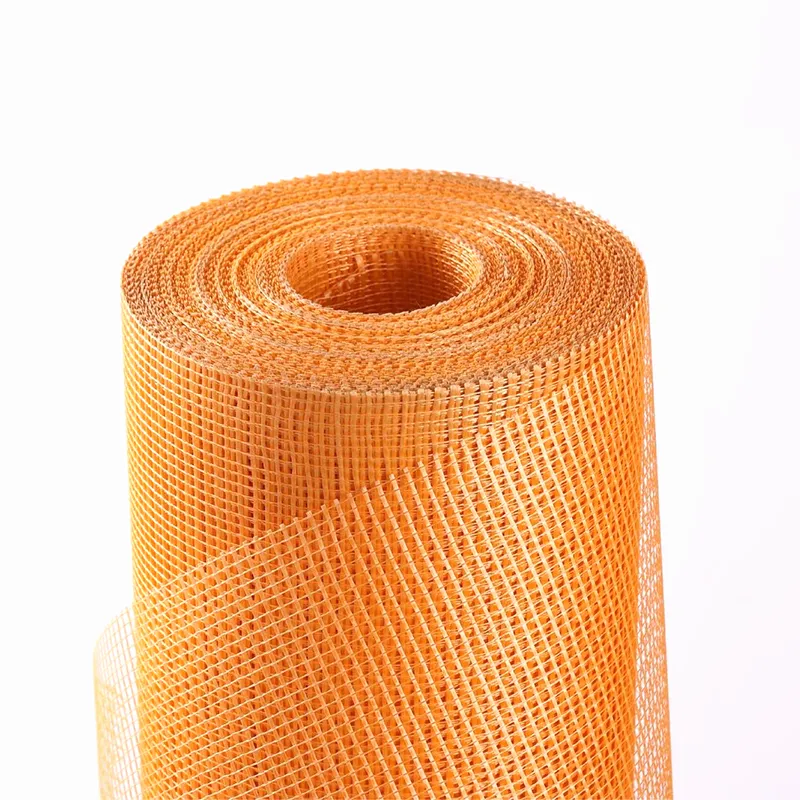
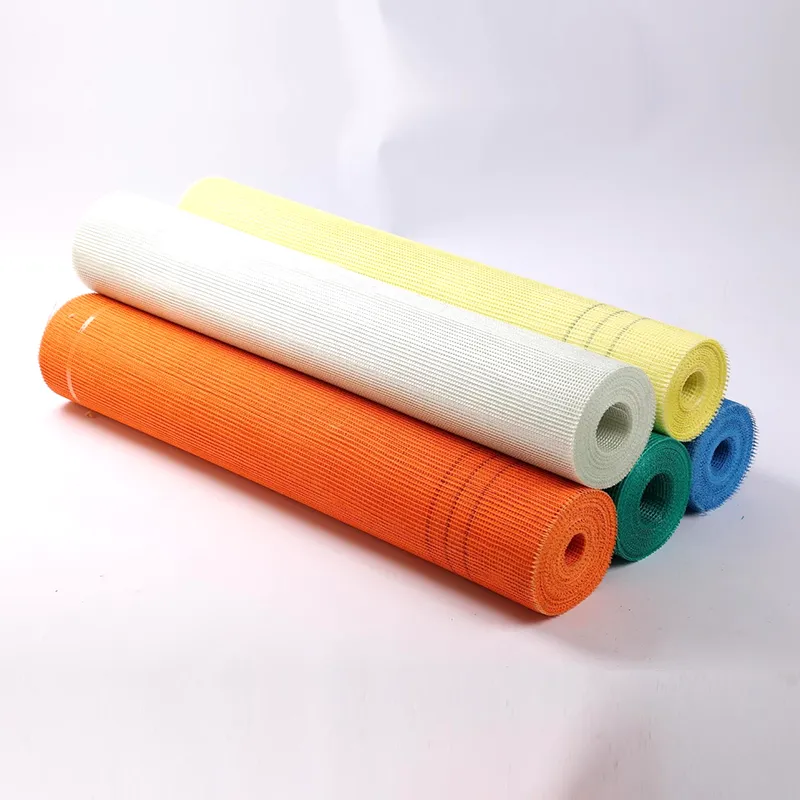
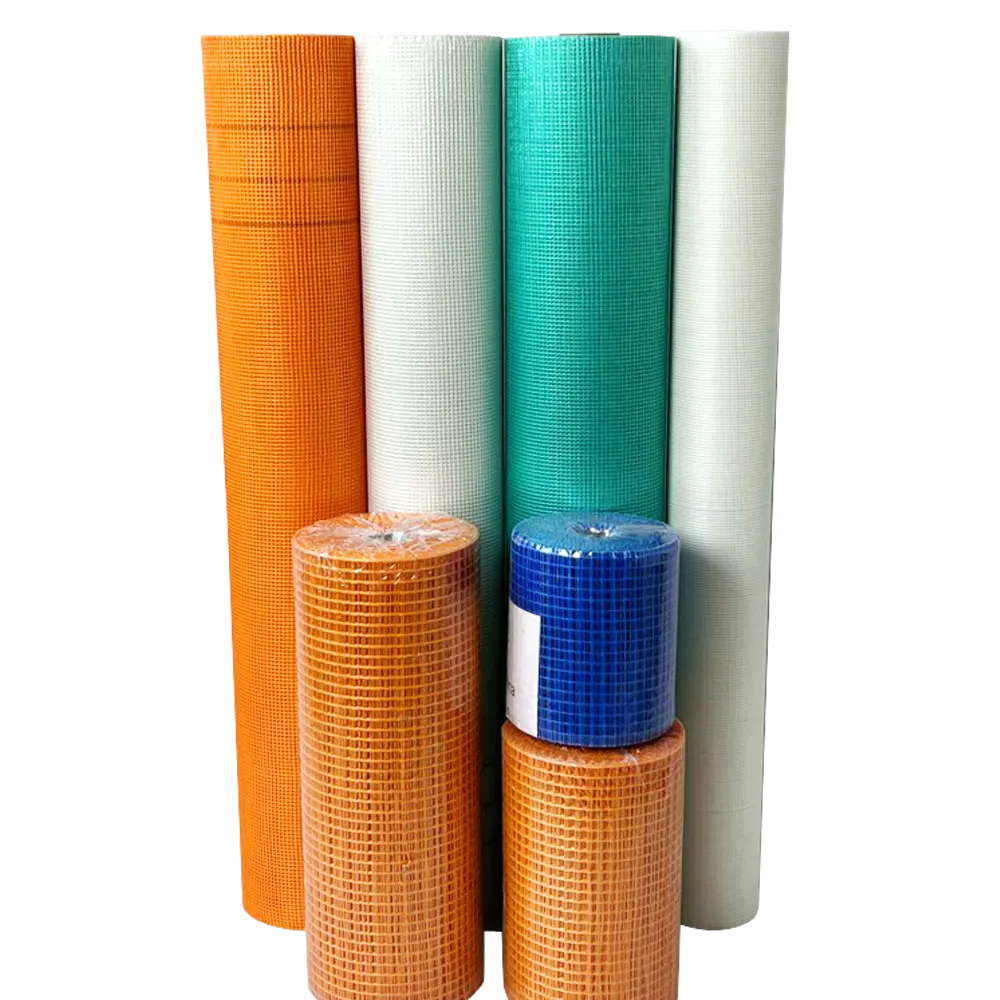
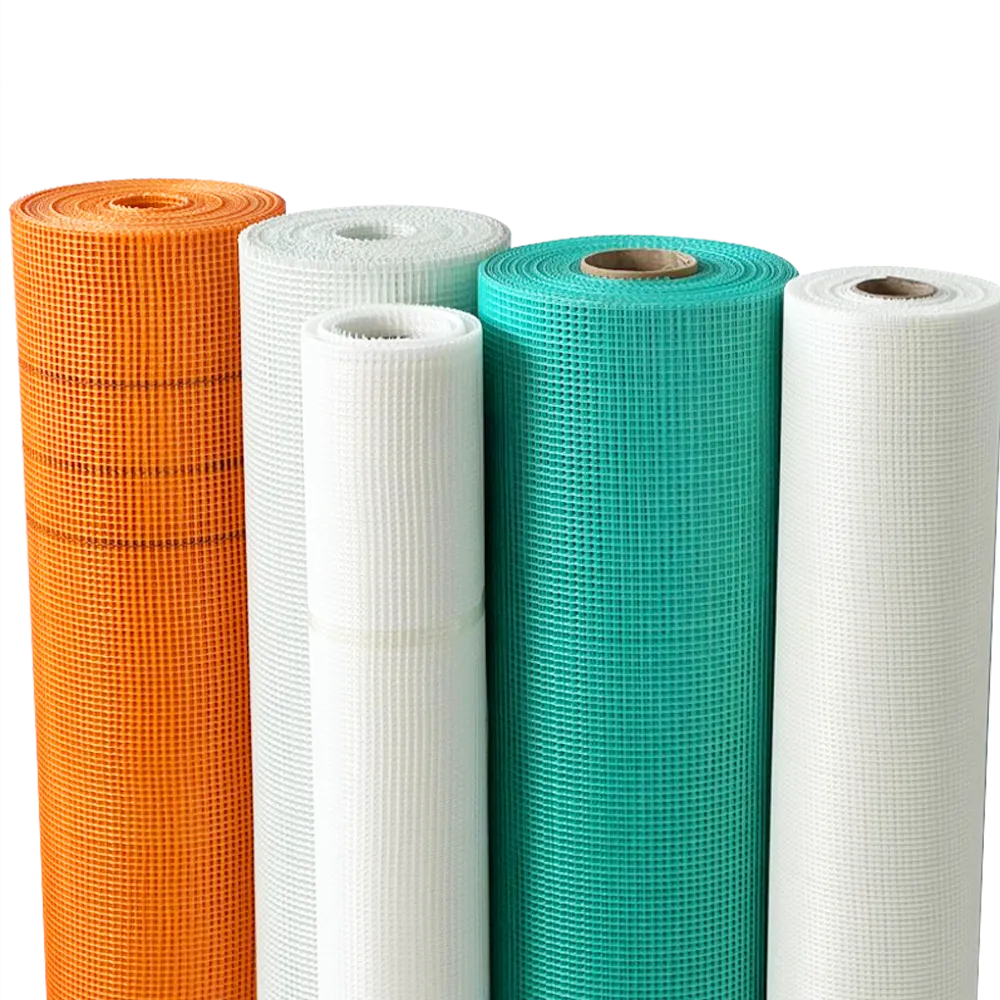
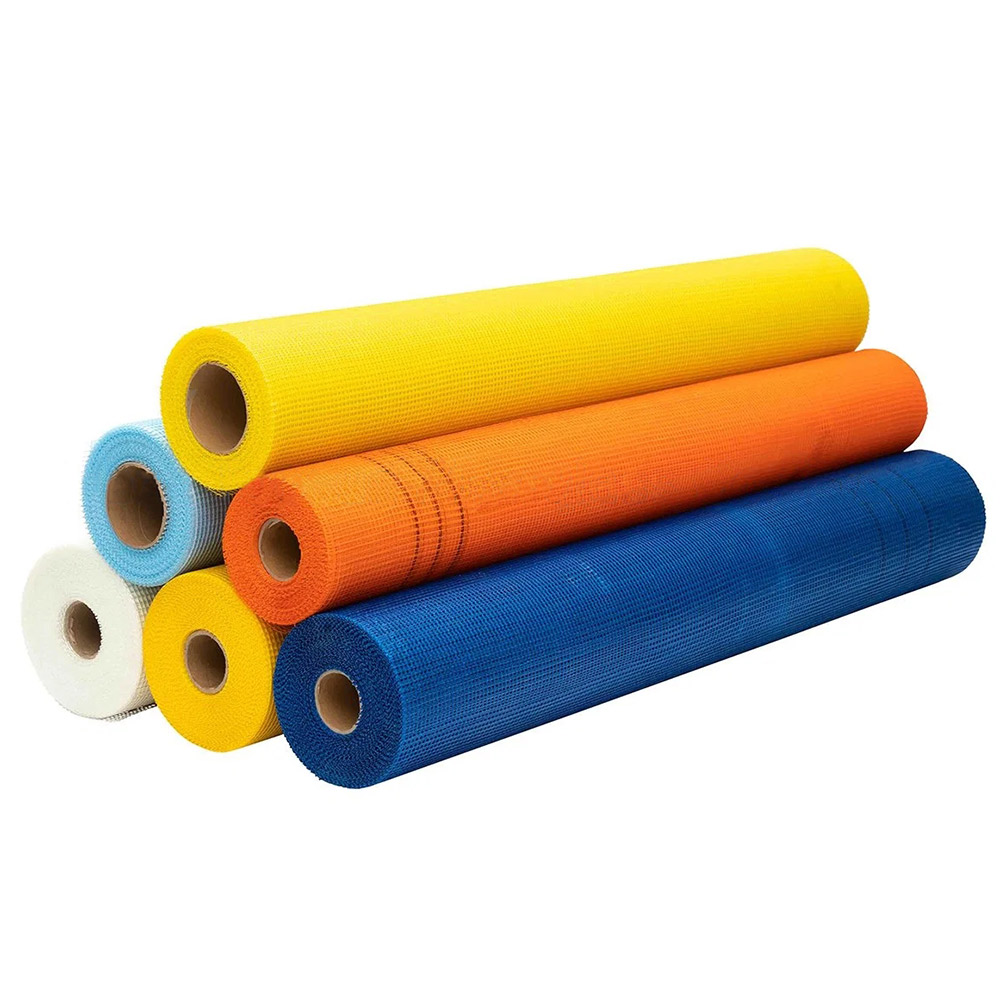
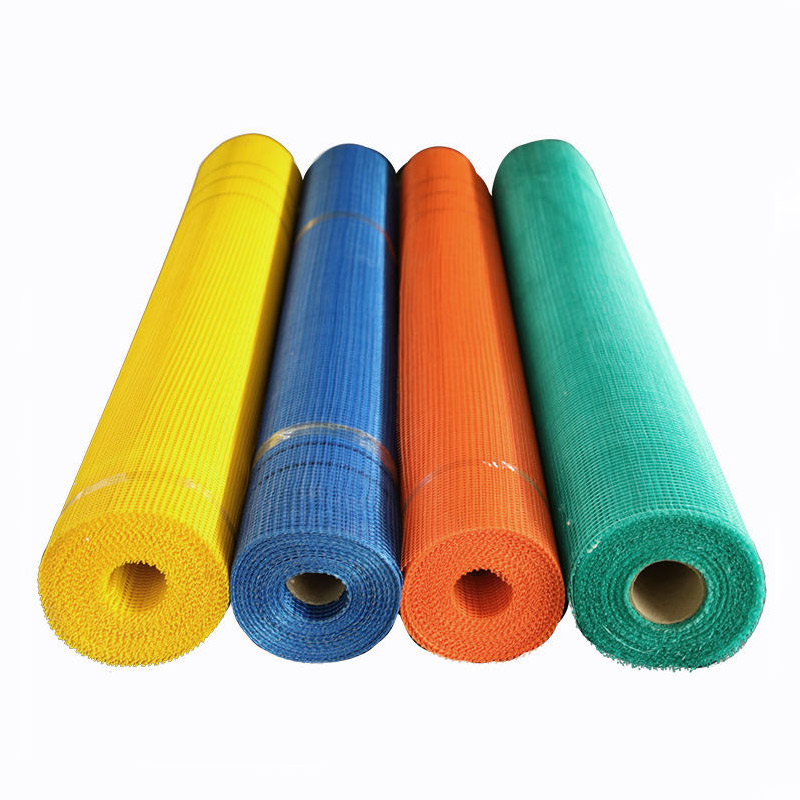
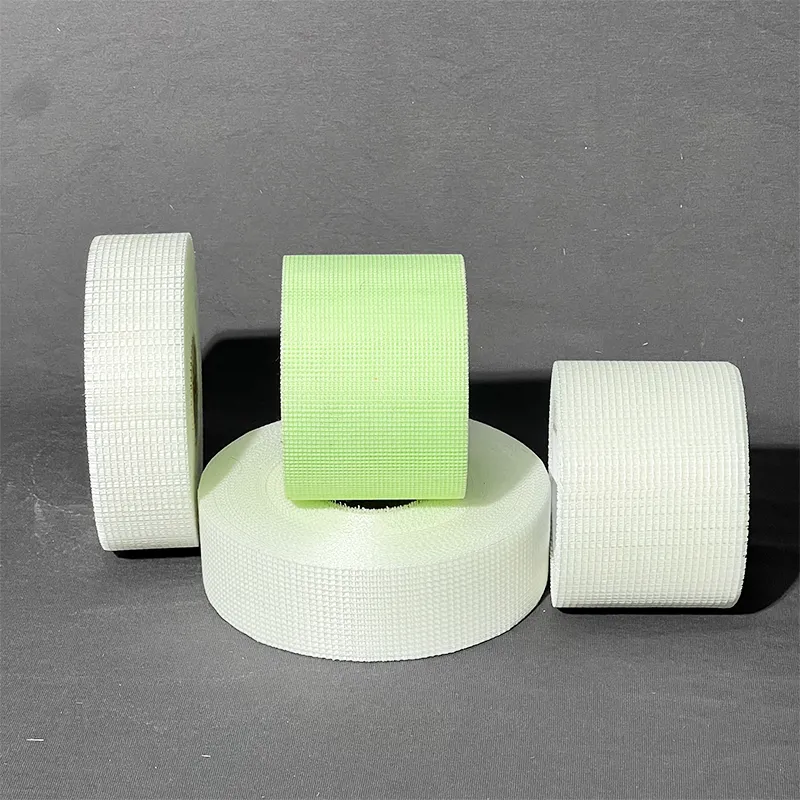
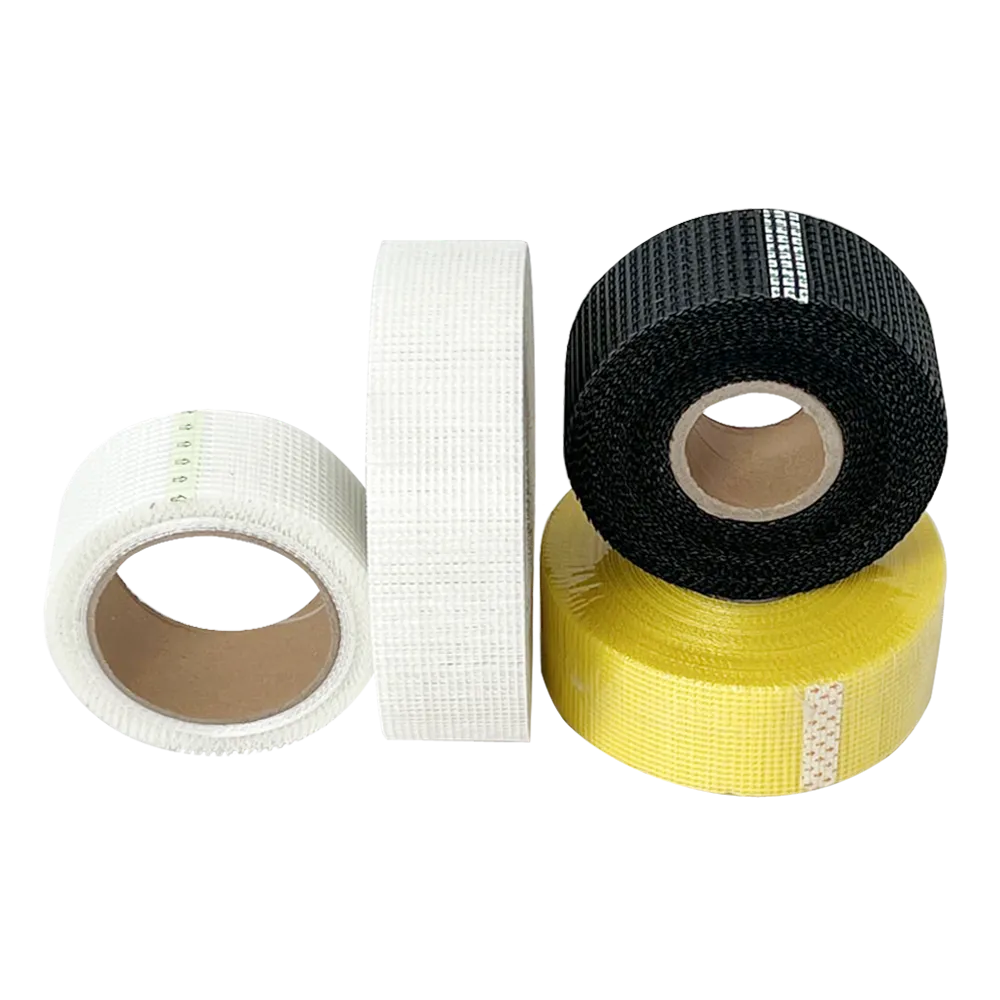
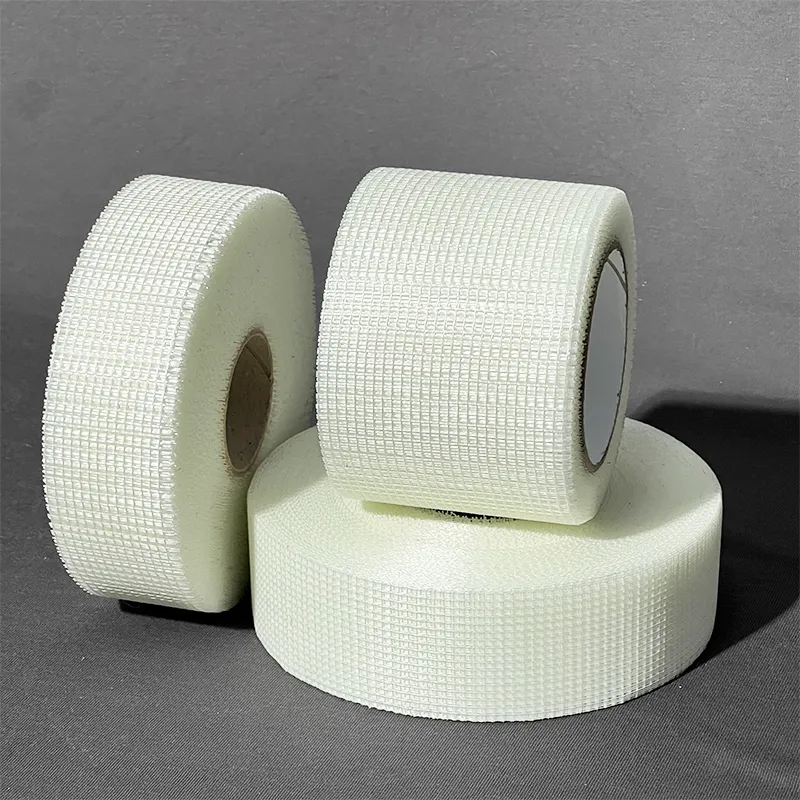
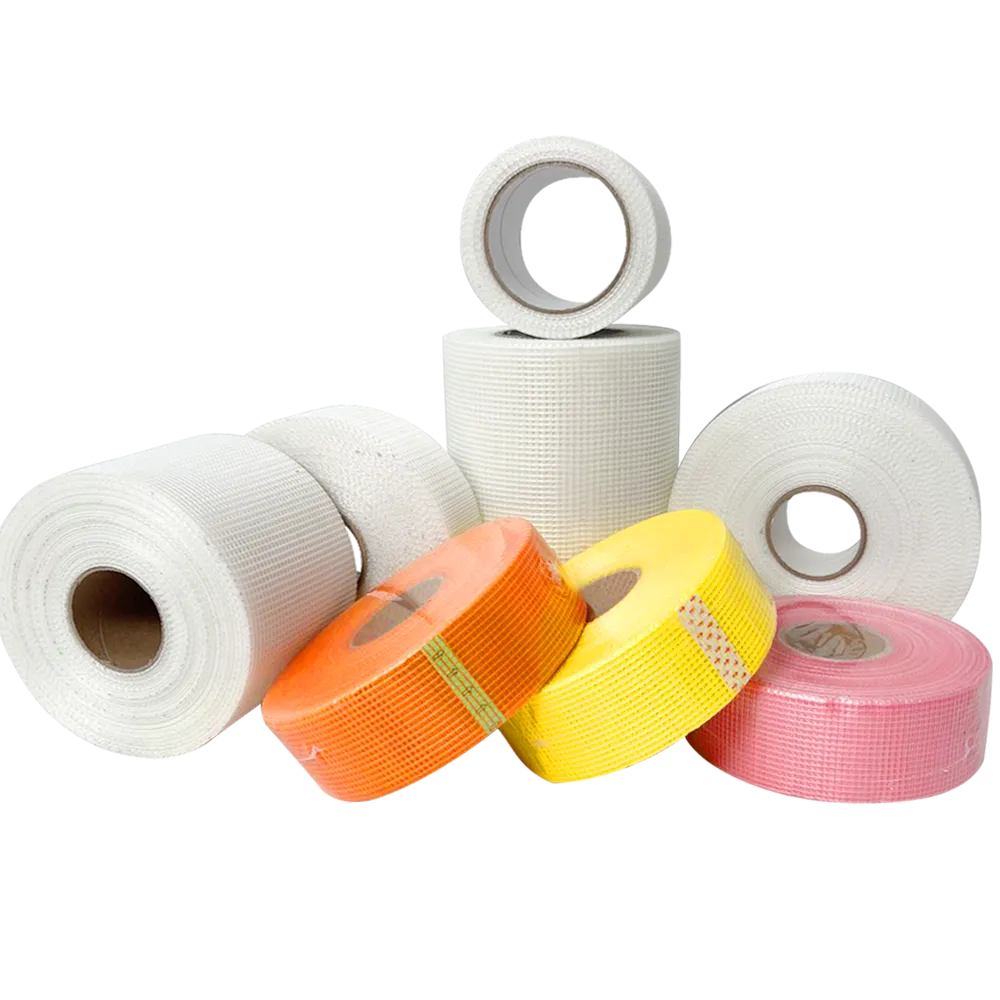
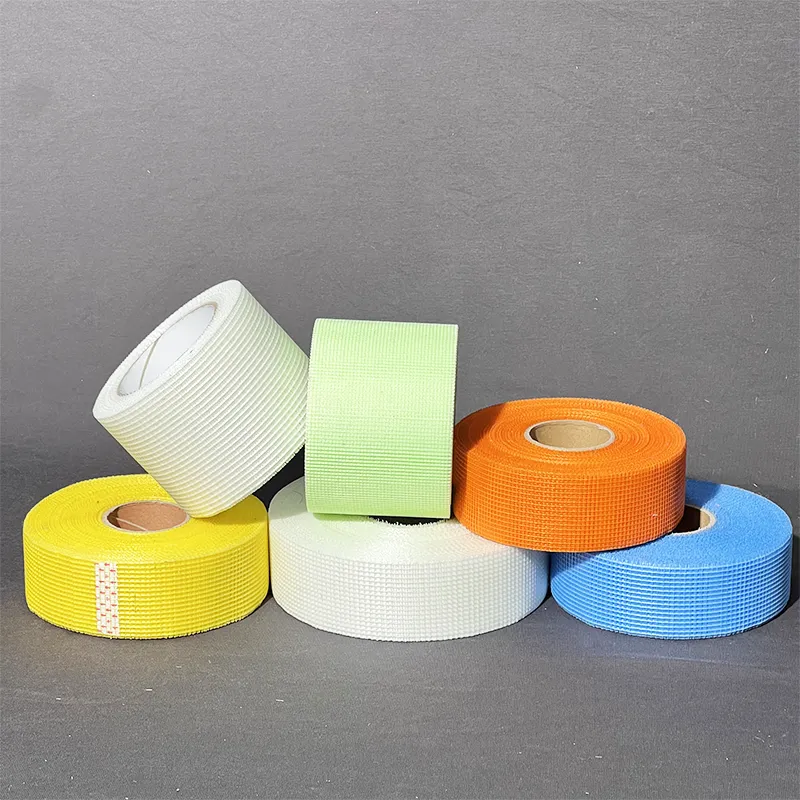
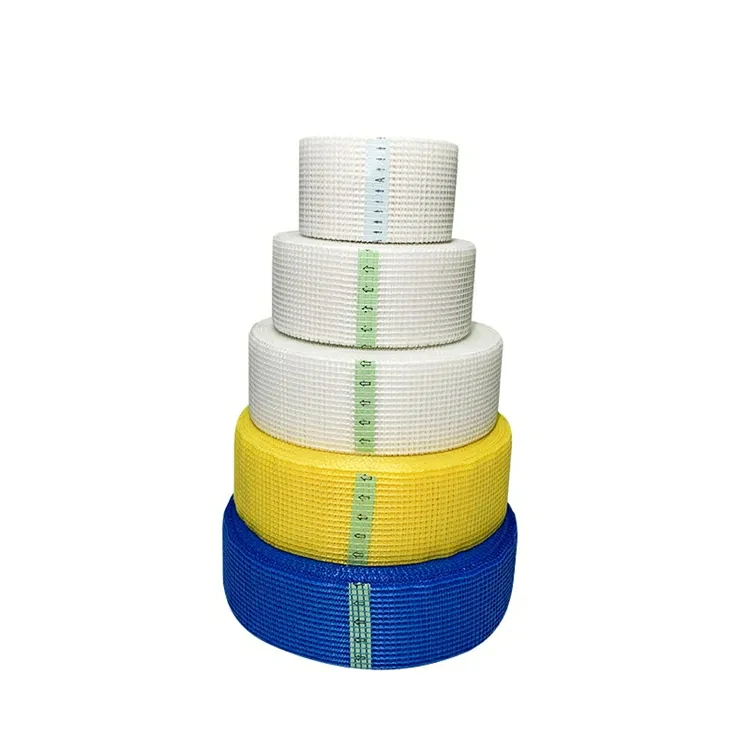
Mesh tape is a type of drywall tape made from a fiberglass mesh that is sticky on one side. Its design allows it to be easily applied to joints and seams without the need for pre-embedded tape, providing a robust yet flexible solution for drywall finishing. Mesh tape is available in various widths, with the most common being 2 inches wide, making it versatile for different types of drywall projects.
Advantages of Using Mesh Tape
1. Ease of Use One of the primary benefits of mesh tape is its ease of application. Unlike paper tape, which requires a more delicate touch and a thicker layer of joint compound to adhere properly, mesh tape can be applied quickly. Its self-adhesive nature eliminates the need for additional preparation, allowing for faster project completion.
2. Strength and Flexibility The fiberglass material makes mesh tape stronger than paper tape, which can tear easily. Additionally, its flexibility allows it to accommodate slight movements in the drywall without cracking, making it an excellent choice for areas prone to settling or shifts.
3. Reduced Risk of Bubbling When using paper tape, it's not uncommon for bubbles to form if the tape isn't embedded correctly. Mesh tape, on the other hand, has a more forgiving nature when it comes to application, reducing the chance of unsightly imperfections.
4. Excellent for Repairs Mesh tape is particularly valuable for patching up holes or repairing damaged drywall. Its strong adhesive properties ensure a secure bond, while its flexibility allows it to adapt to the surrounding area, providing a seamless repair.
Application of Mesh Tape
using mesh tape for drywall factory
Applying mesh tape is a straightforward process. Here are the steps to follow
1. Prepare the Surface Ensure that the drywall surface is clean and dry. Remove any loose debris or dust that could interfere with adhesion.
2. Cut the Tape Measure the length of the seam or joint you need to cover and cut the mesh tape accordingly.
3. Apply the Tape Press the sticky side of the mesh tape onto the seam, making sure it is centered. Use your fingers to smooth out any wrinkles or air pockets.
4. Apply Joint Compound Once the tape is in place, apply a thin layer of joint compound over the mesh tape using a drywall knife. Feather the edges to blend seamlessly with the surrounding drywall. Allow it to dry completely before sanding.
5. Sand and Finish After the joint compound has dried, lightly sand the area to create a smooth finish. You may need to apply additional coats of compound, sanding between each layer, to achieve the desired smoothness.
Best Practices
- Work in Sections To avoid the joint compound drying before you can smooth it out, work on smaller sections at a time. - Avoid Overcomplicating For best results, don’t apply excessive amounts of compound. A little goes a long way when used with mesh tape. - Use the Right Tools A good quality drywall knife will make a significant difference in achieving a smooth, flat finish.
In conclusion, using mesh tape for drywall is an excellent choice for both professionals and DIY enthusiasts alike. Its ease of use, strength, and adaptability make it an ideal solution for achieving flawless seams and joints. By following proper application techniques and best practices, you can ensure a successful drywall project that stands the test of time.
-
The Versatile Role of Fiberglass Mesh in Modern ConstructionNewsJun.09,2025
-
The Essential Role of Alkali Resistant Fiberglass mesh Tape in Modern ConstructionNewsJun.09,2025
-
Strengthening Walls and Joints with Fiberglass mesh Tape SolutionsNewsJun.09,2025
-
Fiberglassmesh Tape Solutions for Stronger Walls and Cleaner FinishesNewsJun.09,2025
-
Fiberglass Reinforcement Mesh: A Modern Essential for Durable FinishesNewsJun.09,2025
-
Enhancing Construction Durability with Self-Adhesive Fiberglass Mesh SolutionsNewsJun.09,2025
