des. . 31, 2024 13:50 Back to list
best using mesh drywall tape
Best Practices Using Mesh Drywall Tape
Drywall installation is a critical process in construction, and achieving a seamless finish depends significantly on the techniques employed. One of the most essential materials in this process is mesh drywall tape. Unlike traditional paper tape, mesh tape offers unique advantages that can facilitate a smoother, more durable finish. In this article, we’ll explore the best practices for using mesh drywall tape to achieve professional results.
Understanding Mesh Drywall Tape
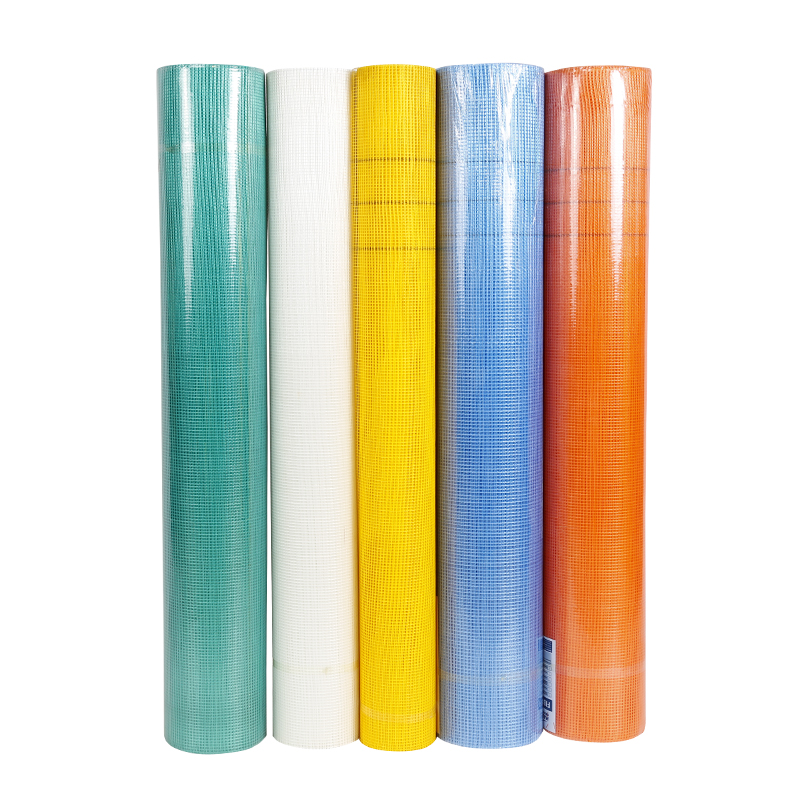
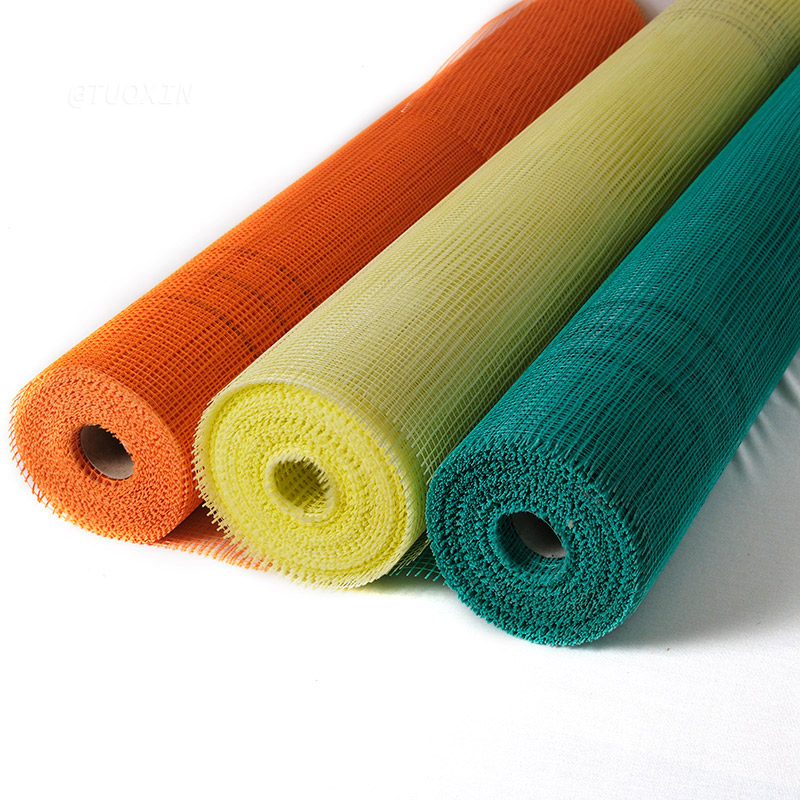
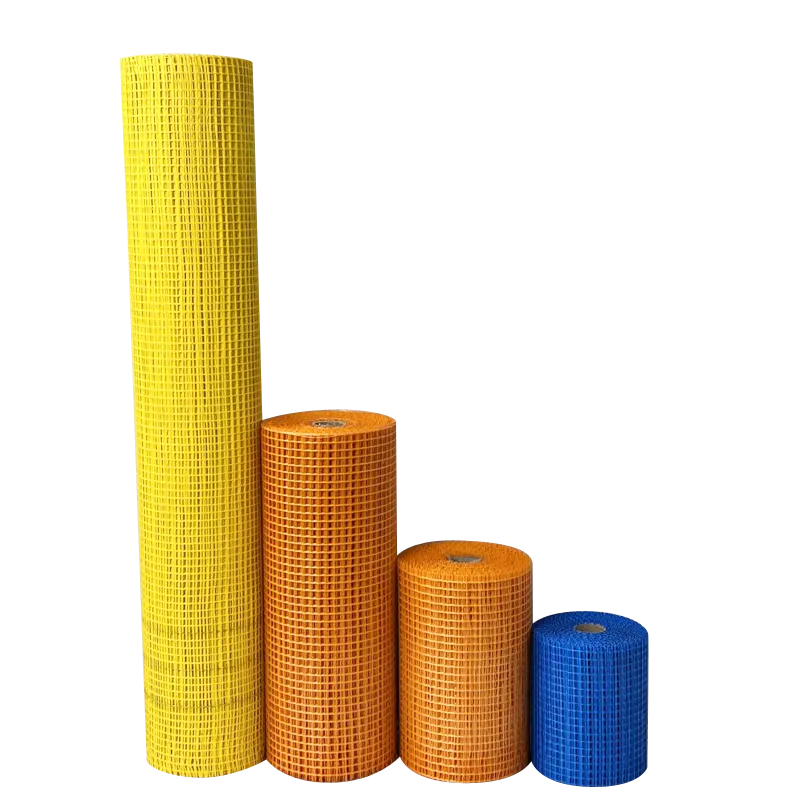
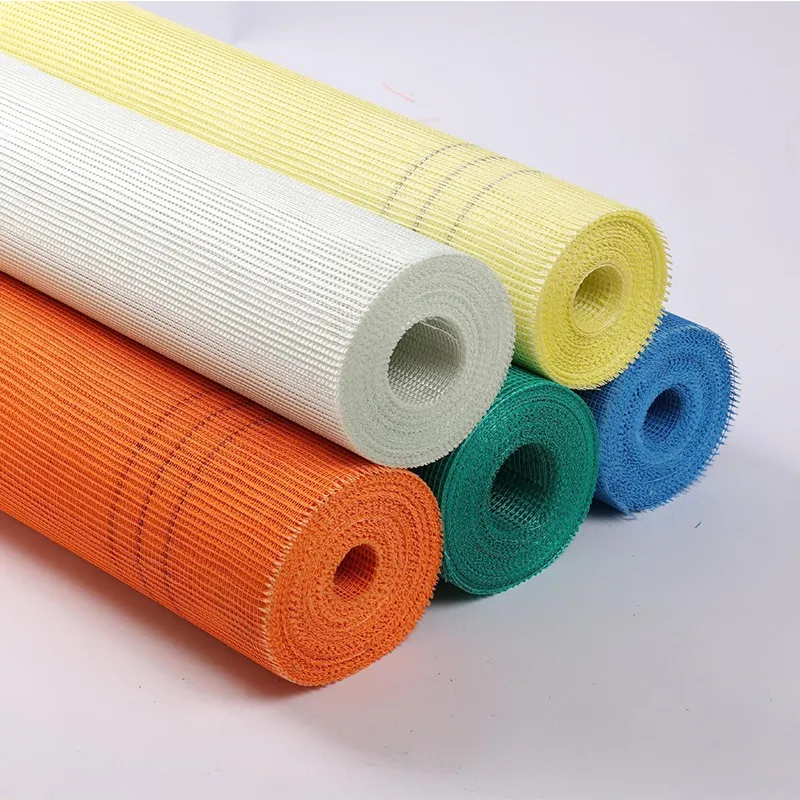
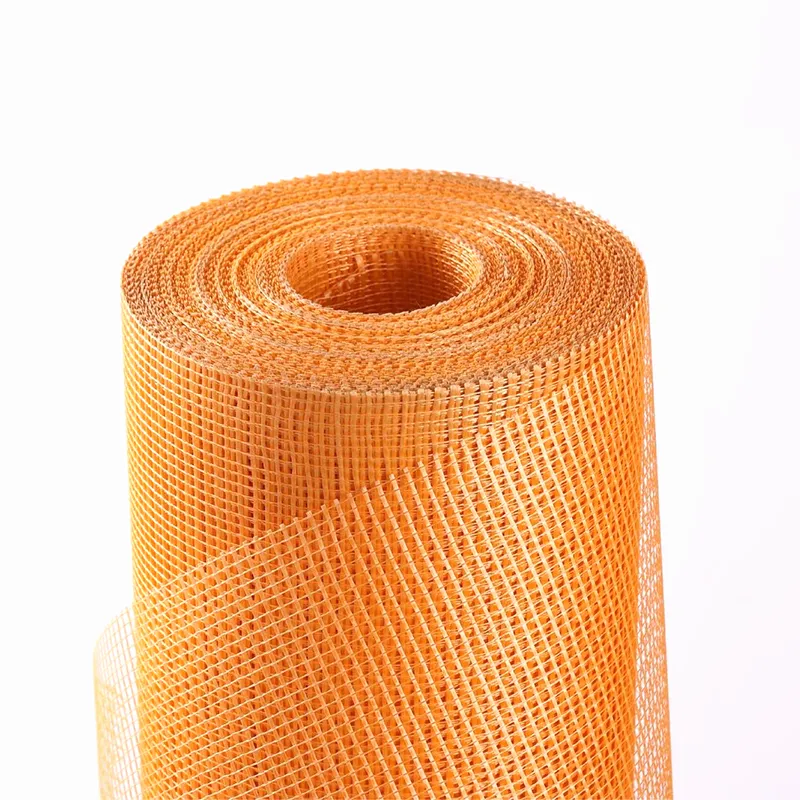
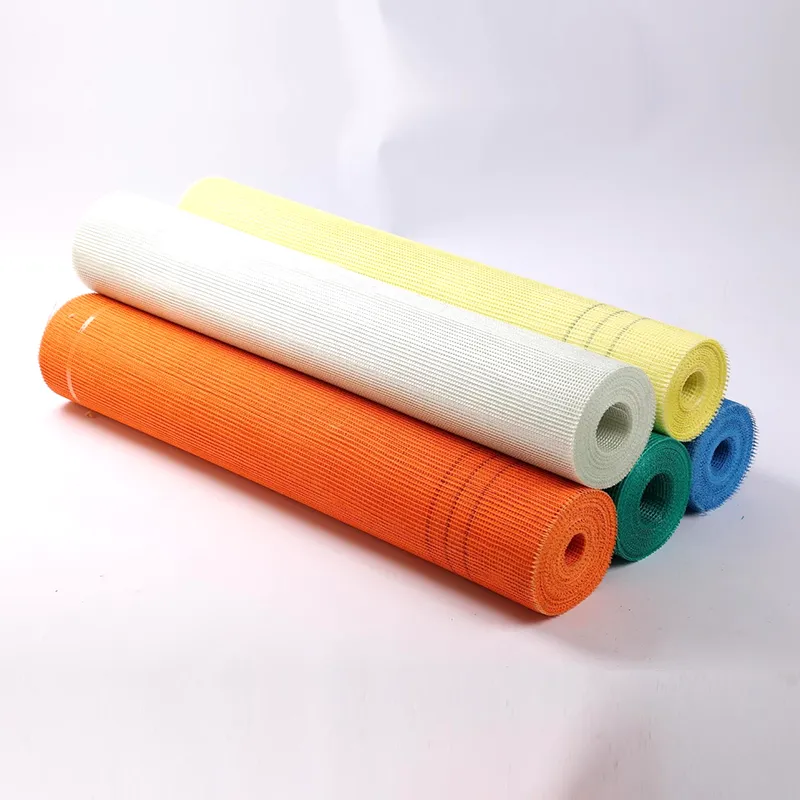
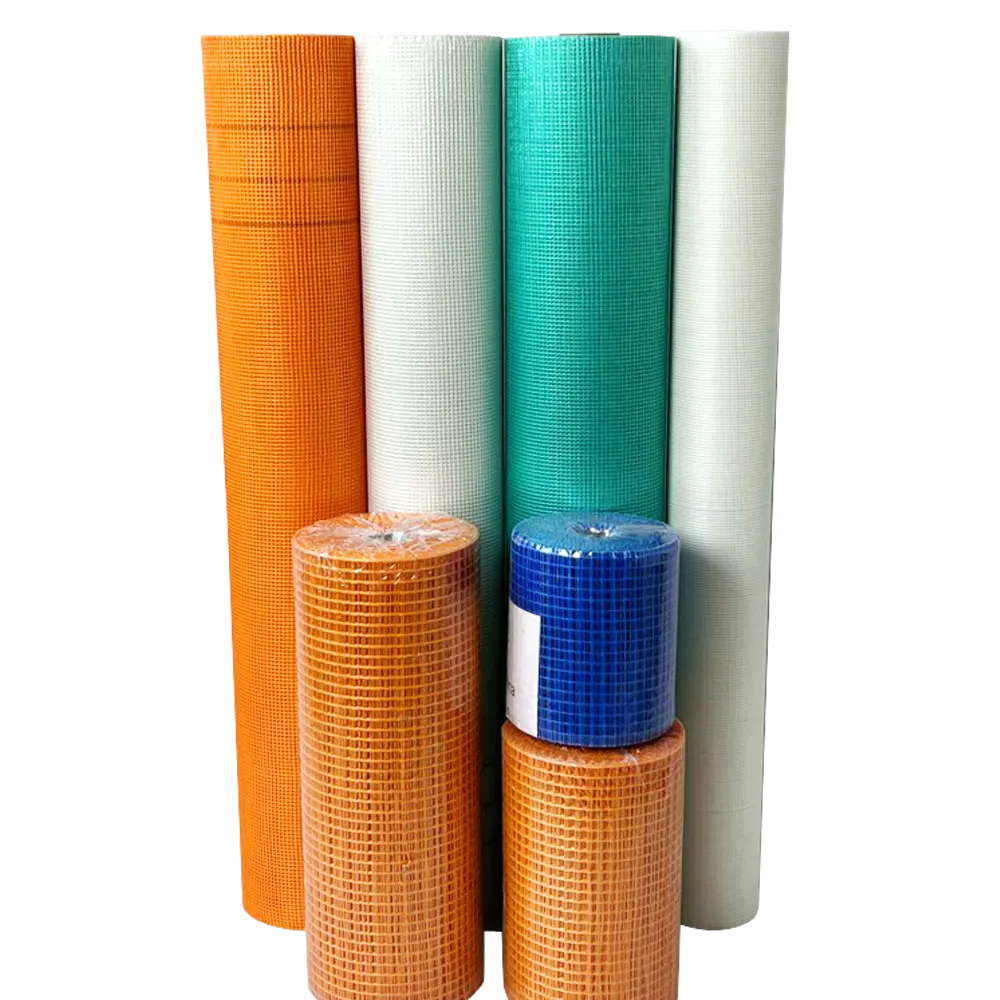
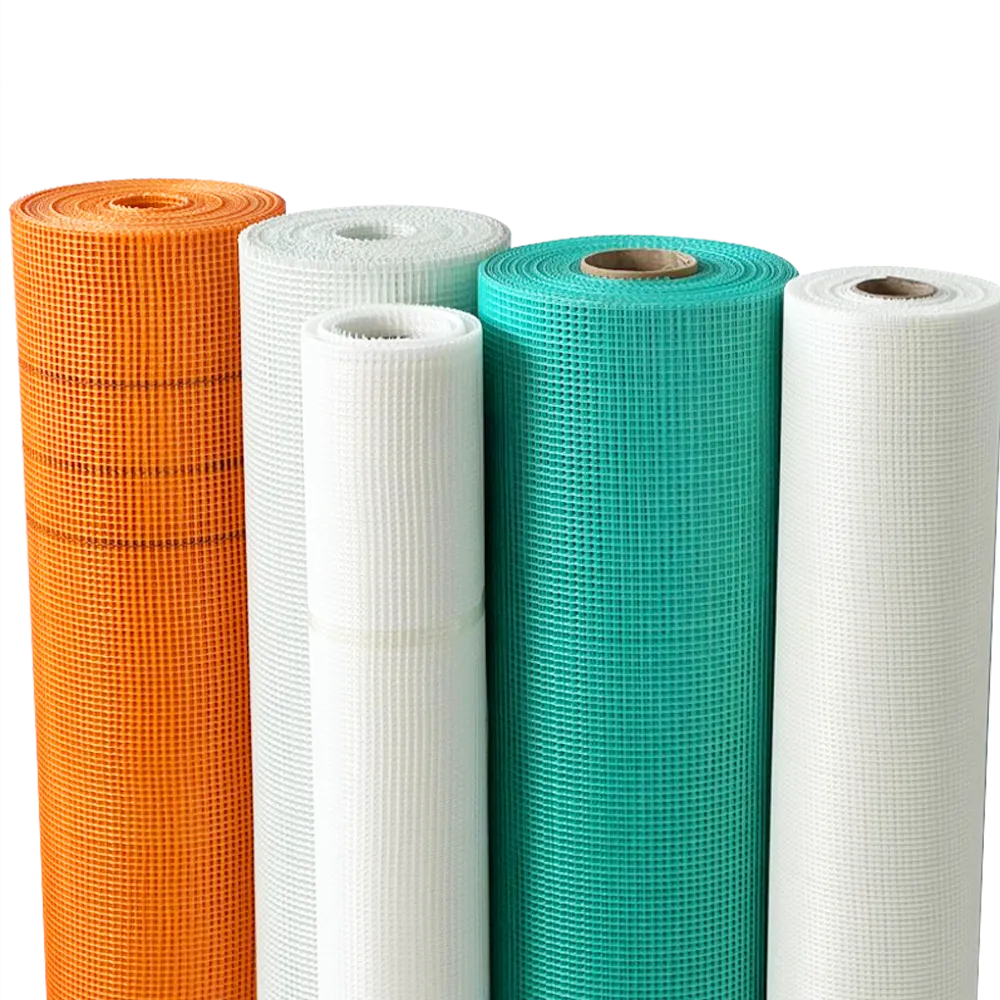
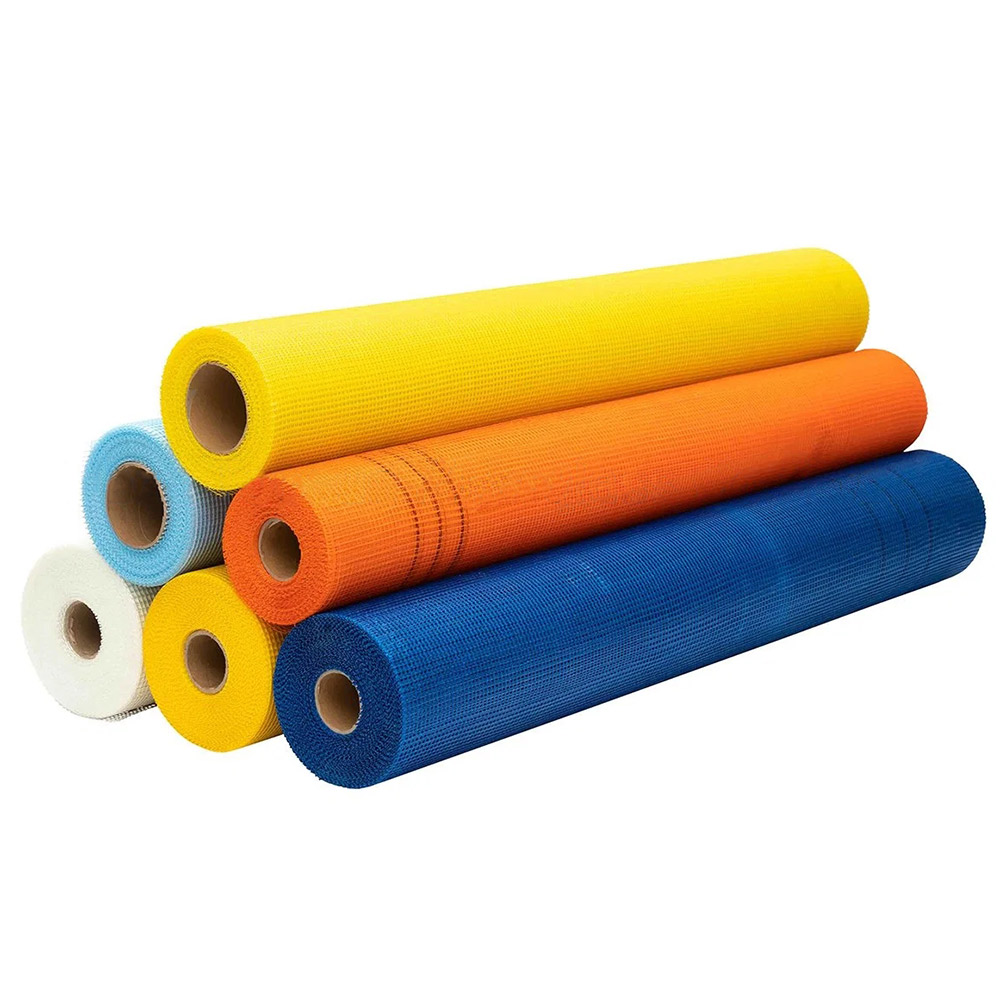
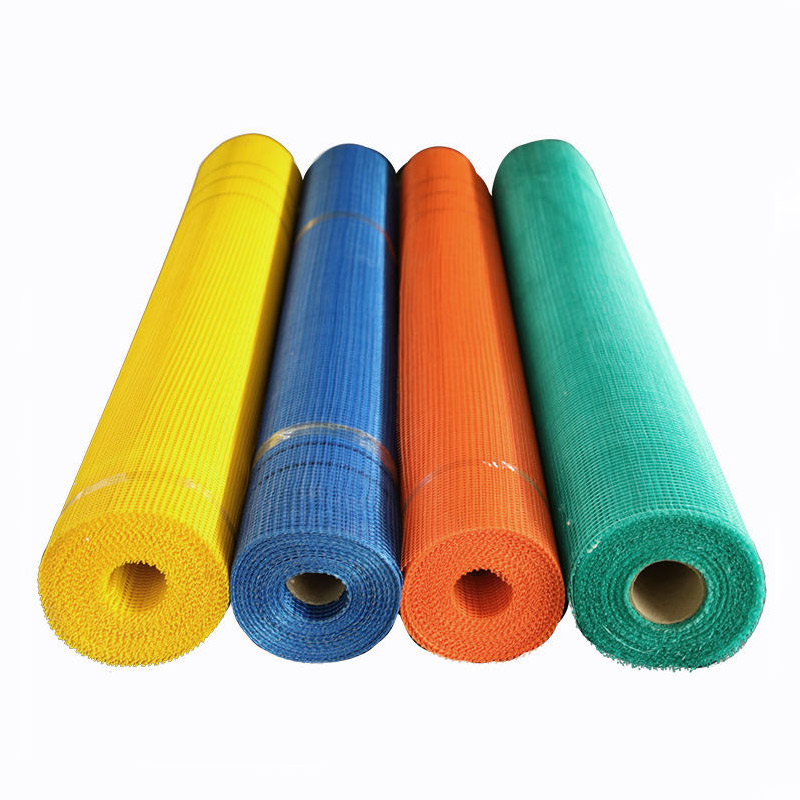
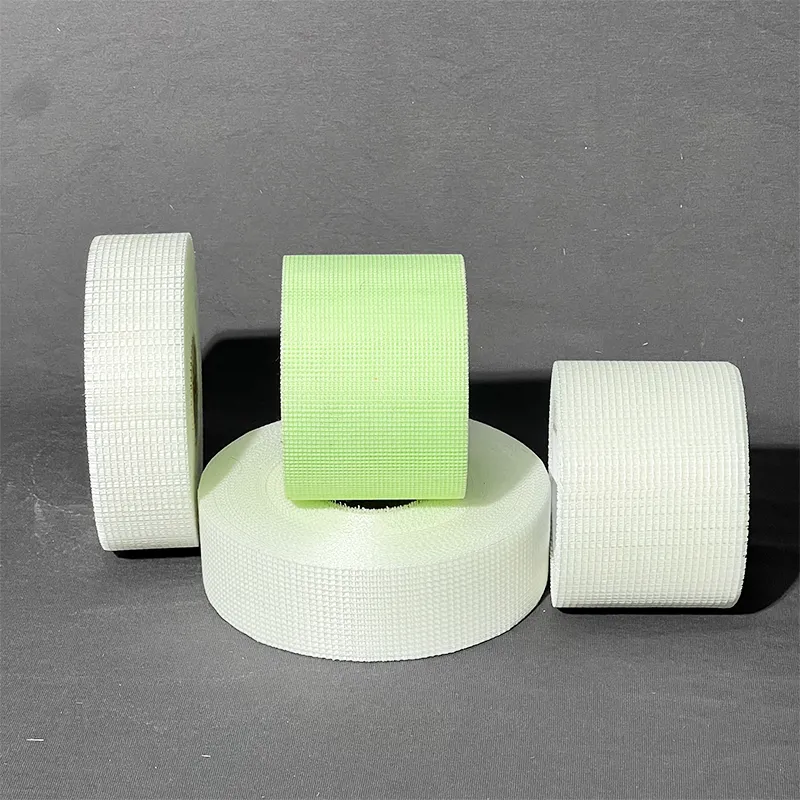
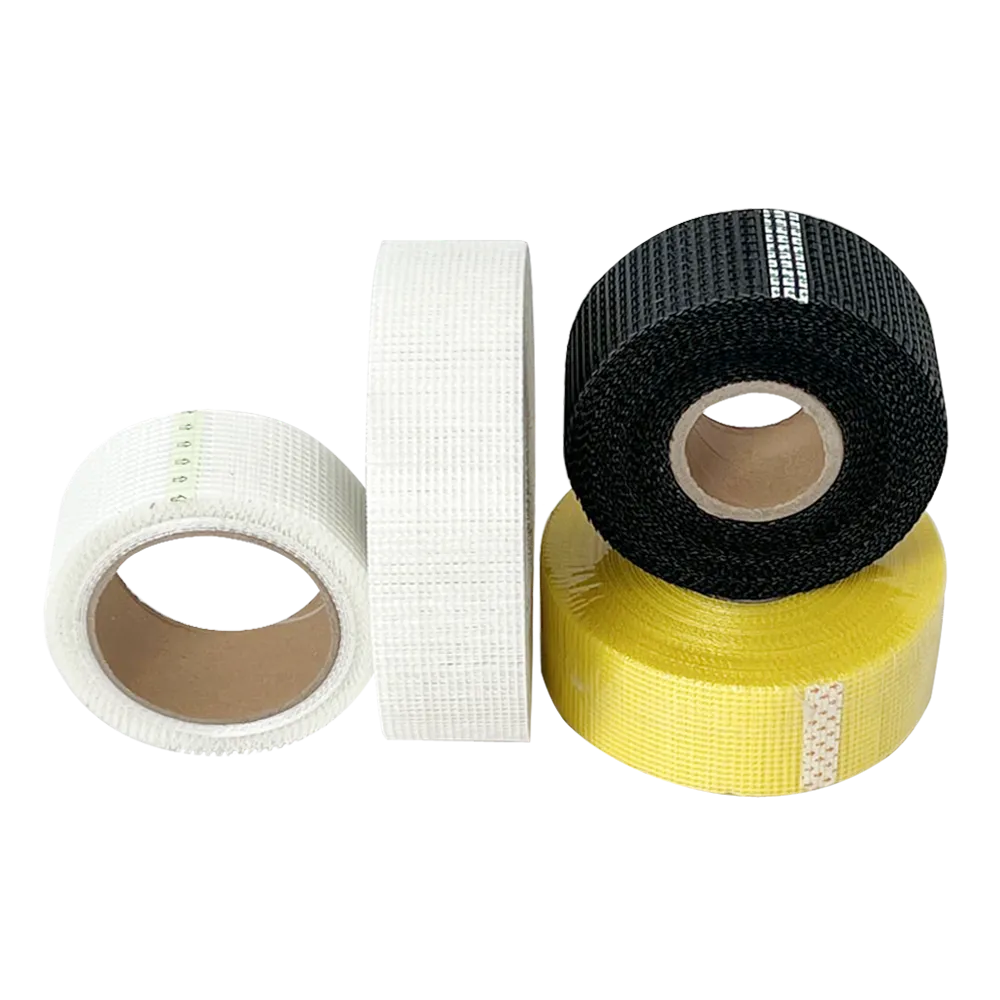
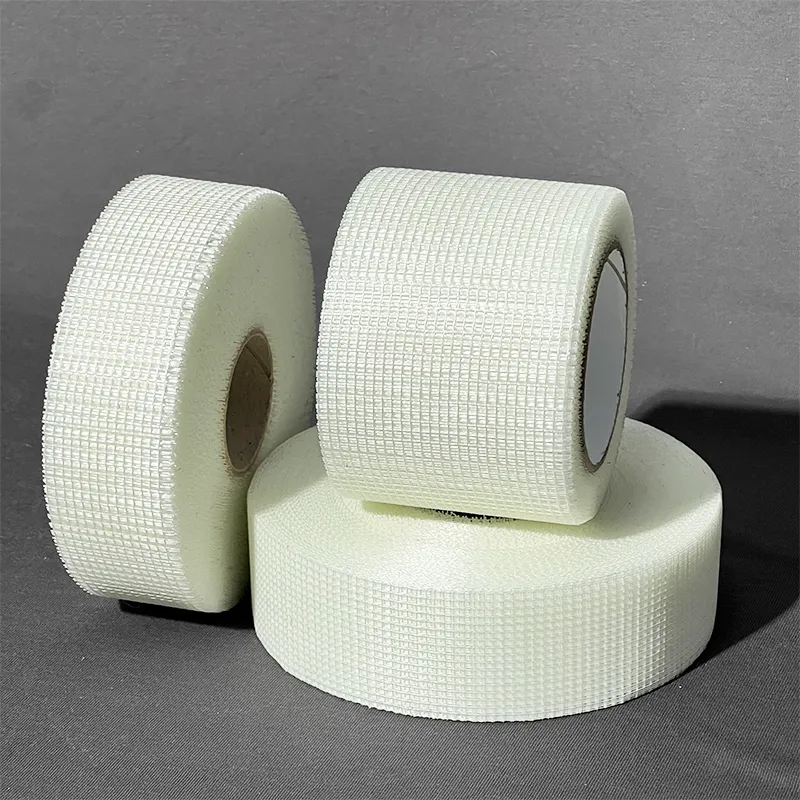
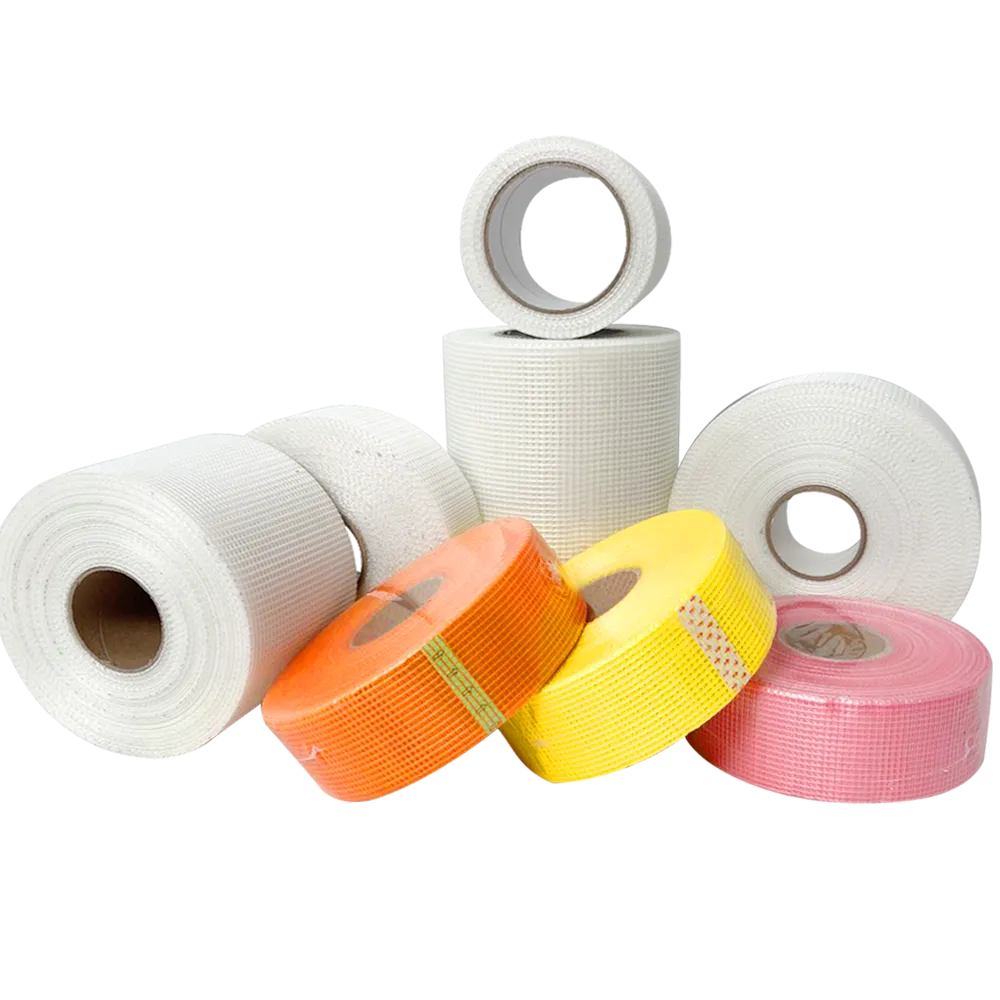
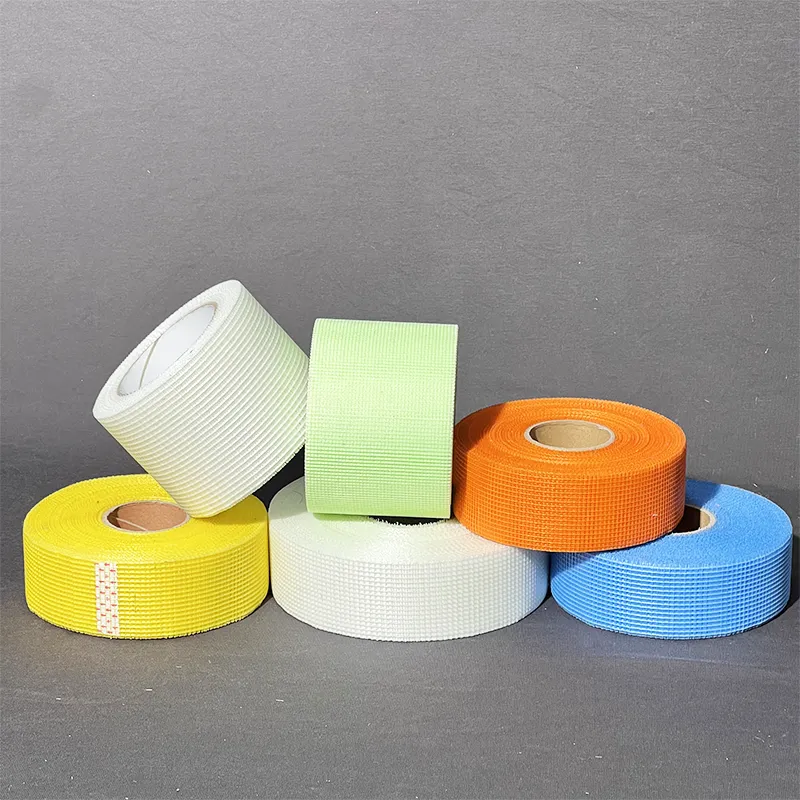
Mesh drywall tape is made from woven fiberglass, providing a strong, flexible, and tear-resistant material. Its key feature is that it is self-adhesive, which means it sticks directly to the drywall joint without the need for an additional layer of mud or compound beneath it. This can save time during installation and minimize complications. However, its unique properties also require a distinct approach to ensure optimal results.
Preparation is Key
Before applying mesh tape, ensure that the drywall surface is clean, dry, and free from dust. Any debris can prevent the tape from adhering properly, leading to potential issues down the line, such as cracking or peeling. Additionally, consider using a drywall knife to fill any large gaps or seams with joint compound before applying the tape. This will create a smoother surface for the mesh tape to adhere to.
Applying Mesh Tape
1. Initial Coating Start by applying a thin coat of joint compound along the joint where the mesh tape will be placed. You don't want too much compound, but enough to create a sticky surface for the tape.
best using mesh drywall tape

2. Positioning the Tape Cut a length of mesh tape that appropriately covers the joint. Carefully place it over the compound, ensuring it is centered along the seam. Gently press down on the tape to secure it in place.
3. Incorporating Compound After the tape is positioned, use the drywall knife to apply a thin layer of joint compound over the tape. Be sure to feather the edges of the compound to blend it seamlessly with the surrounding drywall. A 10 or 12-inch knife is often best for this, as it allows for a wider coverage area.
4. Smoothing the Surface After the first coat has dried, lightly sand the area to create a smooth surface. This helps ensure that the subsequent coats will adhere properly and provides a neat finish. Be careful not to sand too aggressively, as this can damage the mesh tape.
5. Multiple Coats Apply two to three additional coats of joint compound, allowing each layer to dry completely before sanding and applying the next. With each coat, gradually increase the width of the application to further blend the patch into the surrounding wall.
Final Finishing Touches
Once the final coat has dried and been sanded smooth, inspect the area for any imperfections. A final light sanding will typically suffice. At this stage, it’s also beneficial to prime the area with drywall primer before painting to ensure an even finish across the whole wall. Using a quality paint will enhance the durability of your work and provide a beautiful final look.
Conclusion
Using mesh drywall tape can significantly enhance the drywall finishing process when applied correctly. By following these best practices, you’ll achieve a seamless, professional finish that enhances the overall aesthetics of your interior spaces. Whether you are a DIY enthusiast or a seasoned professional, incorporating these techniques into your drywall project will yield superior results that stand the test of time. Remember, patience is key in drywall work; take the time to do it right and enjoy the lasting benefits of your efforts.
-
The Versatile Role of Fiberglass Mesh in Modern ConstructionNewsJun.09,2025
-
The Essential Role of Alkali Resistant Fiberglass mesh Tape in Modern ConstructionNewsJun.09,2025
-
Strengthening Walls and Joints with Fiberglass mesh Tape SolutionsNewsJun.09,2025
-
Fiberglassmesh Tape Solutions for Stronger Walls and Cleaner FinishesNewsJun.09,2025
-
Fiberglass Reinforcement Mesh: A Modern Essential for Durable FinishesNewsJun.09,2025
-
Enhancing Construction Durability with Self-Adhesive Fiberglass Mesh SolutionsNewsJun.09,2025
